Are you trying to uninstall Java Mac variant? Do you feel like you’ve tried everything, but it’s just not working out for you at all? To uninstall Java Mac, you need to follow an appropriate approach. There are, in fact, quite a number of ways to get the job done.
 In this post, we’ll outline the ones that should help you uninstall Java from your Mac without any hassle.
Contents
How to Uninstall Java Mac From System?
To uninstall Java Mac from system, you can try different steps:
- Uninstalling Java from your Mac is picking the manual approach
- Uninstalling Java on Mac employing the command line Terminal
- Using System Preferences for uninstalling Java on Mac
- Clearing the Java cache on Mac
- Reinstall Java on Mac
– The Manual Approach to Uninstalling Java
One of the ways of uninstalling Java from your Mac is picking the manual approach.
Before you dig any further, it is essential to remember that since the application we’re after isn’t just a standard app, attempting to find it inside the Applications folders or using the Apple Launchpad won’t help.
- To locate the Java utility, log in to your Mac system and head over to the installation folder. In case you don’t already know, the installation folder sits inside the System Preferences menu.
- From the System Preferences menu, make your way to the “Downloads” folder and click on it.
- Most probably, you’ll come across a new window with loads of different options. Look for something that says “Remove.” Click on it.
- Wait for the process to complete.
- Restart your Mac and ensure all the changes are successfully applied.
Quick Tip: Once you’re ready to get rid of Java, close all browsers and applications that use Java one way or the other for its operation.
Uninstalling Java on Mac Using the Command Line Terminal
Another way of uninstalling Java on Mac is employing the command line Terminal. The Terminal is a Mac app that provides a command-line interface (CLI) for working with your computer.
Developers and system administrators often use it to run tasks from the command line. Still, it can also be used to create and modify files, run custom scripts, and change preferences.
 While Terminal might seem intimidating at first, it’s actually relatively easy to use once you get the hang of it.
And once you start using Terminal, you’ll be surprised at how much more efficient you can be with your workflows. No doubt, using the Terminal, you can seamlessly get rid of Java from your system. Here is how:
– Step 1: Accessing Terminal
Start with accessing the terminal by following the steps below:
- Log in to your Mac system.
- Find and launch the Applications menu.
- From there, select Utilities and proceed.
- Next up, locate the Terminal application and click on it.
Alternatively, you can use the Launchpad for this purpose. Simply navigate to your Mac’s launch pad followed by typing “Terminal” inside the search box.
After that, click on the “Terminal” and voilà.
– Step 2: Checking the Available Version
Before you head over and uninstall Java 17 Mac, it is crucial to dedicate some time and check which version (s) of Java is installed on your system. Don’t worry; you can do that right from the Terminal.
Now checking the version is important because when you uninstall an older version, the corresponding residual files may remain undeleted, which is not ideal.
- While you’re inside the Terminal, simply invoke the following command
- “java -version”
- Read the output and grab the necessary information.
Do you think your system has more than one version of Java installed? Well, if that’s the case, ensuring it is always a good idea. The process is again simple; all that you need to do is run the following command:
ls /Library/Java/JavaVirtualMachines
– Step 3: Uninstall Java Mac Brew
After sorting all the information, invoke the below command and hit the Enter key on your keyboard.
sudo rm -rf /Library/Java/JavaVirtualMachines/jdk1.8.0_251.jdk
In case your system is password-protected, you’ll need to input the password of the corresponding account to authenticate the process.
Remember, the Terminal should always have administrative privileges for operations.
– Step 4: Performing Deep Clean
Once you run the command mentioned above, Java will get uninstalled from your Mac. But that doesn’t perform a deep cleanup. Yes, to remove all the Java files from your system, you need to dig in deep and take the process further. Let’s understand what and how.
 First thing first, remove the applet plugin. For this, invoke the following command:
sudo rm -rf /Library/Java/JavaVirtualMachines/jdk1.8.0_251.jdk
Next up, remove JCP by running the following command:
sudo rm -rf “/Library/PreferencePanes/JavaControlPanel.prefPane”
Time to remove Java files. Here, input the below-mentioned command and hit the Enter key.
sudo rm -rf “/Library/Application Support/Oracle/Java”
For removing the left JDKs, run the following command:
sudo rm -rf “/Library/Java/JavaVirtualMachines”
It is always important you cross-check the commands before executing them. Invoking the wrong command can be troubling at times as it can even hurt your existing data.
– Step 5: Verification
The ultimate step is verifying whether or not the process ended on a successful note. Yes, you need to make sure that you’ve removed Java and all the corresponding files from your Mac.
- Head over to the Terminal one more time
- Input “java” inside the Terminal followed by pressing the Enter key.
- Study the output; it must say, “No Java runtime present, requesting install.”
If the output dictates different terms, you must repeat the process. But make sure the commands are free from errors this time around.
Using System Preferences for Uninstalling Java on Mac
Terminal and commands seem troubling? No worries, you can choose an alternative. We’re talking about uninstalling Java using the “System Preferences” option.
 For those who don’t know, “System Preferences” is a section of the Mac operating system that allows users to customize their settings.
This can include setting the default web browser, adjusting the Dock, and configuring keyboard shortcuts.
System Preferences also allow users to change the appearance of their desktop and set up the printer and network options.
In addition, it is possible to manage user accounts and parental controls from within System Preferences.
Although it may seem daunting at first, taking the time to explore System Preferences can pay off in the form of a more personalized and efficient computing experience, so dealing with the java application is no exception.
– Step 1: Decoding the Version of Java You’re Using
First, grab the version information. Follow the steps and easily get the job done:
- Boot up your Mac and launch the System Preferences menu. You can find the option inside the Apple menu or look for the same in Launchpad.
- Browse through the list of options until you notice Java. Take the cursor there and right-click on it.
- Read the popped-up options and tap on the one that says “Remove Java Preference Pane.”
- Next, you’ll need to search for “General” and click on it once you find it.
- Have a look at the “About” section and learn about the version of Java you’re using.
Alternatively, you can use the Terminal method discussed earlier. Now, here’s how to Uninstall Java 16 Mac and others.
– Step 2: Uninstalling Java
Now that you’ve got the required information, it is time to perform the activity.
- Launch the “Applications” folder
- Input the term “Java” inside the Finder tool’s search field. After that, hit the “Enter” key.
- Locate a file that goes by the name “JavaAppletPlugin.plugin.” Once you find it, simply right-click on it.
- From the list of options, choose the one that says “Move to Trash.”
- Head over to your system trash and empty it.
- Verify the status of the process by confirming the unavailability of the Java icon inside the “System Preferences” menu.
– Step 3: Finalizing
After removing Java from your system, you need to take a couple of steps and ensure your computer is secure. What you’ll need to do is disable Java in Safari:
- Find and launch Safari
- Locate the “Preferences” button and click on it.
- Navigate to the “Security” tab
- Uncheck the “Enable Java” option, and that’s it.
Clearing the Java Cache on Mac
In case you’ve made it until this point, you know how exactly Java can be removed from your system. But wait, the job is still incomplete.
 Uninstalling Java, in most cases, doesn’t clean up the existing cache. It is crucial to clean it up and ensure the end result is positive.
- Boot up your Mac
- Head over to the “System Preferences” option.
- From there, find and click on the “Java” icon followed by picking the “Other” option.
- After that, click on the existing “Java Control Panel” and hover over to the “General” tab.
- Next up, take your cursor to the “Temporary Internet Files” option and pick the “Settings” option from there.
- Once done, tap the “Delete File” button. It will open a dialog box. You can choose “Cached Applications and Applets” and move forward here.
- Finally, click on the “OK” button and wait as the system removes all the cached files.
Reinstall Java on Mac
Want to install a new, fresh Java SE package? Let us help.
You need to know a few things before installing Java on your Mac. First, you must ensure you have the latest version of the Java Runtime Environment (JRE).
You can do this by going to the Java website and downloading the latest JRE for Mac. Second, the minimum system requirements.
If you’re after installing Java 7 and later versions, your system might surpass the following eligibility criteria:
- macOS Lion 10.7.3 and above (High Sierra and above supported)
- Intel Core
- Admin privileges
Installing Java on Mac:
- The first thing you’ll need to do is grab the installer program. Pick the one developed by Oracle.
- Visit the official Java download page.
- Find and click on the macOS variant of the utility.
- Agree to the terms and conditions and allow the installation wizard to continue.
- Sort out the downloads and proceed.
- Once completed, locate the corresponding installer file. Remember, it will come with the “dmg” extension.
- Double-click on it, and the installer will automatically run for bagging the new package. As usual, carefully walk through all the prompts and ensure you’re heading towards the appropriate package and version.
- Also, it is essential to grant the required permission. Input the account username and the password.
- Follow the on-screen instruction until it reaches the end,
FAQ
– Should You Uninstall Java?
Java is a programming language that can be used to create standalone applications or applets that run in a web browser.
 Although the utility is of great use, you might not need it anymore. In case you’re not using Java on your Mac, there is no harm in uninstalling it from your system. But the question remains, how?
No doubt the install-uninstall operation isn’t that challenging. But at the same time, things start getting a little tough when dealing with something like Java.
Thankfully, just like most other things, we have an efficient way out. In fact, we’re about to discuss not one but a number of ways to eliminate Java from your system.
– Should You Uninstall Java on Mac?
Java undoubtedly has been a popular programming language for building applications for many years.
In recent years, however, there have been concerns about the security of Java and its stability on Mac OS computers.
As a result, some tech experts have recommended that users uninstall Java 11 Mac and newer from their systems.
While some valid security concerns exist, Java remains a powerful and widely-used programming language.
In most cases, the risks posed by Java can be mitigated by taking some simple precautions. Therefore, unless you have a specific reason to do so, there is no need to uninstall Java versions from your Mac.
– Do I Need Java on My Mac 2021?
You might be wondering whether you need Java on your Mac. After all, it’s a fairly common question and one that doesn’t have a straightforward answer.
Here’s a quick rundown of what Java is and whether you need it on your Mac.
Java is an ever-existing programming language that enables developers to create certain types of applications.
While many popular applications are written in Java, it’s not required for most everyday tasks, such as browsing the web or checking email.
However, if you’re planning on doing any serious development work, then you’ll need to install the Java JDK (Development Kit). In addition, some websites still require Java in order to function properly.
So if you’re having trouble accessing a particular website, then installing the Java Runtime Environment (JRE) might be the solution.
Ultimately, whether or not you need Java on your Mac depends on what you’re planning on using it for. But for most users, the usual ones, it’s not required.
– Is It Safe to Install Java on Mac OS?
Java is a programming language that enables developers to create complex applications that can run on a variety of devices, including computers, smartphones, and servers.
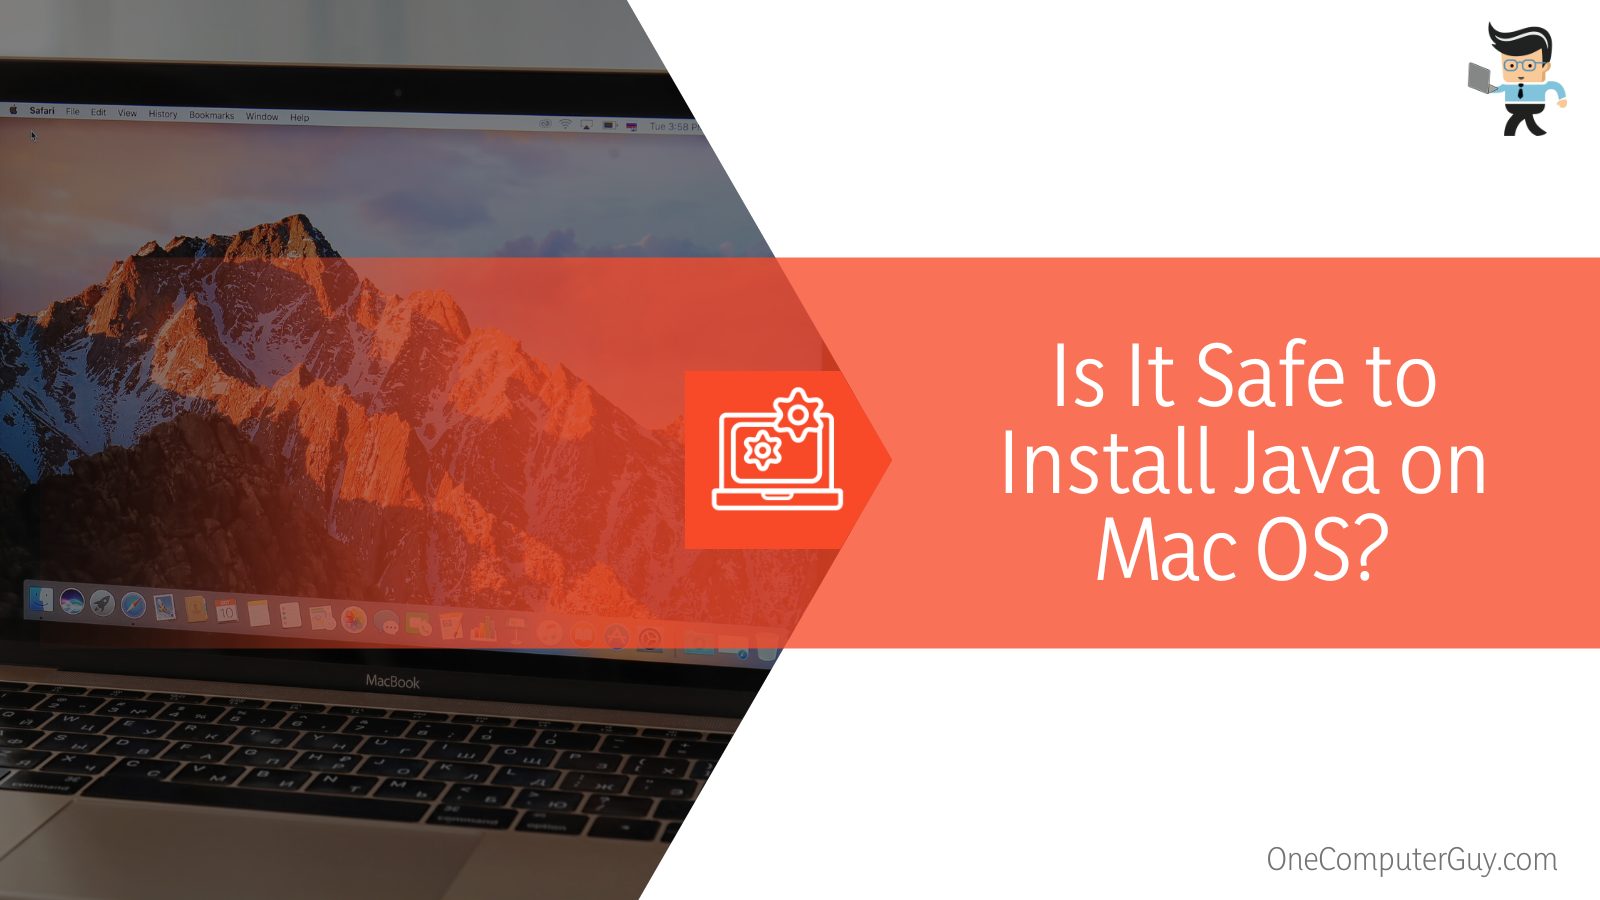 While Java is safe to download and install, there are always risks associated with any type of software.
One way to mitigate these risks is to only download Java from official sources, such as the Oracle website.
Additionally, it’s important to keep Java up-to-date by regularly checking for and installing updates. By taking these precautions, you can help ensure that your computer remains safe when using Java applications.
Conclusion
So, there you have it,” how to uninstall any Java version on a Mac “. Let’s do a quick recap and understand things better:
- Before uninstalling Java, you need to know which version is installed on your system.
- While Java can be manually uninstalled, opting for alternatives is often preferred.
- One of the best ways to uninstall Java on Mac is by employing the command line Terminal.
- If you find commands a bit haunting, heading over to your device’s System Preferences menu can also help.
- You can even use third-party applications to get rid of Java from your system.
If you are still having trouble uninstalling Java on your Mac or have faced any issues with the process, don’t hesitate to reach out to us for help.
Our team of experts is more than happy to assist you with anything related to Java or your Mac.

