Need help turning on laptop without power button? Like any other piece of technology, laptops break, and you need to work around whatever the issue is.
 However, what do you do if your external power button for laptop breaks? It is hard to fix your laptop when you can’t actually turn it on.
Luckily, there are several ways to solve a laptop power button broken problem, though they may not always be convenient. Our guide will walk you through some of the easiest ways to turn on your laptop without a power button.
Contents
How To Turn On a Laptop Without a Power Button
Before you try to turn your laptop on without a power button, you may want to understand why your power button broke in the first place. If you use the solutions below and you still can’t figure out why your power button doesn’t work, it could be a sign that things are going south for your computer.
It could be that your hardware has an issue. It is likely that the delicate wires have snapped or been melted. If that’s the case, the solution is easy.
The first thing you should do is ensure that your laptop is charged before you do any of the methods below. A fully charged laptop is easier to turn on because you don’t have to wait for the power source, and in some cases, you can’t connect the power source at all.
– First Method: For All Laptops
This first method is going to work on all laptops, even if your power button is completely broken. Follow these steps closely to get the best results:
- Unplug your charging cable from your laptop (be sure it has at least some charge).
- Carefully open the laptop case – take a picture before you remove anything.
- Locate the power button location and remove the button itself from the case.
- Under the button, you will see three to six pins, just depending on your laptop. Connect the pins with wire or use anything that doubles as a conductor.
- The laptop should turn on when you connect the pins. If it doesn’t, you have a problem that isn’t your power button.
Note: You cannot do this method without the battery having at least some charge. If you try to do it while the laptop is charging, you run the risk of electrocution or frying your system.
– Second Method: Using the Keyboard
The next method is helpful for most people unless you have changed your BIOS settings. Most computers and laptops will have it enabled as default, and there really isn’t a reason to turn it off.
 If you know you have turned it off, this method may still be worth a shot because sometimes BIOS will divert back to its default settings. If you have it turned off, or if your laptop doesn’t have this as an option, nothing bad will happen just from trying it.
This method uses keyboard BIOS and therefore is slightly more complicated. To set it up, follow these steps:
Step 1: First, you want to access the BIOS setting interface. When you first start your computer, the BIOS can be accessed using a special key. That key is different for every manufacturer and sometimes even differs by product line, but most will use either F2, F10, or DEL.
Step 2: Once you locate the settings, which will probably be under the “Advanced” tab in the BIOs, you need to look at “Power Management.” You will see an option that says, “Power On By Keyboard,” or something using similar phrasing. Make the changes and set a key for yourself, then you use it later on.
Step 3: In case of an emergency, you want to know that this solution is going to work. Shut down your system and then try to start it using the keyboard key. It should turn on your computer just like it would if you pressed the power button.
Then, when it comes time to turn on your laptop without using a power button, it will be ready to go.
– Third Method: The Safe Way
If you are worried about short-circuiting your laptop or running something in it, this is the method you want to use. It is safe and easy to do, though you will need to have a bit of technical prowess. Follow these steps:
- Find the cable or cord that connects the power button itself to the motherboard.
- Disconnect the cable and then leave it unplugged.
- Remove the battery from the laptop.
- Plug the laptop into the socket, wait a few seconds, and it will turn on.
- Place the battery back into the laptop.
- If you want to disconnect the power socket, you can; it should stay on.
In some laptops, you may need to enter your BIOS to turn it on. This is easy and shouldn’t take a lot of time.
– Fourth Method: Clock Battery
The next method may seem a little strange, but you can use the clock battery in your laptop if you are out of options and need to get something important off of it. We wouldn’t recommend this as a typical workaround, but you should be able to do it once or twice.
 Simply follow these steps to get your computer working again:
- Disconnect the battery cable (not charging cable, consult your manual if you need help doing this) from the motherboard very carefully.
- Disconnect your clock battery from the motherboard using caution. You may want to take a picture of your setup, so you know how to put everything back together.
- Your laptop will not have any power at this point, and any source of power will cause it to boot up.
- Reattach the clock battery, and your computer should immediately start booting up.
You will have to reattach everything at some point, or your computer isn’t going to work. We recommend only using this method in the last ditch effort.
– Fifth Method: Using the Lid
If you are fortunate, you will be able to turn on your computer using only the lid. When you close your laptop without shutting it down, your laptop goes to sleep. If you don’t step away for too long, you should be able to just open your laptop, and it will turn back on. If your laptop isn’t set to do this automatically, you can change your settings:
- Go to your BIOS settings by using either the F2 key or Del key after you start your laptop regularly or by using another method on this list.
- Go to the “Advanced” tab and then navigate to “Power Management.”
- Look for the option that says, “Power On With Lid,” or something similar.
- Adjust the settings so that the laptop turns on or off when the laptop lid opens.
- Restart your computer to test whether or not this method works correctly.
– Sixth Method: Wake-On LAN
One of the lesser-known options is to use the wake-on LAN, which is an option for Windows 10 only. This is another method that needs to be enabled, kind of like the BIOS start-up. However, it usually isn’t the default option.
 To enable wake-on LAN, follow these steps:
- Turn on your computer either regularly or using one of the methods above.
- Press the F2 or Del keys to enter into your BIOS settings.
- Go to Start, then navigate to the “Settings” menu.
- Select the “Update and Security” tab.
- Select “Option Recovery” in the left-hand column.
- You should get a prompt that asks for “Restart Now” or “Advanced Setup.”
- Select “Advanced.”
- Go to the “Power Management” or “ACPI Management” section and press the Enter key.
- Check the settings that say, “Power on LAN” or “Wake On LAN,” depending on your computer.
- Use the adjusting keys to enable these options and select a preferred key to turn on your laptop with your keyboard (much like the method above).
- Save and hit the F10 key to exit.
Now that you have done all of those steps, you will have to take it a step further by configuring the network card to power up your system. To do this:
- Go to Start and type “Device Manager” into the search box.
- When the menu opens, look for the option that says “Network Adaptor.”
- Right-click on that option and select “Properties.”
- Go into the Power Management settings.
- Check the box that says, “Allow this device to wake the computer.“
- Go back to the Start menu and type “Device Manager” into the search box.
- The menu will open and look for networks.
- Shut down the Windows system.
- Plug into the LAN and see if the system powers on.
This is a complicated method, but it can be a long-term solution for people who aren’t in a position to install a new power button or buy a new computer.
How To Install a New Power Button
If none of the above methods work for you, it may be time to install a new power button instead. This isn’t easy to do, but it isn’t too difficult for anyone who tinkered around inside of their computer before now. The easiest method is this:
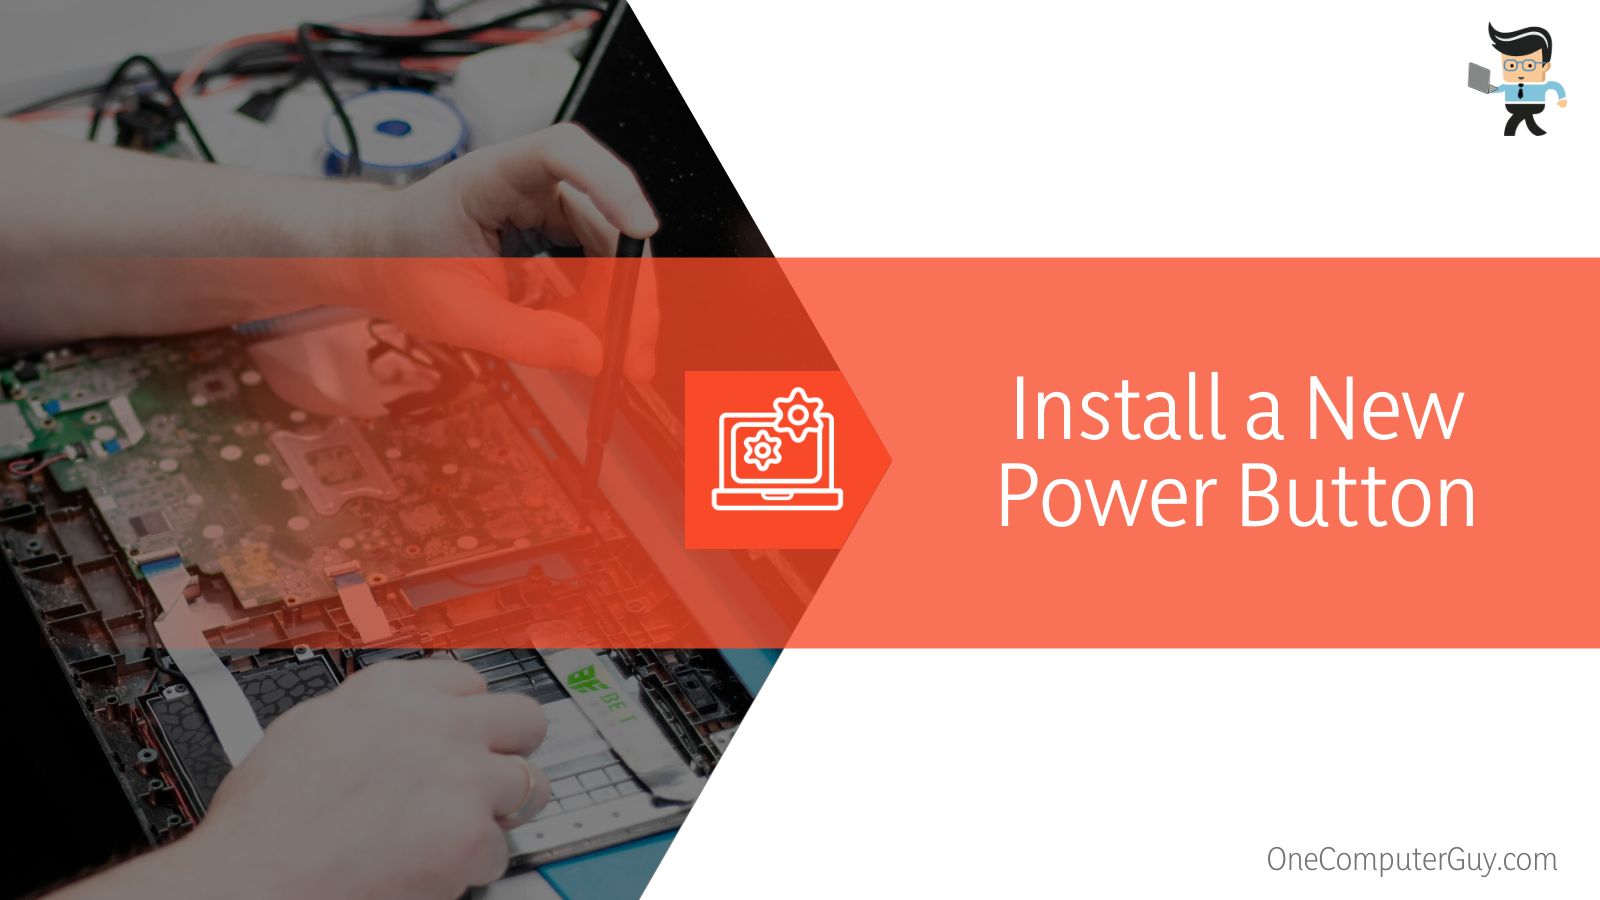
- You need to remove the battery or any kind of power source from your laptop before touching anything inside it.
- Take a picture of the inside of your computer so that when you reassemble it, you have a reference.
- Next, remove the RAM and the hard drive carefully.
- Remove the keyboard frame, and be sure to place it in a way that you will know how to put it back.
- Remove the top frame and keep your eye out for the power button.
- Take the power button out of the build and replace it with your new power button.
- Put everything back together, starting with the top frame, then the keyboard frame, then the hard drive and RAM.
- Restart your computer using the button. It may be a little difficult to press, but it will become easier over time.
In Conclusion: You Should Be Able to Quickly Power on Your System Without a Power Button
Following the steps and methods above, you should be able to easily turn on your computer even with a broken power button.
If you have attempted all of the steps in this article and are still unable to turn on your laptop, the problem may not fall with your power button. It could be that some other components of your computer aren’t working properly and it just won’t turn on.
You should troubleshoot by listening to the sounds your computer makes when it turns on, thinking about how it has been acting, and opening up your case to see what the inside looks like.


