How to take out a graphics card is an important skill any PC builder, enthusiast, or gamer should know.
Disconnecting and taking out your GPU, whether it’s during replacement or routine cleaning and maintenance, is a chore that should be done carefully and with the right steps.
In this guide, we’ll be taking an in-depth look at how to remove GeForce RTX 3070 and other GPUs from your motherboard. Without further ado, let’s jump right into it.
Contents
How to Remove Your Graphics Card from Your PC With No Hitches
You can remove your graphics card from your PC without any hitches by disconnecting all your cables, grounding yourself, and safely removing the GPU from your computer. Graphics card units can only be disconnected if they are dedicated. Integrated GPUs cannot be removed.
Removing your GPU, otherwise known as a video card, from your computer involves careful planning and consideration.
Here are the necessary steps to take when uninstalling your GPU from your PC:
As we’ve mentioned earlier, desktop computers often come with dedicated GPUs but to be sure, you may need to open up your computer and check to see if you have one. Once you open up your PC, you should be able to find the GPU in one of the expansion slots located close to your processor. Both components are installed close to each other since they need to communicate with each other as fast and as frequently as possible.
You can also consider checking the sticker on your desktop unit. If there’s an AMD or NVIDIA sticker on your machine, then you have a dedicated GPU. However, if the sticker says Intel, then your desktop unit features an integrated unit. Another option you can try is to check where the display connections on your PC case are located.
If the outputs your monitor is connected to are located at the bottom, or close to the PCI slots, then you have a dedicated GPU. On the other hand, if the outputs are located close to your audio outputs and right above the expansion card, then your PC is using an integrated GPU. If you still can’t figure it out, visit your computer’s manufacturer’s website and check for your PC or GPU information to know whether or not you have a dedicated GPU.
– Check Whether It’s an Integrated or Dedicated GPU
The first thing you want to do is check whether or not your GPU is an integrated GPU or a dedicated GPU as the removal of your GPU greatly depends on this factor. The reason is that integrated graphics units cannot be removed from a computer since they are soldered to the PC. On the other hand, dedicated cards have their own spot in the PC so you can remove them with no issues.
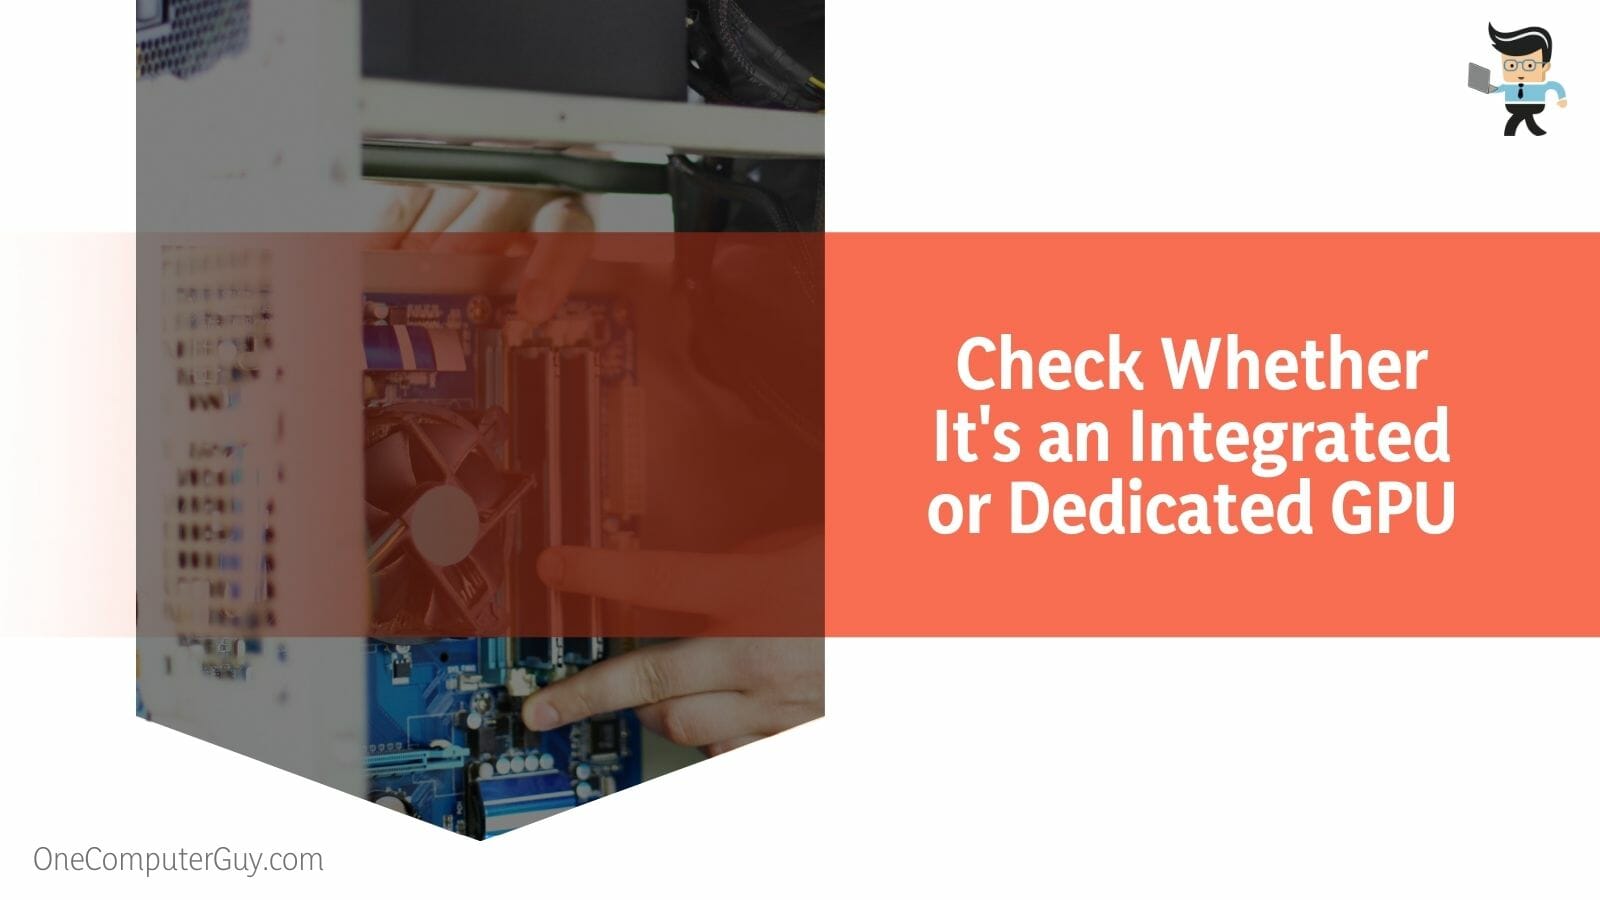
As a beginner, you may be unable to tell the difference between both. Most pre-built desktop computers come with dedicated units. There’s a low chance that they’ll feature integrated graphics cards.
On the other hand, most laptops come with integrated graphics cards, which means that you won’t be able to remove them. So if you’re looking for how to remove graphics card from laptop, there is no way to do so right now.
– Prepare to Remove Your GPU
When it comes to how to remove GeForce RTX graphics card or any other dedicated GPU, you’ll need to make careful preparations. Once you’ve confirmed that you have a dedicated GPU, the next step is to make the necessary preparations needed for removing the unit from your computer.
The first step is to uninstall your GPU drivers if you’re replacing the GPU you want to remove with a new one. Doing so will make it easy for your PC to work with new hardware. If you fail to remove the drivers and then install a new GPU, the drivers for the old and new hardware may conflict with each other.
After removing the old driver from your PC, make sure to download the driver for the new hardware and save it on a USB drive or external hard drive to make it easy for you to install. Next, find the appropriate screwdrivers for removing the PC case as well as the GPU and any accessory attaching it to your device.
Also, make sure you have an antistatic wrist strap so you can remain grounded and prevent accidental electrical discharge when handling your graphics units. If you try to remove your GPU without being grounded, you may produce a static discharge that can cause irreparable damage to your GPU.
If you’re unable to get an antistatic wrist strap, you can choose to ground yourself by touching an unpainted part of your PC’s metal case. Once you’ve decided on how to be grounded, move your PC to an uncluttered and clean spot so you don’t lose screws or parts during the removal process.
– Disconnect Your Connections
After you’re done preparing, the next step in how to remove graphics card from MSI motherboard or any other motherboard is to disconnect every connection attached to your GPU.
Shut down your computer completely and turn off the PSU switch located at the back of the case. Remove every USB, keyboard, mouse, monitor, etc. that is connected to your PC. Make sure there’s no wire or accessory that’s left plugged into your computer.
– Open Your Computer’s Case
The next step is to open your PC case to remove the GPU. This process is quite straightforward, as all you have to do is unscrew the screws that are attaching the side panel to the rest of the case.
Manufacturers use a variety of methods to hold the side panels in place, with the most common ones being clamps and screws. However, if you have a different fastener, simply check your PC manual to determine how to take it off.
– Find Your GPU
Finding your GPU should be easy as it’s often situated close to your computer’s processor and attached via the PCIe slot. You should be able to see it sitting at the bottom part of your case. Most graphics units use eight-pin or six-pin PCIe cables as their power supply cables.
You’ll need to unplug these cables and any other cable attached to the GPU before removing the unit itself. Also, you may need to push down or pull out the small lever underneath the GPU cables to remove them.
– Remove the Graphics Unit from Your PC
Depending on your PC and GPU manufacturer and model, you may need to unscrew or unlock some locking mechanisms that are holding your unit in place. While it’s true that GPUs are often connected via PCIe, some of them come with extra mechanisms to make sure they are placed in the PC correctly. So, make sure to check around the unit to see whether or not you have a locking mechanism, so you don’t develop a can’t remove graphics card problem.
If you have water coolers, mounting brackets, hoses, SLI bridges, etc. make sure to remove them or disconnect them from the GPU before trying to detach the unit. After removing all attaching screws, cables, hoses, etc. your graphics unit will be dislodged from the panel, but it’ll still remain connected to the mobo. While it’s unlikely that it’ll fall off, support it with your hand, else if it actually does fall off, your GPU can become damaged.
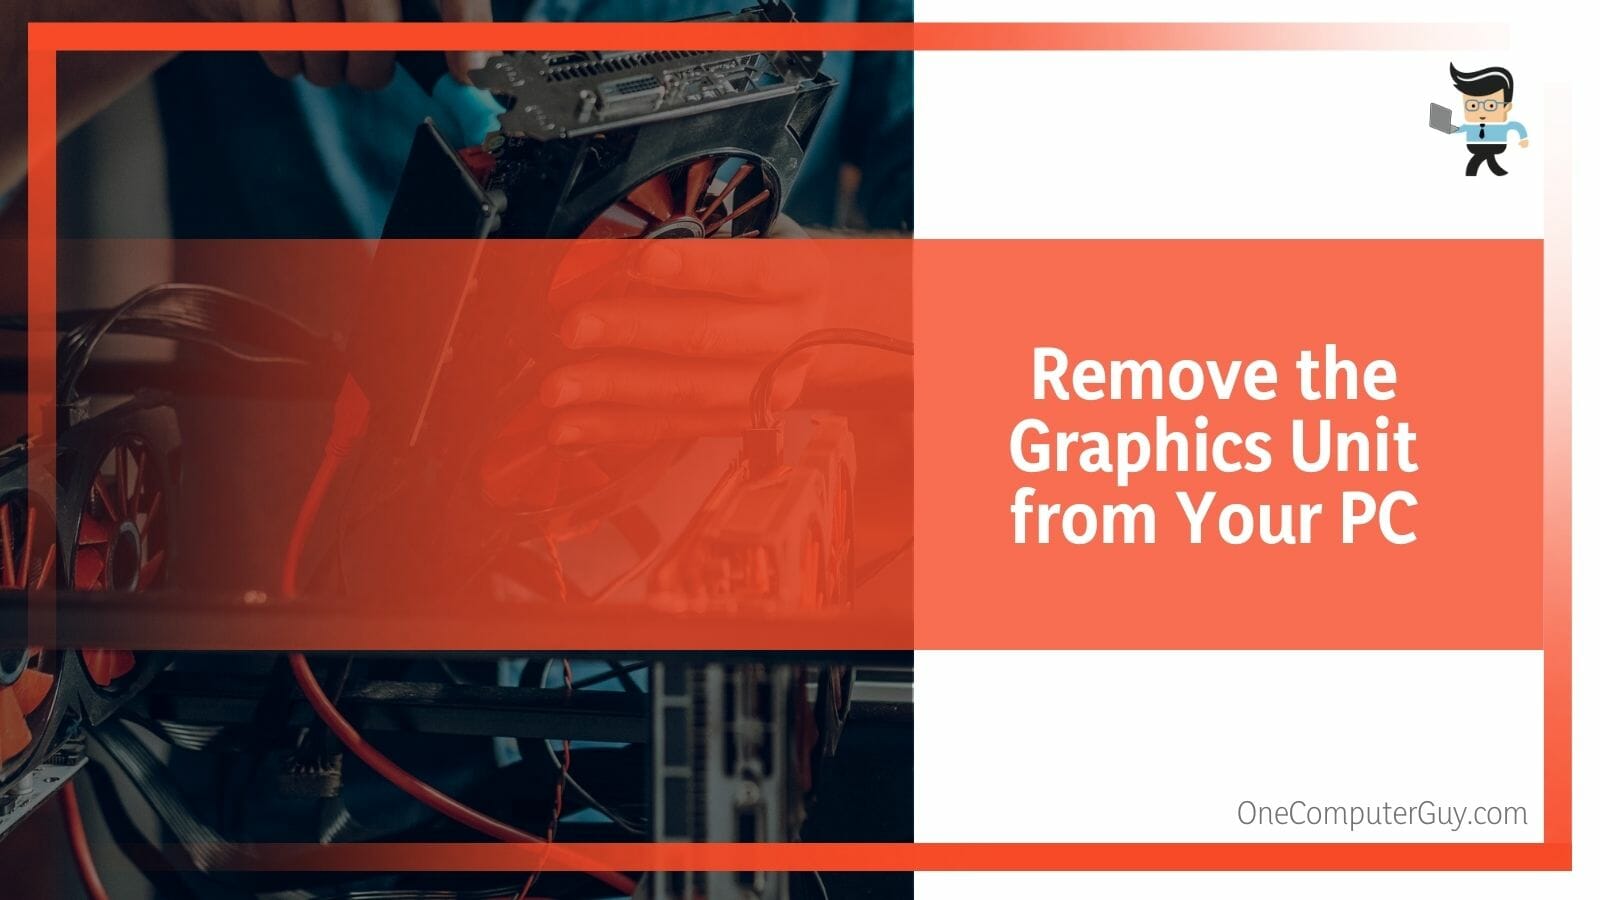
Pull back or pull out the lever on the expansion slot, depending on your PC’s manufacturer. Now, start wriggling the unit while slowly pulling the card out with as little pressure and force as you can manage. Make sure not to try pulling the card out at once or pulling it with force. You may damage the card if you do so. Once the card has been safely removed, place it in a box or an antistatic bag to make sure your card is safe.
Conclusion
And that’s how to remove graphics card from Asus motherboards, MSI motherboards, and other desktop MOBOs.
Here is a quick summary of what we’ve talked about so far to make sure you’re able to safely remove your graphics hardware from your PC:
- Integrated GPUs cannot be removed, but dedicated GPUs can.
- Make sure you disconnect every cable and accessory attached to your PC before trying to remove your hardware.
- Grounding yourself with an antistatic wrist wrap can help eliminate static energy.
- Do not try to pull your GPU out in one go or use too much force when taking it out.
If you’re installing a new GPU on your computer, make sure to download the driver for that GPU beforehand and only install the driver after connecting the new GPU to your PC. We know that “what happens if I remove my graphics card” is the next question you have on your mind and we can tell you that while your display settings may change, nothing major will happen to your PC.

