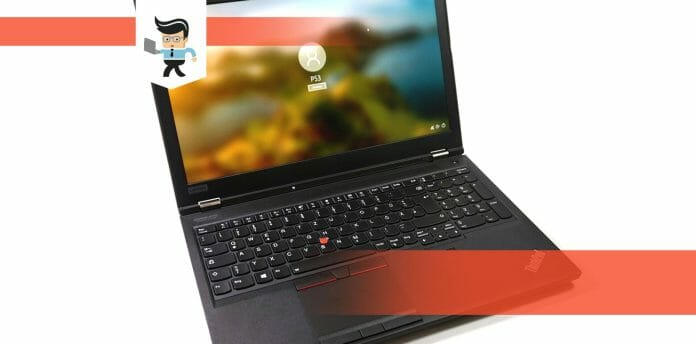
Knowing how to screenshot on thinkpad laptop will allow you to share your current display easily with your preferred people, and they can learn about what you are watching, reading, or browsing on your device. While this is easy, you might need to familiarize yourself with how a Lenovo laptop works if you are a first-timer.
Taking screenshots is an essential tool of daily computing as you will only need to go back to the source a few times if you have already saved your needed information in a screenshot. If you are struggling to do this for some reason, our extensive guide below is tailored to explain the process in detail and make everything easy for you so that you can quickly achieve your desired result!
Contents
How Can I Take a Screenshot on My Lenovo Thinkpad?
You can take a screenshot on your Lenovo ThinkPad using the Snip & Sketch tool or the SnippingTool. You may also use the PrtSc key on your keyboard. Moreover, you have the option of using a third-party application to take the desired screenshots as well.
To take screenshots on a Lenovo ThinkPad, you don’t need to have any special expertise. All you need is some basic knowledge of using the computer. And the best part is that most of the tools you will ever need come preloaded in your system.
– With the Snipping Tool
One of the methods that you can use to capture screenshots on your Lenovo laptops is the Snipping tool. This is an app that Windows has created, and if you have Windows on your laptop system, you can access this app very quickly.
Moreover, it allows you to take any screenshots that you want. It can be a Rectangular Snip, a Full-Screen Snip, or any other. Some necessary steps are mentioned ahead to help you use it.
To start up, you have to head over to your Start menu. Now, in the search bar, you have to type in “Snipping Tool” and press the ‘Enter’ button on your keyboard. When you open the app, you will see the drop-down menu you must click. After doing so, you can select which type of screenshot you want to take from there.
Once you have done so, you have to press on the left-click of your mouse and then drag it around the screen area you must capture. Lastly, you have to take a screenshot, and once you are done, you have to save it in your system so that you can be done.
– Via Microsoft OneNote
The second method that you can use is by using Microsoft OneNote. This method is one of the easiest ones that you can use, as it also provides a screen recorder option. To start the process, you must first run the Microsoft OneNote app. Once it has opened, you have to select the ‘Insert’ button that will be located on the top of the page, and after that, you have to select the ‘Screen Clipping’ option.
Right after that, you have to click on the right of the OneNote app. As soon as you do so, you will see an option that will read as ‘Send to OneNote’ and have to select it. Finally, you have to select where you would like to save your screenshot on your system, and then you can save it there. Now, your screenshot has been saved to your computer system.
– Via a Keyboard Shortcut
The third method you can use to take screenshots on your Lenovo laptop is the Keyboard Shortcut. First of all, you have to press the ‘S’ key that will be located on your keyboard, and along with that, you will have to press down the Windows keys.

Now, you must keep in mind that this will only work if you are using Windows 7. If you are using Windows 10, you have to press the ‘S’ key, the Windows key, and this time you will also have to press the ‘Shift’ key.
– With a Third-Party Screenshot Program
The fourth method you can use to take a screenshot is a third-party screenshot program. One of the programs you can use is the ‘Screen Grabber Premium’ as it has plenty of benefits and features. Some of its excellent features are that it allows you to record online lives and videos, and the quality will always be excellent. Most importantly, it allows you to take screenshots on your Lenovo with a clear print.
To take the screenshots, you can just use the hotkeys. The hotkeys can also help you to stop and start your recordings while recording anytime you want. Apart from that, it also allows you to record anything you want, whether that be only sounds or even calls and big video files. And you can also download anything you want, and it will be completely secure from any virus.
You can also adjust the video quality and frame rate if you want them to improve. The Screen Grabber Premium can provide you with almost everything just how you want it to be.
– Taking Screenshots for Windows 7
To take screenshots for Windows 7, follow some of the steps below. Firstly, you have to look through your keyboard and locate the “PrtSc” key. Once you have found it, you must press it down to copy whatever is on the screen.
After that, an app labelled ‘Paint’ will open at once. Then, you must paste the screenshot you copied into the Paint app. To paste it in quickly, you can also just press the ‘CTRL’ Key and the ‘V’ key at once.
– Taking Screenshots for Windows 8 or 10
If you want to take screenshots for Windows 8 or Windows 10, you have to follow the steps below. To begin with, you must push down the ‘Windows’ Key and the ‘PrtSc’ Key, which are both located on your keyboard, at once. Once you do this, you will see your screen get slightly darker; when it does, it means that you have succeeded in taking the screenshot you wanted.
After that, if you wish to know the location of your new screenshots, you have to open the ‘Pictures’ folder. Now, from there, you have to head over to screenshots. This is where your new screenshot will be!
Conclusion
We are finishing up this guide with our final thoughts, and by now, you should be aware of all the best ways to take a custom screenshot of the display on your ThinkPad laptop.
Here is a quick detailed summary of all the valuable points we covered in the guide above:
- You can capture a screenshot on your ThinkPad laptop using the Snipping Tool or the Snip and Sketch built-in program for Windows.
- You can also use the keyboard shortcut on Windows 7, pressing the Windows and S keys simultaneously.
- You may also utilize a third-party program to take the screenshots on your device, which may be downloaded easily from the Microsoft Store.
- Microsoft OneNote also comes with the feature of capturing the monitor’s display, which can be a method of taking screenshots.
- If you are a user of Windows 8 or 10, you can take screenshots of your display using the shortcut of hitting Windows + Print Screen key together.
With the detailed help in the sections above, you will now be able to take a screenshot of the preferred display on your device. If you were having trouble doing this first, you will now know the correct techniques to try out, see what works efficiently for you, and can store your image effectively!

