Knowing how to screenshot on a Gateway laptop with the help of a keyboard and with the help of a mouse is very useful information.

The Gateway laptop uses Windows as its operating software, so whatever the other systems use to screenshot, the Gateway laptop should also work just fine with that.
The Gateway laptops are a lesser-known brand of laptops because the other brands have such domination in the market, but nonetheless, these laptops have their own name and fame.
In this article, we will break down a step-by-step process on how to screenshot your screen on a Gateway laptop using first a keyboard and then a mouse, and lastly, we will look at how you can record your screen on a Gateway laptop.
Contents
How To Screenshot on a Gateway Laptop Using Keyboard?
You can screenshot on a Gateway laptop by using the shortcut Inst+PrtSc from the keyboard. This will instantly click a screenshot of the whole screen, including the taskbar and the cursor. This screenshot method is exclusive to the Gateway laptop keyboards.
The important thing here to notice is that even though Gateway laptops use Windows OS, their keyboards are different from the generic Windows operating laptops. That is why instead of using Control or Shift key for screenshots, we are using Insert and the Print Screen key, which is the Prt Sc.
Following is a simple two-step process to take a perfect screenshot using the keyboard on a Gateway laptop:
– Step 1: Choose the Screen
The first step is to choose the screen that you want to capture. Make sure it does not have any personal information on it.

Hide unnecessary applications from the screen and keep it minimal for a simple understanding of the viewer. Once you have a clear idea of the screen, head over to the next step.
– Step 2: Inst+PrtSc
Simultaneously press Inst and Prt Sc keys together. The screen will blink, and your screenshot will be taken. If the screen does not blink, try again.
How To Screenshot on a Gateway Laptop Using Mouse?
You can screenshot on a Gateway laptop by using a mouse by the use of the snipping tool. The snipping tool is present in the Windows operating system and can help in taking a screenshot of various portions and shapes.
The snipping tool is easily one of the best tools that Windows has to offer. It is easy to use and easy to open. One of the best things about the tool is also that you can take screenshots in all sorts of shapes like a square, circle, or even an uneven shape. It will save any sort of screenshot you take.
It also does not require much space, and it updates automatically, whereas it really does not need any updating. Following is a simple-to-follow tutorial on how to take a screenshot using the snipping tool on a Gateway laptop.
– Step 1: Choose the Screen
The first step, like before, is to choose an appropriate screen with all the personal information hidden and only the most important things present on it if you are using the screenshot for work or school purposes. Make sure that all the unnecessary applications are closed off and only the needed ones are open.
– Step 2: Use the Snipping Tool
Search for the snipping tool via Cortana or in the search in the start menu. Open the snipping tool and click on New. Choose the shape of your screenshot. Place the cursor on the screen from where you need to start the screenshot and drag the cursor.
As soon as you unclick the cursor, a screenshot will be taken of the area that you covered using the cursor. Now decide what you need to do with the screenshot, either save it, copy it, share it, or rename it. Your work is done.
How To Screen Record on a Gateway Laptop?
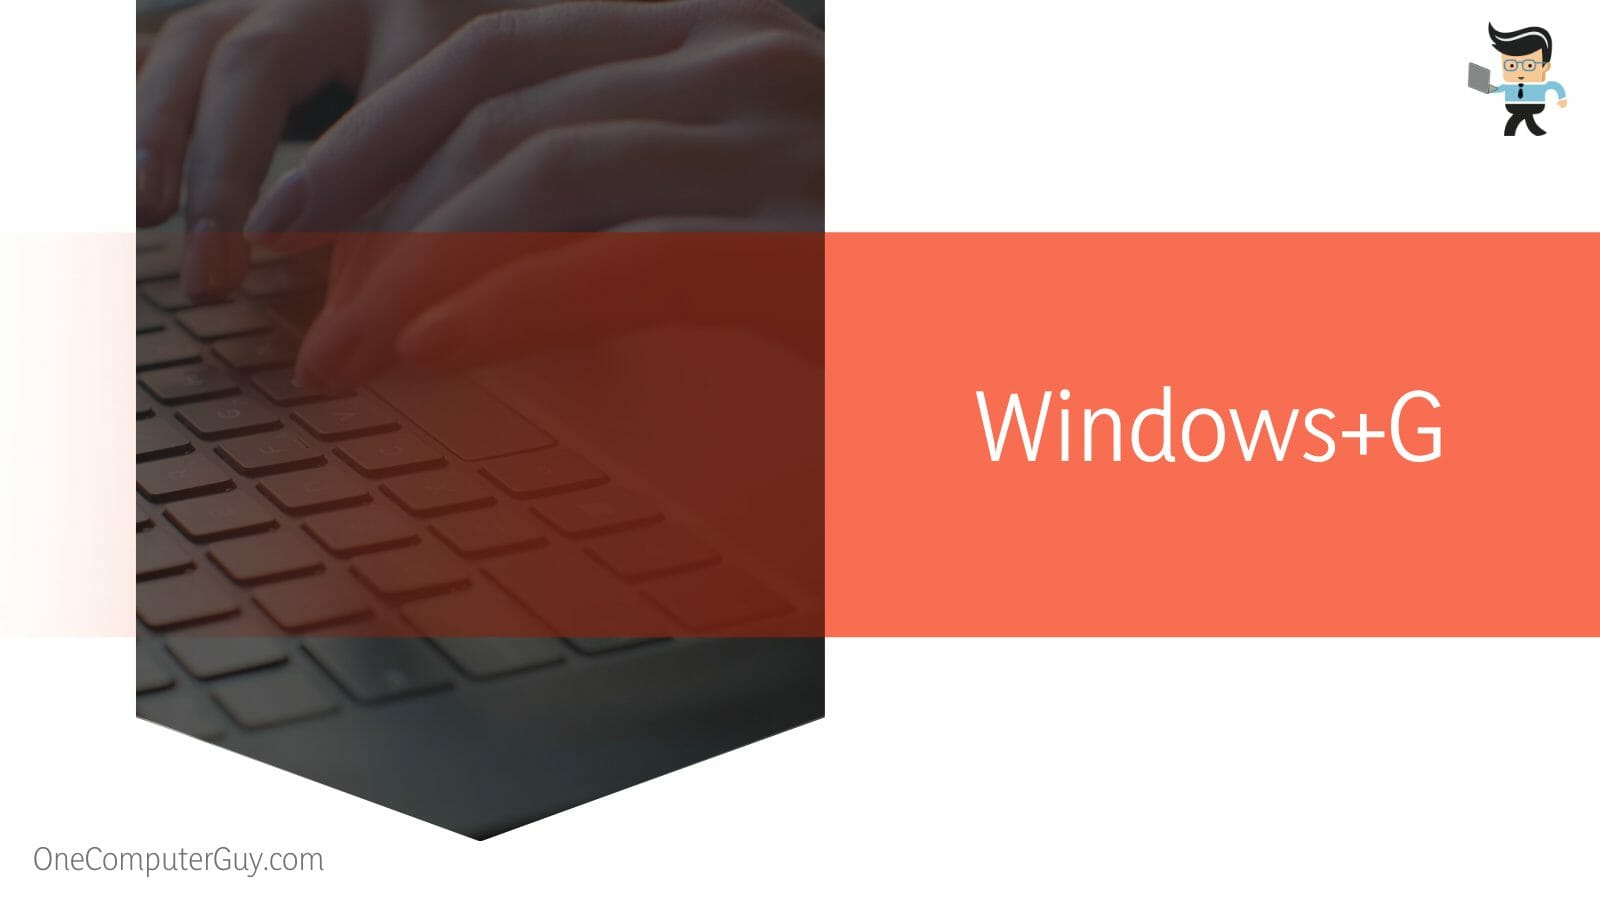
You can start recording your screen on a Gateway laptop by simultaneously pressing the two keys: the letter G and Windows. This will bring up a dialogue box from where you can start to record your screen. The screen will be recorded in whatever resolution your screen is.
Recording the screen can be used while performing any important task or sharing any important knowledge. In a Gateway laptop, you can use the keyboard to open a pop-up menu given by the Windows operating system to start recording your screen. Alternatively, you can use a third-party application to get the screen to record.
Following is a simple tutorial to start screen recording on a Gateway laptop using keyboard shortcuts:
– Step 1: Choose the Screen
Open the screen that you want to record. It can be any screen like that of a movie, a video game, or any of the applications.
– Step 2: Windows+G
Simultaneously, press the Windows and the letter G keys.

Press them together and from the pop-up called the game bar, select the record screen button. The screen will start recording.
FAQs
– Where Are My Screenshots Saved on Gateway Laptop?
The screenshots on your Gateway laptop are saved in the C drive by default in the Pictures folder with the Screenshots subfolder. You can easily change the saving folder when you take the screenshot. You can also change the name there.
As Gateway laptops use Windows operating software so the screenshots will save in the C drive if not given another pathway to be saved. So any system that runs the Windows OS, the screenshots will be saved in the C drive.
– Where Is My Screen Recording Saved on Gateway Laptop?
The screen recording will be saved in the C drive in the Videos folder. You can change the location where any videos are saved after the video is recorded. You can also opt to change the name of the video to whatever you like.
All the Gateway laptops use Windows operating software. This is why the screenshots will be, by default, saved in the C Drive.
Conclusion
In this article, we talked about you can take a screenshot on your Gateway laptop using your keyboard and your mouse but in case you missed anything, here is a simple review:
- Use the keyboard shortcut Inst+PrtSc on your Gateway laptop to click a screenshot of the entire screen.
- Use the snipping tool to screenshot a much more curated part of the screen using the mouse on a Gateway laptop.
- Use the keyboard shortcut Windows+G to start recording your screen on your Gateway laptop.
Here we come to the end of the article. We hope that after reading this, you can take a screenshot on your Gateway laptop easily.


