How to screenshare on Chromebook, as the work environment has altered immensely, remains vital information today as we continue to use similar communication methods.

Since there was a surge in the number of corporate employees and business owners working from the security of their own homes, it became more and more applicable to conduct the day-to-day tasks by calling on video or sharing screens among teams.
By sharing the screen with your team members or other stakeholders around your organization, you can share details about the workflow, presentations and more, which later ensures cooperation within the team.
In the guide below, we will look at how you can share your screen or mirror it to maximize efficiency as you carry out your tasks as a professional!
You can share the screen on your Chromebook using Chrome Remote Desktop. For Androids, you can also use the Screen Mirror app. If you wish to share the Chromebook screen to TV, you can also use Airscreen or a wired connection.
– Via Chrome Remote Desktop App for Your Computer
This feature is one of the available options to access other devices’ screens on your Chromebook and share your Chromebook’s screen with them. The procedure is the same across all platforms because everything can be set up immediately from a website.
To get started on both devices, you must type in remotedesktop.google.com/support. On the device you wish to share the screen, click the +Generate Code button. Doing this will prompt a 12-digit code to generate, and it is vital to remember that this code has a 5-minute expiration time.
After doing this, head over to the second device and insert this 12-digit code into the box that says “Connect to another computer,” then click “Connect.” To provide permissions, return to the first device you wish to share the screen with and click Share in the pop-up box. After doing this, you will now be able to view the other device’s screen remotely.
This technique allows you to operate the other device directly from this device without being on the same Wi-Fi network. The sounds that the other device is creating may be heard and seen.
– Using the Chrome’s Desktop App for Remote Access
With the prior technique, you have to switch between the usage of both devices to finish the setup. Another method of remotely sharing the screen on a Chromebook requires one setup. It allows for access to the device from any location.
However, remember that this approach only works when sharing Windows, Mac, or Linux screens from a Chromebook, not the other way around.
Install the Chrome extension on your Chromebook and the device you wish to share your screen with by going to the Chrome web store. On the device you wish to share your screen with, go to remotedesktop.google.com/access. Under the option of configuring remote access, select the Turn On button.

You can click Next after giving your device a name. Create a six-digit pin now and press Start. Once you click Yes on the pop-up asking for confirmation, you will have remote access to this device.
Now access remotedesktop.google.com/access on your Chromebook. The device configured for remote access on a Chromebook is located here. To begin screen sharing on your Chromebook, click it and type the pin you have set.
Now, the Chromebook can directly control Windows or Mac devices. To view things more clearly on Chrome OS, click the full-screen option. Remember that you must have your Windows, Mac, or Linux device switched on to view the Chromebook’s screen. However, the display may be turned off.
– Via the ScreenMirror App for Android Devices
One of the applications that use the web service to share the screen is Screen Mirror; however, only your Android screen can be shared with a Chromebook, and it does not work the other way around. When mirroring displays to Chromebooks, you will find that ScreenMirror by Smart Dato simplifies the user experience.
To begin the process on your Android phone, first, download the mentioned app. Tap the Cast button in the lower right corner of the app after opening it.
By doing this, a QR Code reader will open. Now access screenmirrorapp.com on your Chromebook and use your smartphone device to scan the QR code that appears. Verify that you are connected to the same Wi-Fi network.
You may now view your phone screen on the Chromebook by selecting the Start Now option in the pop-up on your phone. This app has fewer features because you can’t use your phone from the Chromebook. There is no way to access or manage it; it is just a mirroring service.
– Utilizing a Wired Connection for Screen Sharing to a Monitor
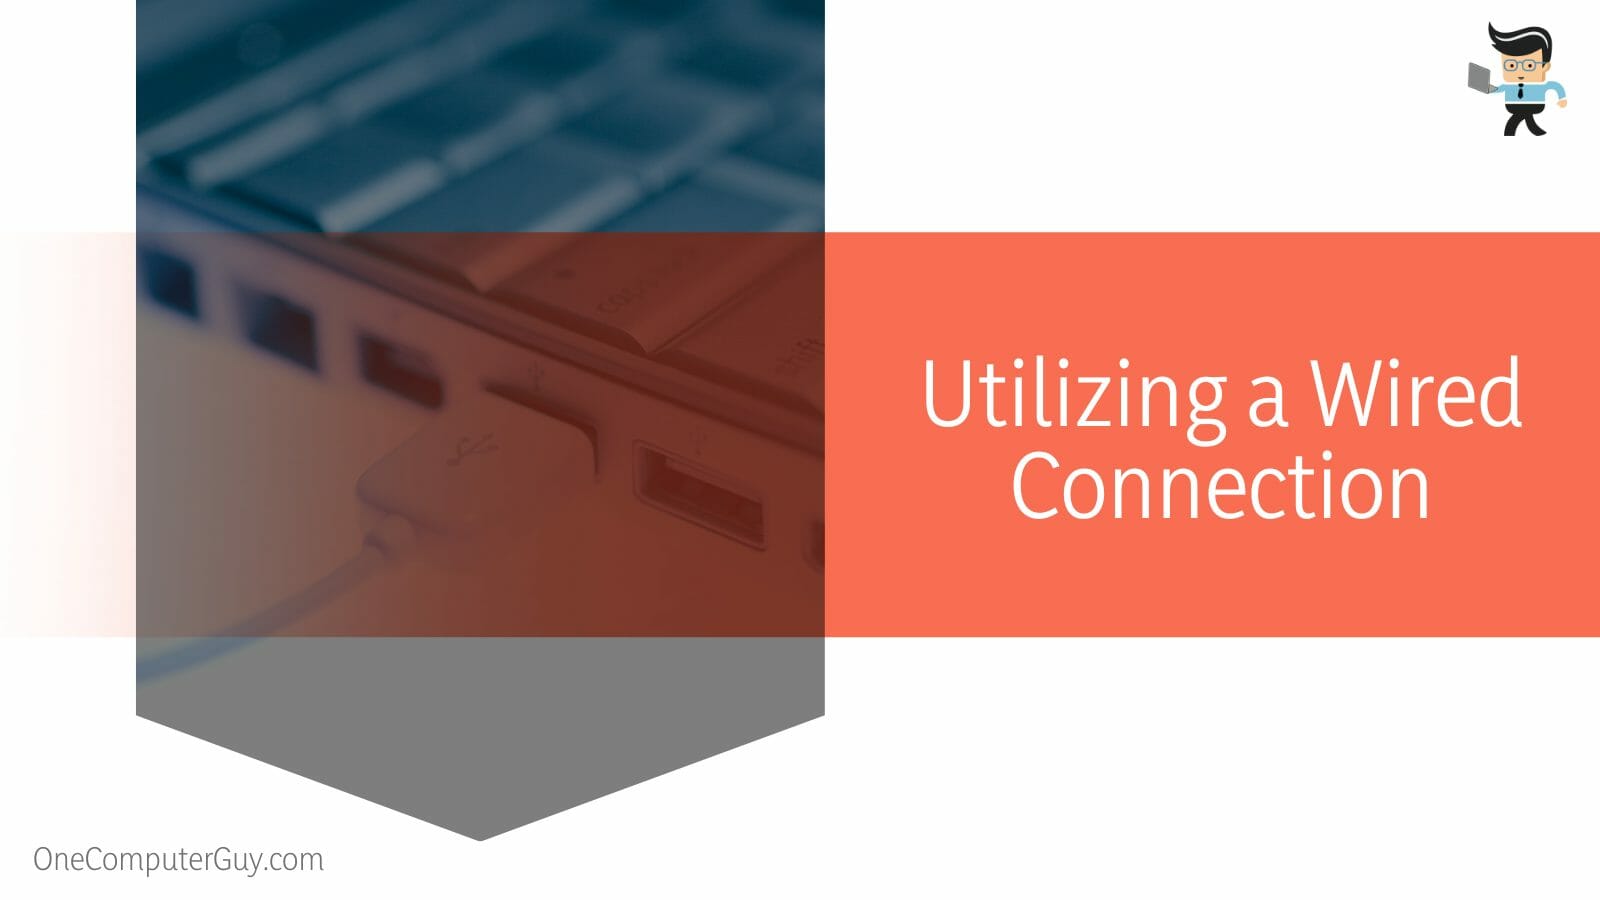
To connect to a monitor or TV, Chromebooks support HDMI, DVI, VGA and DisplayPort. You may use the HDMI to HDMI cable to connect to an external display if your Chromebook has an HDMI port. However, most Chromebooks only have USB-A and USB-C connectors instead of an HDMI port.
You may purchase a USB out to HDMI out cable to connect your Chromebook to a display. Purchase a compact USB-out to HDMI-in converter if you already have a normal HDMI to HDMI with you. If your monitor does not handle HDMI, there are alternatives for DVI, VGA, and Display ports.

After successfully connecting to the monitor or television, you must enable mirroring in the Chromebook’s settings.
To accomplish it, tap on the clock in the bottom right corner and choose Settings. Select Displays from the device section, then turn on Mirror built-in Display. Only when the Chromebook is linked to an external monitor will this option be accessible.
This is more like utilizing the monitor as a dual-screen than directly mirroring the screen. If you want to use the monitor, set the Chromebook’s brightness to 0 to make it entirely dark. To use Chrome’s operating system on the monitor or TV, you may now connect a Bluetooth keyboard and mouse or use the keyboard from your Chromebook.
You may share the screen using Chrome’s built-in Cast feature in addition to the wired method. Although not all smart TVs will be compatible with this method, you may still use it if you have an Android, Google TV, or Fire TV device. Even if you use Fire TV, the procedures apply to Android and Google TV.
Install the AirScreen app on your TV by going to the Amazon App Store or Google Play Store.
Launch the application once it has been downloaded, and tap the Start Now button on the Welcome screen. To begin sharing the screen on a Chromebook, click Start. Open the Chrome browser located on your Chromebook and choose Cast from the three-dot menu.
To share a specific Chrome tab, a desktop, or a specific file from your Files app, pick the Cast tab from this page’s Sources menu. You may also select Cast desktop to share the full desktop. When this is done correctly, screen mirroring from your Chromebook to your TV should begin without further hitches.
Conclusion
Here we are at the very end of another detailed guide, this time elaborating on the various techniques that can be utilized when you want to share screens of other devices with your Chromebook or the other way around.
From third-party apps to use with different devices to the Google Chrome browser’s built-in functions, here is a list of the most important points we gathered from the article above:
- You can use the Chrome Remote Desktop extension to mirror screens to and from your Chromebook.
- You can use AirScreen to connect your Chromebook screen to the TV.
- You can utilize the ScreenMirror application to link the screen of your Chromebook to an Android and vice versa.
- You can also maintain a wired connection with HDMI or USB to share the screen with a TV or monitor.
It is important to connect Chromebook’s screen to another device or vice versa so that you can view your files and display contents without being barred due to another device.
After following our methods and tactics in the guide above, you will now be able to screen Share from any device and continue working!


