How to remove grey bar at bottom of iPhone is a trick question because there is no straight option for removing it. Apple products have a complex operating system (ios version) when it comes to personalization, and often times people can get frustrated at the lack of preferential settings.
However, there is always a secret way, a hack, or a bypass system that can perform the task that was previously deemed undoable.
In this article, we bring you a step-by-step process on how to remove the grey bar at the bottom of the iPhone with ease when in reality, the feature is non-negotiable.
How To Remove Grey Bar At Bottom of iPhone: Using Guided Access?
The Apple operating software is one of the most interesting software in the world because of its high-end operations and also because of its least user-friendly personalization settings. And yet people stand in hour-long lines to get their hands on the newest Apple products drop whenever they happen.
For most of the personalization that Apple does not provide its users with, the users have relentlessly found various ways to get what they want from their iPhones. One such way was the way you could hide the annoying bar at the bottom of your iPhone.
The grey bar is for multi-tasking and remains at the bottom of your screen in almost all possible scenarios on the phone. It just won’t leave you alone and will hold its ground firmly.
Thankfully, it can be removed by some other means that we will discuss the step-by-step procedure. The following process will help you get rid of the grey bar while inside an app like a gaming app with the help of guided access:
1. Enable Guided Access
The first step in getting to removing the grey bar at the bottom is to enable guided access from your settings. This process is quite simple and would go something like this:
- Go to your iPhone’s settings
- Go to the Accessibility settings
- Under Hearing, find Guided Access
- Enable Guided Access
Now that you have enabled Guided Access let us see what it is and what it does. Guided Access is a very special feature on your iPhone and a feature that has been around for quite some time.
This feature allows the iPhone owner to put a passcode on anything that he wishes to put a passcode on. It is quite a cool feature because once the guided access is on, that particular picture, file, or app can only be opened by the owner.
It basically restricts the functionality of an iPhone, iPad, or other products to the only app that is turned on after the guided access. It is quite easy to work with and set up.
If a kid asks to play a game on your phone and you don’t want him to go to any app that is not safe for him, you can turn on the guided access, and the iPhone will not let the kid go back from that one gaming application.
2. Go To Passcode Settings
After setting the Guided Access, the next important step is the Passcode settings. From the menu under the guided access, look for the passcode settings. Here you will need to feed a new six-digit passcode that you will use while turning on and turning off guided access inside an app.
Make sure that this passcode is something you remember and is only known to you.
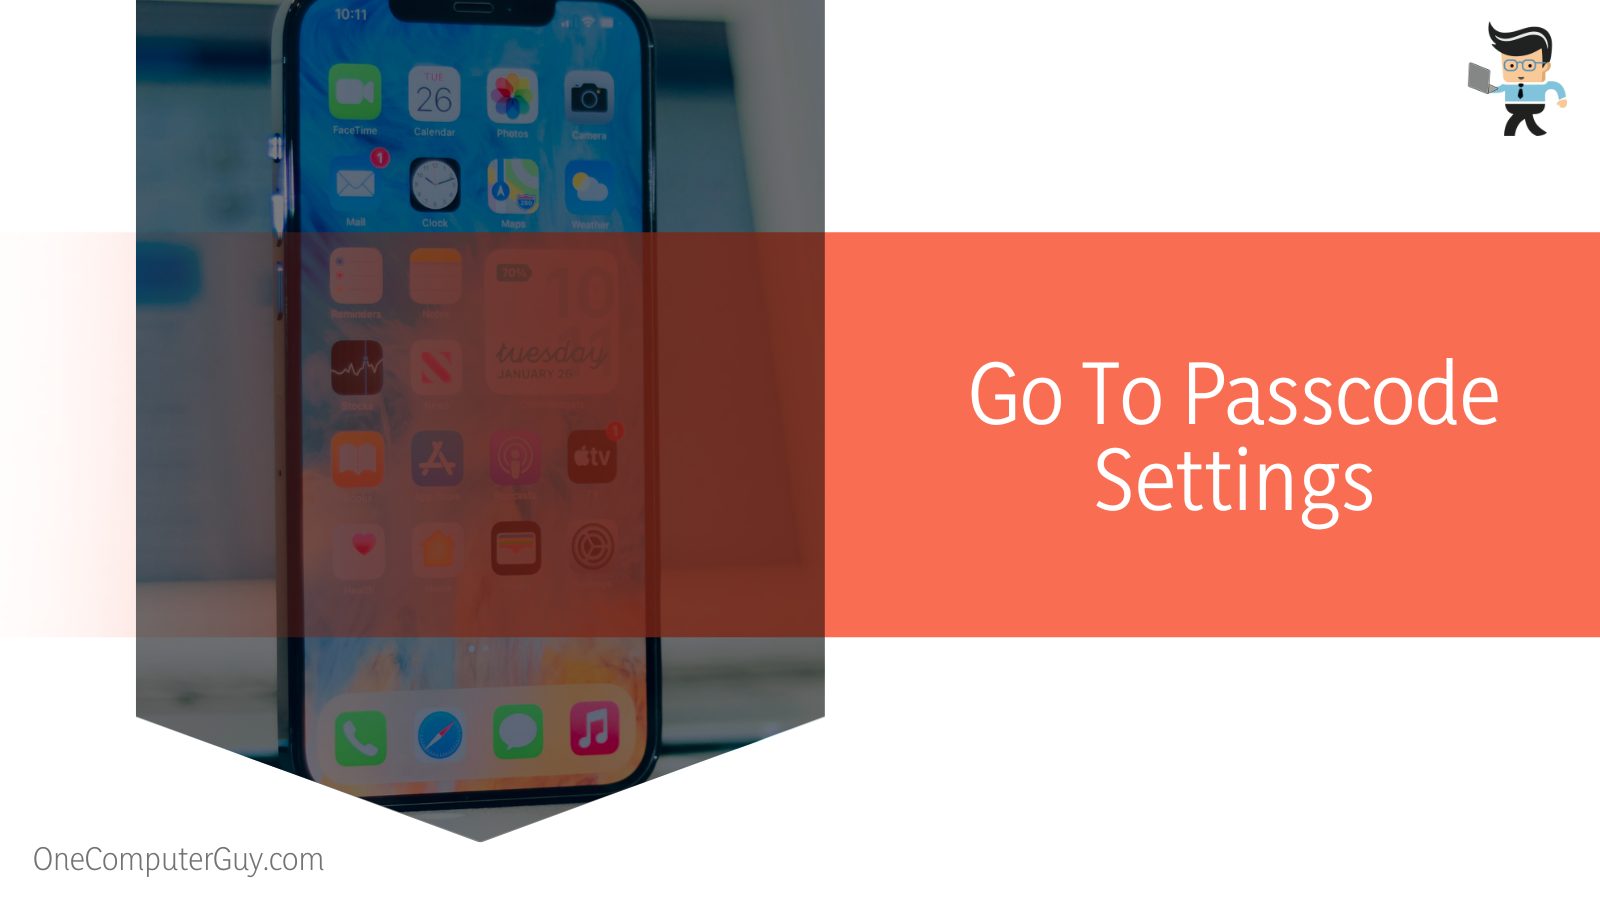
The passcode can be a string of numbers, coherent, matching, or unrelated to each other. It does not matter as long as they are numbers and six in total.
If the overall passcode setting of your iPhone is set to six digits, then you will need to enter six digits, or otherwise, you could go for a lower even number or even a higher even number.
3. Remove the Grey Bar For the App
Now that your guided access and its passcode are all set up test the feature out. Go to the app you will be willing to let someone use on your iPhone. Press the home button on the side three times swiftly, and the guided access dialogue should appear on your screen. Press the start button from the top right corner and see the magic happen.
However much the person tries to get back to the home screen or open a notification or open any other application, they cannot because the guided access will not let them. The feature will keep them on the screen only and will not let them do anything else, keeping your privacy intact.
Without a doubt, guided access will allow the full functionality of the app, and that would not be a problem.
This guided access will effectively remove the grey bar from the bottom of your phone, and there will be no multitasking when the feature is on. This is not the most straightforward way to get rid of the bar, but this works insanely well while a game and you need to access the controls on the bottom, but the bar keeps getting in the way. The bar will come back once the guided access is turned off.
4. Exit the App
Now that you want to exit the app and turn the grey bar back on, clicking the home button thrice again until the dialogue appears again. This time click the end session, type in the passcode, and viola, the grey bar is back, and the iPhone will be fully functional again. See how easy it was to do.
This little trick will effectively get rid of the grey bar, but the only catch is that it will be done in a specific app only. As soon as you get rid of the guided access, the grey bar will be back.
Unfortunately, there is no other way to get rid of it as Apple claims the grey bar to be more of a characteristic feature than a personal feature.
Maybe in the future, the designers at Apple will give us a feature to at least dim the bar to the lightest of settings, if not remove it completely. We would just have to wait and watch till then use this guided access hack.
Another hack would also be to use a wallpaper that masks the grey bar if the look of it is what bothers you.
FAQ
– Can You Get Rid of the Camera Icon On Lock Screen On iPhone?
Yes and No, there is no straightforward setting that will turn off the camera accessible from your locked screen, but you can use the screen time option to block access to the camera for some time. So the answer is a little complicated.
If you want to get rid of the camera icon and function from the locked screen forever, unfortunately, it is not an option. The camera on the locked screen is a flagship feature of Apple products, and they have given no personalization settings when it comes to removing it.
However, by accessing the screen time settings and turning off the access to the camera, the locked screen camera will be inaccessible too. The only other downside to this method is that this will also block access to the camera app inside your phone, so even after you unlock it, you wouldn’t be able to use the app.
– Does Removing Grey Bar from the Bottom of iPhone Saves Battery?
No, removing the grey bar from the bottom of the iPhone doesn’t play any crucial role in saving the battery. The best way to save battery on an iPhone is to turn on the save battery icon from the settings or from the control center.
Other than this, if you are not able to turn this function on, try turning off the mobile data and Bluetooth, also lower the brightness, and limiting the usage to only when you utmost need it.
This shall keep your phone’s battery running for longer than expected time. But this all will fail if your iPhone battery health is very critical and your battery percentage is near to one percent, so choose wisely.
– What Are the Cons of Removing the Grey Bar From the Bottom of iPhone?
The biggest con of removing the grey bar from the bottom of an iPhone is that you have to compromise on efficiency heavily. You have to use guided access to open the home screen. Moreover, you can’t take screenshots in the guided access mode as well.
This makes a lot of things more difficult. The best thing about the grey home screen bar at the bottom is that it makes the whole procedure of operating your smartphone a lot easier.
No matter if your hands are busy or you are in a hurry, you can access almost all of the features on your phone. That is why a lot of people keep this feature turned on despite getting disturbed by it occasionally.
Conclusion
Removing the grey bar at the bottom of an iPhone is impossible in the normal sense because there is no setting for it, but using guided access, you can get rid of it inside an app of your choosing and here is a conclusion of that:
- Use the Accessibility shortcut of guided access to turn on and restrict the functionality of the iPhone.
- This will limit the use and get rid of the grey bar at the bottom of an iPhone.
- As soon as you turn the guided access off, the bar will, unfortunately, appear back.
- You can also use wallpaper to hide the grey bar or its look if that annoys you most rather than its functionality.
Here we come to the end of the article on effectively removing the grey bar at the bottom of the iPhone. We can only hope that in the future, Apple will come up with more personalization settings, but maybe that is what makes Apple the leading market holder. We have given you a hack, and we hope that it works for you.

