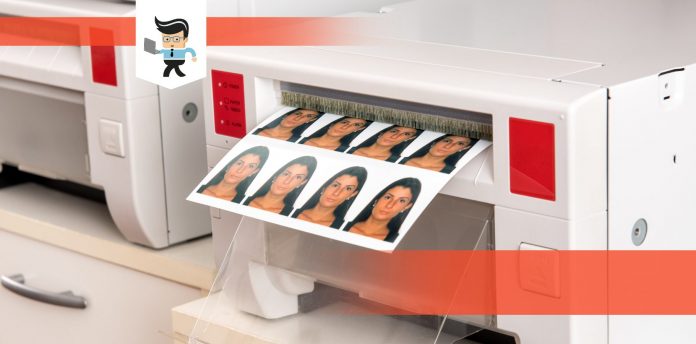
How to print 4×6 photos from iPhone to printer at home or in the office? Stick around because if this is what you are looking for, we have extensive and extremely helpful tips and techniques for printing photos from your iPhone.
iPhones have some of the best qualities when it comes to their camera or accessibility, so no wonder you want to make the best use of your device.
In this article, we will share a step-by-step guide on how to print the photos of your choice of resolution by using a printer and also in the easiest manner by using an app store application so let us get into it.
How To Print 4×6 Photos From iPhone To Printer via Airplay
iPhone is one of the best personal devices that comes with an incredibly potent and powerful camera. Its camera is famously compared to the professional cameras out there so it is no surprise that naturally you would click a lot of photos with it.
The most exciting feature that has been circulating and hyping up is the ability to print a photo directly from an iPhone using a printer. There are a lot of things going on but let us look at it simply: you can click a picture on your iPhone, use the option of Airprint, and print that picture using a printer in any remote setting.
Generically, you have to connect a device to the printer from which you can print photos in bulk or in a single number but not anymore. The Airplay feature, which is a feature available to any model of iPhone running OS 4.2 or higher, has revolutionized remote working and media accessibility.
With this feature, you can play and view and operate your Apple iPhone, iPod, iPad, and other apple devices remotely when given permission to do so. Using this feature, one can easily print photos from a printer like a canon ivy mini or hp sprocket.
Sometimes it may be the case that you need to download the application of the printer to print your photos from it. This should be fairly easy as all you need to do is head to the App store and download the required app, connect it remotely to the printer, and shoot the prints out.
While you can print any sort of picture with any dimension from the printer, if you are looking to print a specific resolution, make sure to adjust the same resolution in your phone before printing it from the printer, which you can do simply by heading to the edit option in the gallery.
Kindly go through the following step-by-step procedure to print a photo in 4 x 6 resolution or any other resolution of your choice from an iPhone to a printer:
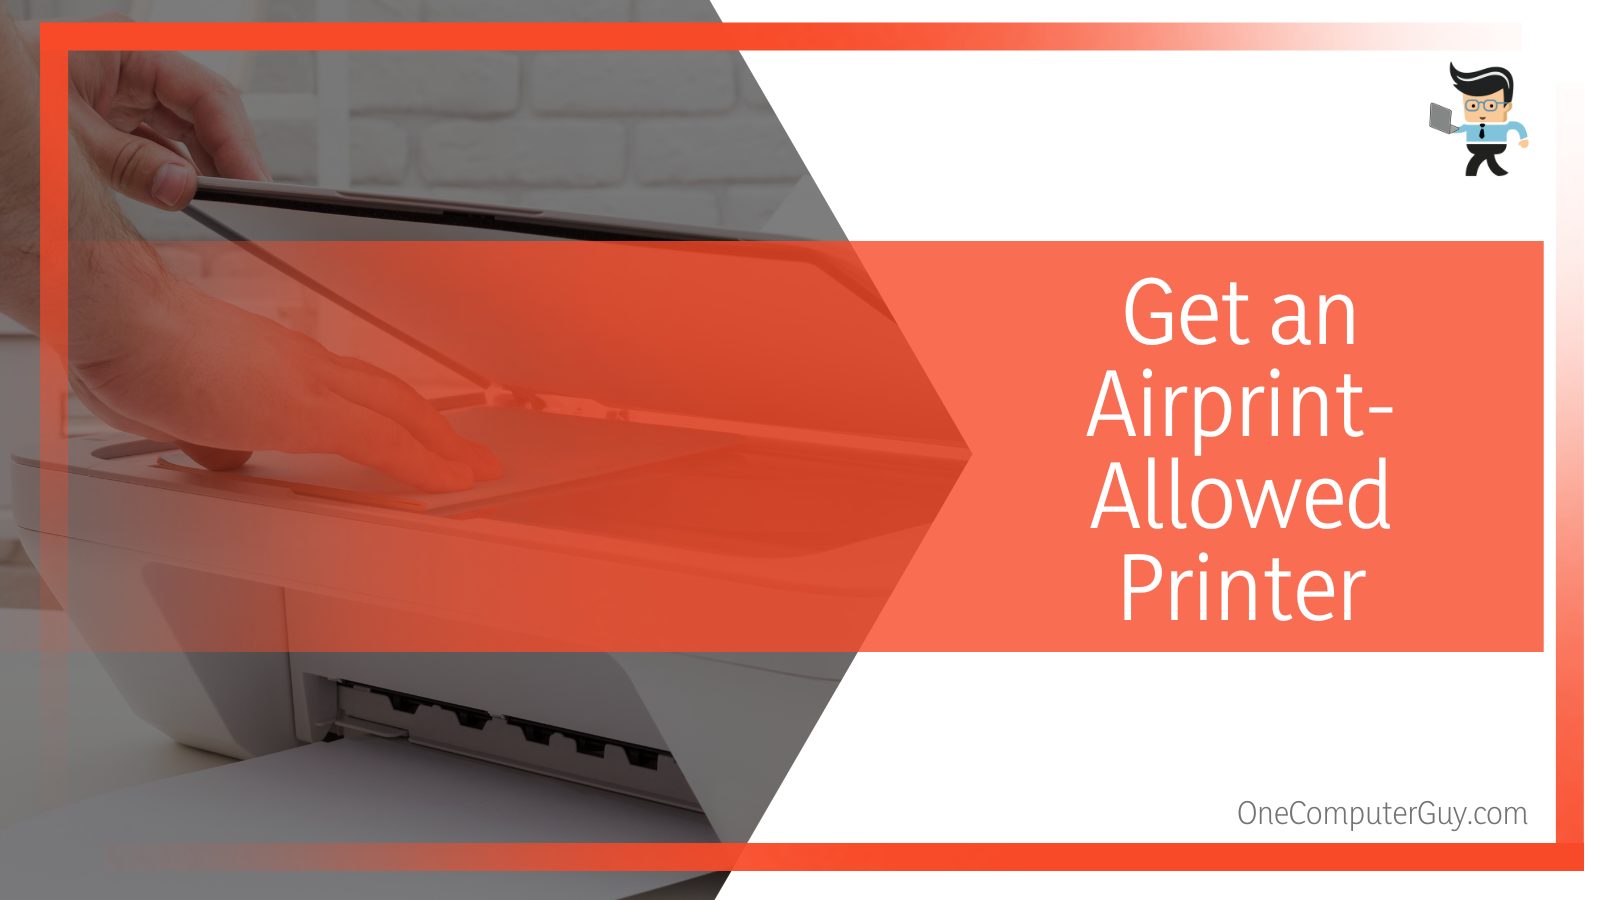
1. Get an Airprint-Allowed Printer
The first step in getting ready to print any photos from your iPhone via a printer is to get a printer that is built in with the feature of remotely printing photos using the Airprint option. In the market today, you will find hundreds of options for printers to buy with all sorts of features and customizations.
There is no doubt about it that each of these printers comes with a certain price that may not be what you had expected. The price of these printers depends upon their functionality and also how well they work in a remote setting.
If you are looking to get high-end pictures printed, you might want to invest in something that is capable of doing and dealing with high-resolution images. This may be the case in a professional setting.
In case you just want to print pictures for your own fun, and the resolution is not such a big concern for you, then go for anything that is available for a lower price. Just bare in mind that the printed photo might be a little distorted in resolution.
Here we list some of the best printers that have the ability to print photos via Airprint and are available in the market easily: The first choice is Canon imageCLASS MF743Cdw which is known as the all-rounder printer because of its state-of-the-art features.
The second-best Airplay enables printer in the market is surely Brother MFC-L2750DW, with Bluetooth aspiring and NFC, it surely will be on the list. The last choice that we have for you is the Brother MFC-J4335DW, which is the best mid-range printer when it comes to remote printing, but if none of these are up to your mark, then you can always see more.
2. Select and Edit Photos According to 4 x 6
The next step is for you to select and edit any and all the photos that you wish to print via the printer. In this step, it is crucial that you keep in mind some important points.
Firstly make sure that all of the photos are in the correct format and that the format is the same for each and every one of them. Secondly, any changes that you need to make to the actual photo will be made in this step.
The changes can be any sort of editing or tweaking. For example, the resolution of the photo will be changed in this step. For this, simply open your photos and click on the edit option for that photo. Here you can check the current resolution and what resolution you require. Make sure to save the changes to the photo and hit save.
If the changes that you need to make are greater than just a resolution change, you can opt for the other given editing tools in the panel. When you are finally happy with what the photos look like now, move on to the next step for moving forward.
Like normally, when you share anything in an iPhone with any other device or any other app, the same is required here. Select all the photos that you require to be printed and hit share. The only difference here will be that you need to choose the print icon other than any other app, contact, or function.
Make sure that you mistakenly do not Airdrop them or send them to another app or contact. Once a file has been Airdropped, you cannot really take it back. So be very careful and mindful.
After you have selected the printer option, another dialogue option will appear.
4. Select the Printer
The fourth step, and kind of very important step here, are to select the printer that you have set up. Remember when in Step 1, we found an Airdrop-enabled printer? That same printer will now be turned on and looking for a connection if you turn on the scanning devices option in the printer.
Your iPhone will also be looking for any printer device to pair with in order to print photos. Make sure that you have enabled the pairing feature in both of the devices.
All you need to do is select the required printer that is in front of you or in your choice of printer. Your device will give a successful pairing ping, and probably the printer will also give some blinks of light to let you know that the pairing has been successful.
5. Tweak Settings For Personalization
In this step, all you need to do is focus on the settings of the printer. These settings might include how many prints you require of a photo, do you want the photo to be printed on both sides of the paper, and if yes, then how many, and if no, then separate pages, also if you want a colored print or a greyscale print. These and a few other questions will be prompted to you.
Make sure that you give correct and needed information once you have hit print, and the printer is on its own. Doing the work and stopping it might be a hassle.
6. Lastly, Print
The last step that is left for you to do is hit print. As soon as you hit print, the printer should come into action and start making its generic printing noise. All you gotta do now is wait for all of the prints to come out.
As you have given the resolution of 4 x 6, the picture will be printed in that resolution, but the actual paper might be bigger in size. For this reason, carefully use a pair of scissors or an Exacto knife to get sharp and detailed edges.
This whole step-by-step procedure should work for any sort of resolution. Using this procedure, you can also print out presentation slides, pdfs, and any other documents or files that you have or need. The only restriction is that you need the Airplay to be in position with the Airplay enabling printer.
FAQs
– Can I Download Airprint On My Android Device?
No, you can’t download Airprint on your Android device because Airprint is not an application instead, it is a feature that is exclusive to Apple products by its name. However, you can download other apps that can help you on Android devices.
From the Play store, you can download any app that will let you print photos and other documents in a variety of resolutions from your own phone.
This should be fairly easy. The only problem that might occur may be that some of these high-end applications will not be available for use freely. Rather, you would have to buy the application.
If it is something you want to do, then go ahead; otherwise, you can visit your nearest business center or tech shop that can help you print out your photos for the least amount of money and without you having to subscribe to any application.
Keep in mind they may charge you more if you need colored copies of the photos.
– What Is the Resolution in Centimetres of an iPhone’s 4 X 6 Image?
The 4 x 6 image resolution comes to 10 x 15 cm and 101.6 x 152.4 mm. In pixels, 4 x 6 comes to 1200 x 1800. It is a common image resolution, given in most applications, so it should not be hard to come across.
In case you cannot find it, we suggest you select the option of custom resolution and manually adjust the image resolution to 4 x 6. This should get the work done.
– Can I Print Third-Party Edited Photos From Airprint?
Yes, you can print third-party edited photos from Airprint. As long the images are in your files or gallery, you can use the Airprint feature to print any sort of image easily. The only difference will be whether you want it in greyscale or colored print.
Editing is a common feature before printing your photos so there should be no problem in printing an edited photo. The only thing to look out for is when you edit any photo, it may change and save the photo in another format that may or may not be accepted by the printer.
So make sure that the format is perfectly aligned and you are all set for printing.
Conclusion
This step-by-step guide was for you successfully learn and implement how you can print a 4 x 6 photo from iPhone through a printer but if you missed any important bit, refer to the following conclusive points:
- You can easily print your photos in any resolution from your iPhone using a printer that has Airprint enabled and can connect via Bluetooth or remotely.
- Choose and edit all of the photos according to your resolution and aesthetics that need to be printed before sharing them via the share button.
- Choose the printer icon and then select your printer before setting permissions and finally press print.
- This guide can be used to print any sort of picture with any resolution also including various different types of files that are present on your phone.
Here we come to the end of the article about how to print photos from an iPhone using a printer in 4 x 6 resolution. We hope you found this article helpful and interesting. Happy Printing!

