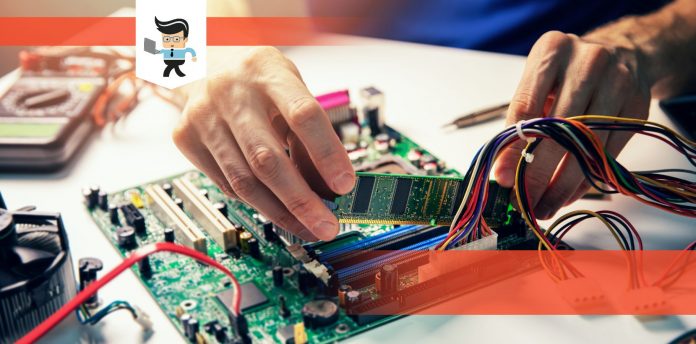
Any computer builder will tell you that the most difficult thing to do when building a computer is to install IO shield over the motherboard and to connect it. All motherboards come with their own IO shield, so it seems like it shouldn’t be as difficult as it is, but it is.
 Luckily, our experts have worked with motherboard IO shields enough to know some tips and tricks to help you get a strong connection without damaging the shield, the motherboard, or any other parts of your build.
Remember that the motherboard IO panel is one of the first things you need to do when building your computer. If you are nearly done, then installing an IO shield is nearly impossible.
Keep reading to see how to install your IO shield to the motherboard backplate.
Contents
How To Install IO Shield: 5 Simple Steps
Installing your IO shield shouldn’t take long. We suggest reading through all these steps before you start. Remember that you need to be precise and don’t take any shortcuts or call anything “good enough.” It has to be exact.
– Start By Inserting the IO Shield Correctly
Take some time to look at your IO shield and see which way it will go into your CPU’s casing. Ensure that it goes in the right way because otherwise, you can damage it either going in or going out.
To figure out the direction your IO shield should go, you need to know where it will sit on the motherboard. Once you know, start lining up the IO shield with the motherboard. You need to get it as close to perfect as possible. It may help to get a second set of hands to keep it steady.
– Look For the Details on the IO Shield
For something so simplistic, the IO shield actually contains a lot of information. Somewhere on your shield (usually near the edges of the shield), you will see rounded bumps.
 These bumps help prevent the shield from shifting or falling out of the case due to the micro-vibrations of your case. They also keep everything in place if you were to move your computer.
– Remove All of the Exhaust Fans
This step is where anyone installing an IO shield usually goes wrong so you have to be extra careful. It is challenging to install the IO shield for so many people because there isn’t much “wiggle” room in your case. While we don’t recommend taking anything else out of the case, you can safely remove the exhaust fan that is probably too close to the IO shield brace.
With this fan gone, you will be able to look at the braces from any angle. Unscrew the exhaust fan (take pictures of the fan before you unscrew it so that you can replace it easily) and then move on to the next step.
– Start the Installation Process
Now you can finally start to install the IO shield. First, place your CPU’s case horizontally and slide the IO shield into place.
You will have to apply force to the corner of the IO shield, but don’t push too hard so as to not bend anything. Then, apply force to the opposite lower corner to get it to snap into place. You should hear a clicking sound if it goes in correctly.
Remember that the bumps on the shield need to be above the metal brace of the case. If you don’t have them aligned there, you will never hear the clicking sound.
– Verify That Everything Is in Place
After you complete the steps above and hear that clicking sound, you need to verify that you placed your shield correctly. If you see all of the bumps on the IO shield come out of their metal supports, then the case has been installed correctly.
 You may want to try to wiggle it a little bit (don’t use too much force) to see if anything pops out. If nothing happens, you are good to go.
Install the exhaust fan again to complete the process.
Many people will then take a dry cloth and wipe off any fingerprints on the case. Some shields will be resistant to fingerprints, but many are highly susceptible to them.
What About a Custom IO Shield?
In most situations, you will be able to install a custom IO shield in the same way you installed a standard IO shield. Custom shields are built to the same size specifications so that they install easily. Unless the rest of your build (including your motherboard) is customized out of the standard sizing, you shouldn’t have any issues.
If your custom IO shield has a unique motherboard IO panel connection, it should come with its own unique instructions. Those instructions should always supersede any instructions that you find online.
IO Shield Installation Frequently Asked Questions
What Is an IO Shield?
An IO shield is a shortened name for the “motherboard input output shield,” a metal plate included with almost every commercial motherboard on the market today. These plates were designed to be installed on the backplate of a computer case.
There should already be a cutout hole on your case that is designed specifically for the IO shield. Every IO shield, regardless of the manufacturer, should fit into the ports on the back of the case. Of course, they are also designed to perfectly sit on top of the motherboard that it comes with.
Just What Does an IO Shield Do?
Every IO shield has two main purposes.
The first is to protect the motherboard and all of the components connected to the IO panel (which includes your HDMI cord, USB ports, ethernet connections, and more) from the electromagnetic interference (EMI) that occurs whenever your computer is powered on.
The second reason to have an IO shield is to protect against dust within the system. Without an IO shield, there is a lot of open space in the back of your computer where dust can gather and eventually cause several problems.
 A third (not very important) reason is that an IO shield can add some style to your computer. Higher-end motherboards come with IO shields that have little details to make them pop. Other people will get custom IO shields to cater to their personal preferences.
What Are the Metal Prongs on the IO Shield? What Do They Do?
Most, but not all, IO shields will have metal prongs somewhere near the port cut-outs. Some will have metal prongs near all of the cut-outs, and some will have them near them. It is a design and usability choice.
These metal prints allow a part of the metal to lightly touch the metal on the IO panel of the motherboard. This offers something called “static grounding” between the shield and your motherboard, which reduces the chance of any electrical interference.
Do I Really Need To Use an IO Shield?
If your motherboard comes with an IO shield (whether it is just a part in the box or it is already installed on the motherboard), then you should install it. It doesn’t take long, and it will help you out in the long run. It offers protection, looks better, and if not, it will just sit around and gather dust.
If you don’t want to install it, for whatever reason, it’s fine too. It doesn’t offer that much protection that you absolutely have to use it.
For most people, electromagnetic interference protection isn’t a huge concern because IO panels have gone digital. The only risk is plugging something into a port and having it slip towards the motherboard. Then it will short out a component. The chances of this happening are extremely low, but there is still a chance.
 Another thing to think about is that your PC will have a lot of space for dust to gather. If you regularly clean your PC and don’t work in a dusty environment, it shouldn’t be an issue. Still, there isn’t any risk to installing it, but there are some slight risks to leaving it off, so we suggest putting it on.
Conclusion: IO Shield Installation Doesn’t Have To Be Hard
When you see the steps above, it seems really easy to install your own IO shield, and in fact, it is. However, things can get complicated if you have slippery hands or don’t line things up properly. It is always better to have another set of hands to help you keep everything aligned, which is really the secret to success.
Remember that every IO shield is going to be a little different. If the above steps don’t seem to be working for you, it could be that you have a custom IO shield or one that is outside of the ordinary, and then you should default to the instructions from the manufacturer.

