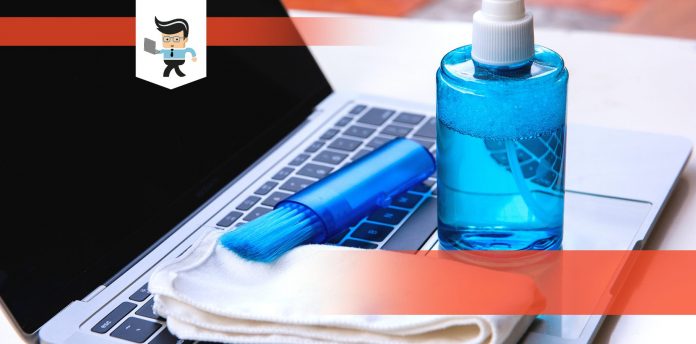
Cleaning your computer is essential for ensuring it continues to perform well, and it is entirely possible to clean the dust from your PC without compressed air. If your PC has slowed down and you’re not sure why it could be because you haven’t cleaned it in a while. This is because dust buildup eventually prevents your PC from cooling properly.
 Compressed air is most often recommended to clean dust from your PC. However, compressed air can be expensive, and sometimes you may even need to buy multiple cans for a deep clean. Luckily, there are many alternatives to compressed air that can remove dust just as effectively.
We will consider a few different options, but our favorite method is the cheapest and easiest: using a small brush (toothbrush or paintbrush), cotton swabs, and rubbing alcohol.
Contents
What Do You Need?
Before you start your cleaning, you’ll need to assemble some items. The good news is, you don’t have you go out and buy tons of tools and gadgets in order to clean out dust from your PC. Most of these items you’ll likely have laying around the house.
Here is what you need to disassemble your computer and clean out the dust:
- Screwdriver for disassembling your case and removing parts for cleaning
- Old toothbrush or paintbrush
- Isopropyl Alcohol
- Cotton pads and swabs
- Piece of cloth (preferably microfiber so that it doesn’t leave behind small fibers in your case)
Step-By-Step Guide
1. Turn Your PC Off
The first step is to turn off your computer and unplug the power supply. No matter which method you’re opting for, turning off and unplugging your computer is a necessary first step. Make sure you also give it some time to cool off.
Now that your PC is powered down, you might want to move everything outside if possible. Especially if you are using any devices that blow air, the dust from your PC will fly around and coat any surfaces nearby. This means that if you are cleaning in your room, beware that your desk, floor, and other surfaces might become full of dust! So, if you can’t go outside, just remember to dust your room afterward.
2. Clean the case
The first part to clean is the case. To start, remove the left side panel from your case. You might need a screwdriver for this depending on your case. Then take off any panels and filters that aren’t integral to the case. These can sometimes be the dustiest parts of your PC.

Clean panels and filters by taking them outside and gently tapping them to dislodge the dust. Wipe away any remaining dust with a brush or a cloth. For the space inside the case, simply use a brush or cloth to wipe away the dust. There will be some spots and corners inside your case that you won’t be able to reach with the cloth. To these hard to reach spots, use a cotton swab dipped in alcohol.
For any fans mounted in the case, use the cotton swabs dipped in alcohol to wipe away any dust in the blades. These fans can be hard to reach, so it’s up to you if you’d like to remove them from the case to make your job easier. Once you’ve cleaned the mounted fans, your case should be clean.
3. Clean the Hardware
Now that your case is clean, you can move on to the hardware. We’ll divide the hardware cleaning up into 4 sections; the CPU, graphics card, power supply, and the motherboard.
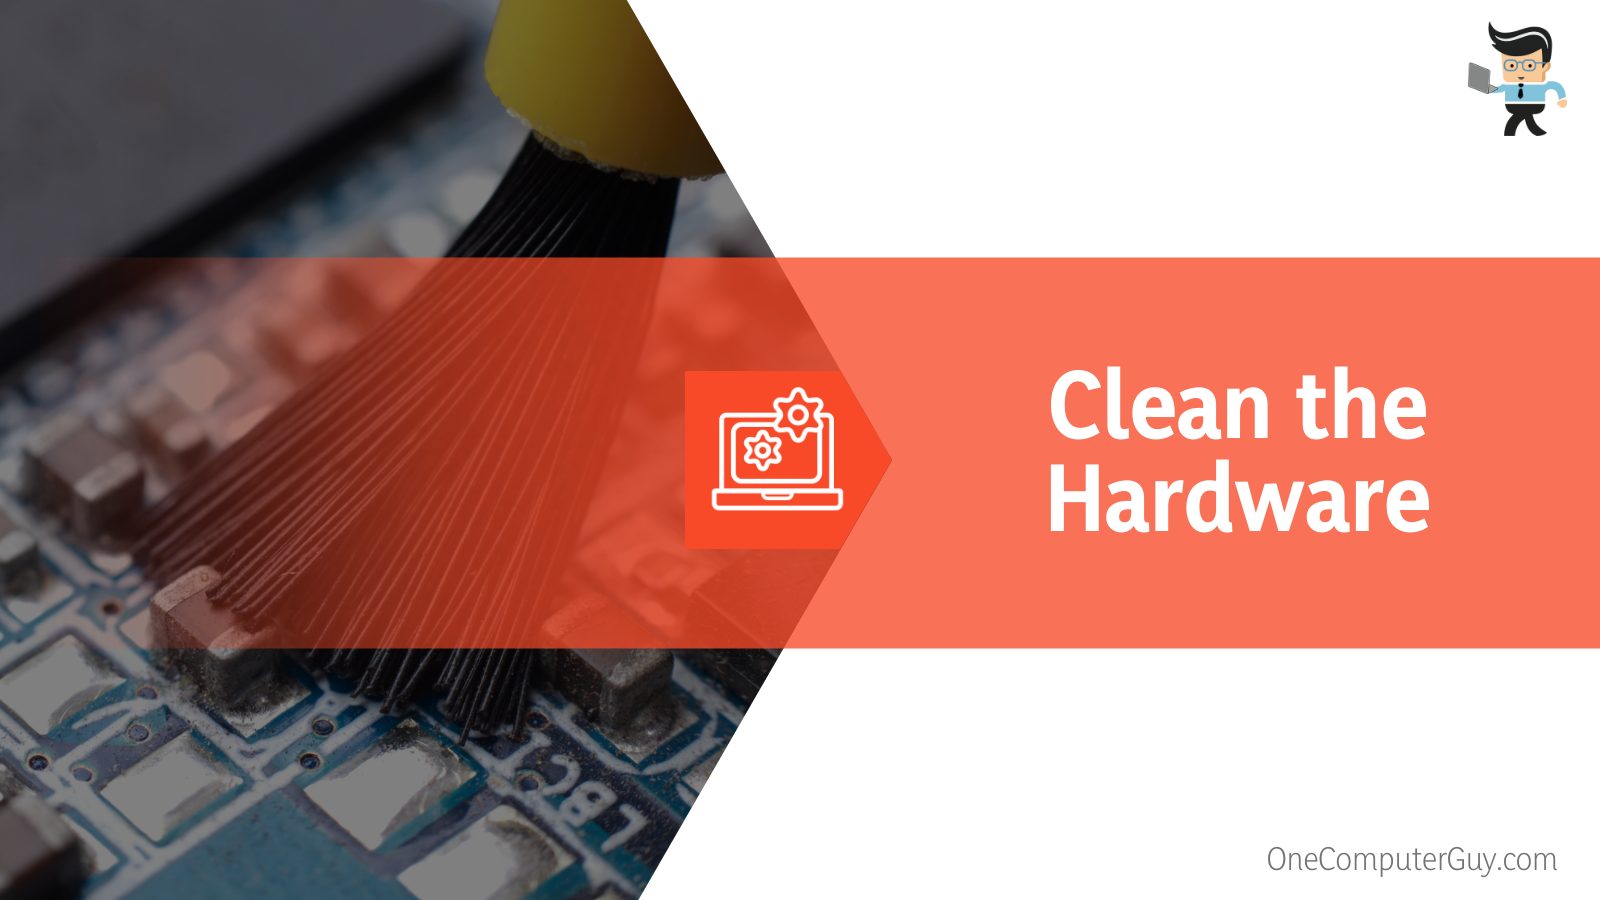
These are the four most important parts to clean on the inside of your PC.
-
CPU
While the CPU itself doesn’t need cleaning, the cooler and sockets are important for keeping your PC cool and usually have a buildup of dust. Before cleaning these, you’ll need to disconnect the cooler from the motherboard and remove it. Then you can clean the fins of the heatsink with your brush. Remove any remaining dust with a cotton swab dipped in alcohol.
The dust might be stuck and hard to remove from the cooler. If so, you can use some water on your brush or a cotton pad to loosen up the dust. However, moisture can cause damage to your PC, so if you use water, make sure to let the parts sit for 2 to 3 hours to ensure they are completely dry before returning them into place. Also, before returning the cooler to the case, use a brush to clean the dust out the of the socket.
-
Graphics Card
First, take the graphic card out of your case. Cleaning the graphics card is pretty simple. First, use a cotton swab dipped in alcohol to gently remove dust from fan blades. Then, use a soft cloth to clean any dust off of the backplate. For those who don’t have a backplate, make sure to be very gentle while cleaning to avoid causing any damage to the circuit board.
-
Power Supply
While technically you can clean your power supply from with the case, we recommend taking it out to ensure that it is properly cleaned. Removing it can be tricky, so ensure that none of the connectors are held in place by a safety pin.
If the connectors are not coming out easily, you can wiggle them out while holding the motherboard in place. Once it is removed, use your brush to remove all of the dust and use the cotton swabs in alcohol on the fan blades.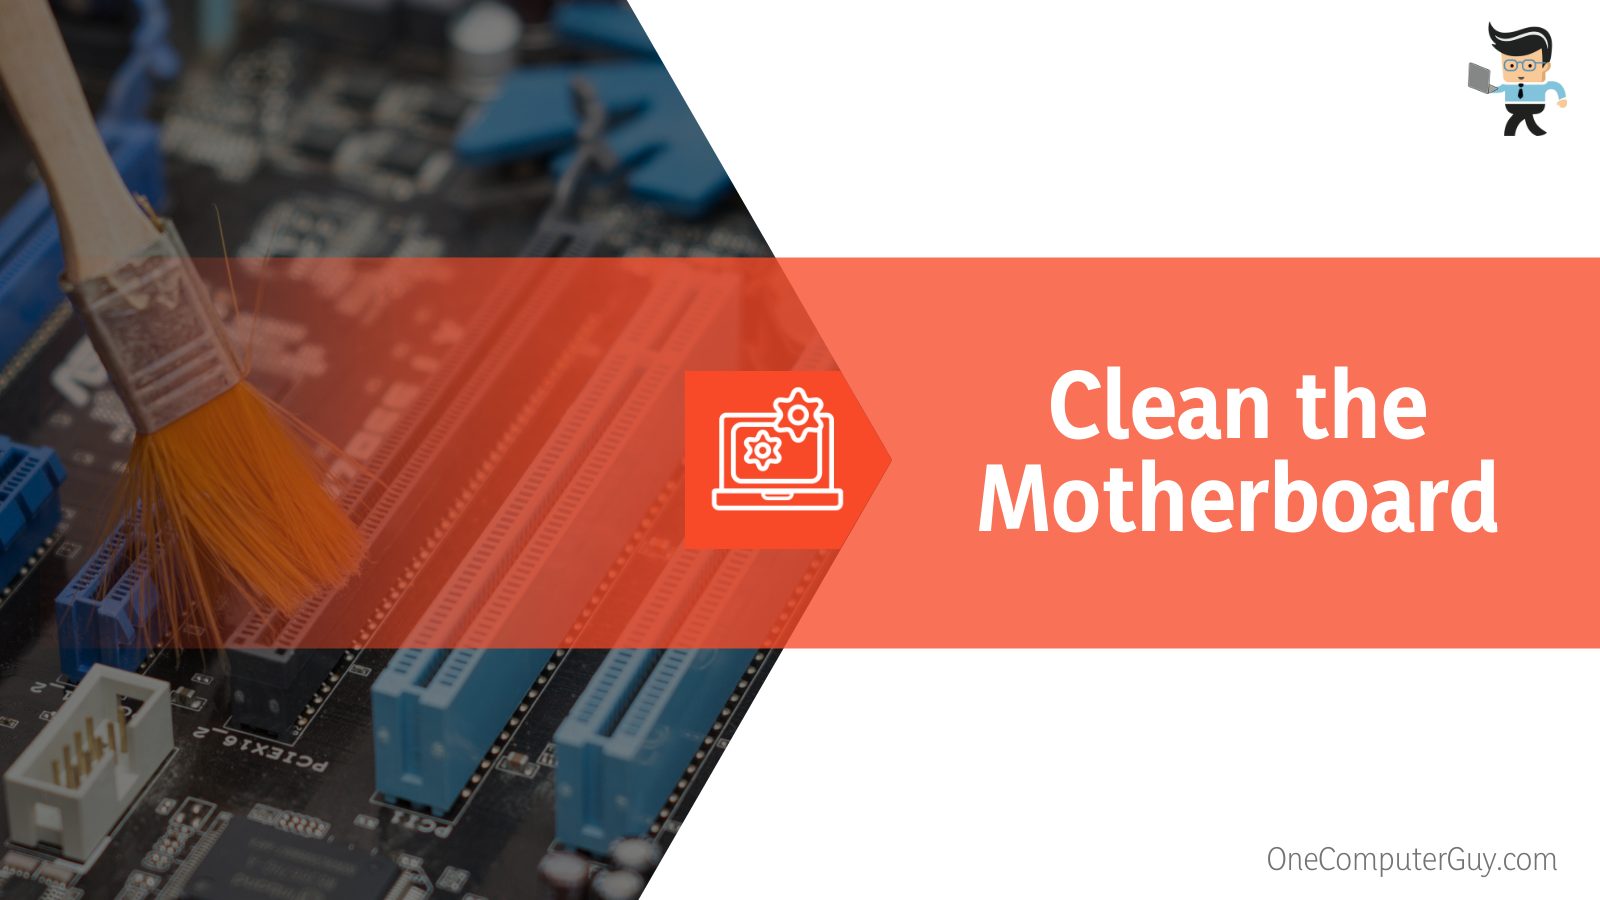
-
Motherboard
Because it’s usually placed vertically, the motherboard shouldn’t have too much dust accumulation. However, there may be some dust on top of the heatsink or the protruding RAM slots. Use your brush to remove any dust that is accumulated there. Make sure to check inside any unused PCIe slots and gently brush out any dust.
Now your entire PC should be clean and dust-free! Reassemble any parts that you took out and close up the case. You can also dust off your monitor, keyboard, and mouse while you have your supplies out and ready.
Alternative Methods
If you don’t want to manually clean your PC, there are many other options out there. We’ve assessed the most popular options below which can save you some time and energy.
-
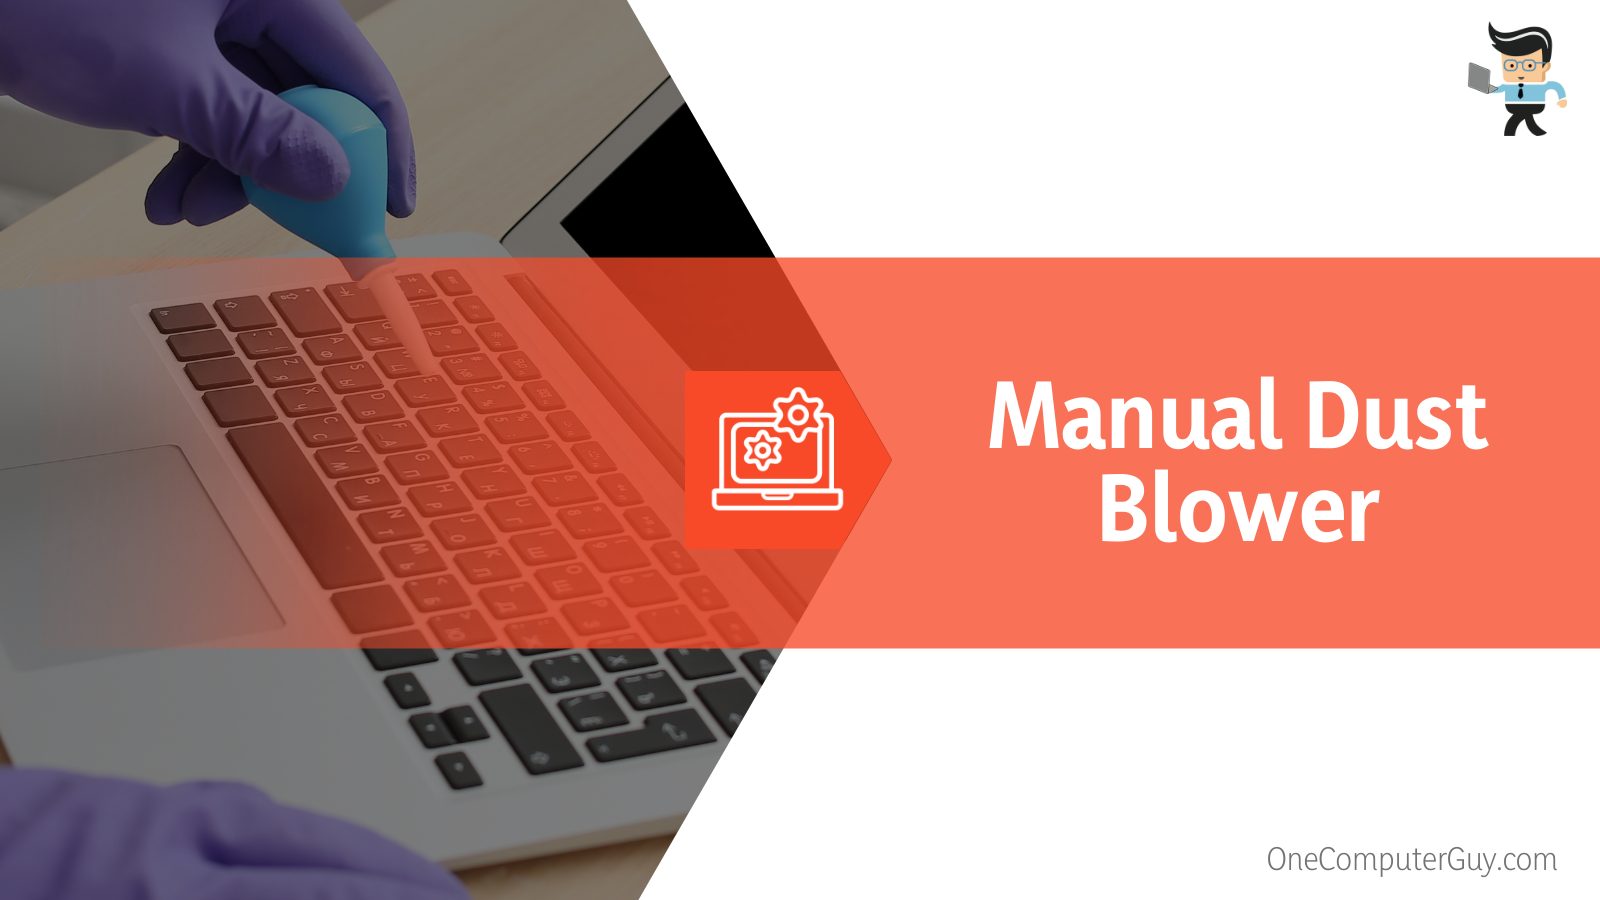
Manual Dust Blower
A manual dust blower is our favorite tool to use if you don’t want to use compressed air. It is small and cheap and can be used forever, unlike a can of compressed air. It’s a small investment that will make your job easier each time you clean your PC. You simply press the silicone container and air blows out, and it should provide enough pressure to blow out the dust even from those tricky corners.
Another similar option recommended online is using a straw to blow out the dust with your own breath. However, this option may cause a headache or other issues due to having your face so close to the dust. For that reason, we like the hand dust blower because you can use it from more of a distance.
-
Vacuum Cleaner
On the market, there are many different types of mini vacuum cleaners made specifically for use on computers. Usually, this means they are equipped with anti-static technology in order to prevent damage to your PC. These will make removing the dust from your PC easy, but the downside is that they can be quite expensive.
Some say you can use regular vacuum cleaners on your PC, but it’s necessary to be extremely cautious if you’re going for that option. The buildup of static on the plastic nozzle of the vacuum cleaner can lead to electrostatic discharge, which is very dangerous to your PC. While some have successfully vacuumed the dust from their PCs for years, some have also walked away with fried computers, so make sure to take the risks into consideration.
-
Electric Air Blower/Hairdryer
You’ll also find various types of electric air blowers on the market designed specifically to blow the dust out of your PC. These will make your job quick and easy, but they can be just as expensive as computer vacuums. Also, because they blow the dust out instead of sucking it in and containing it, you’ll want to clean your desk or room afterward to get rid of the excess dust.
A normal hairdryer works the same way as a blower, but exercise caution if attempting to use one. Hairdryers can blow extremely hot air which can put your plastic parts in danger of melting. Therefore, make sure you’re using the hairdryer on its coolest setting, and if you feel the air heating up, turn off the dryer for a while until it can cool down before using it again.
How Often to Clean?
Most experts advise you to clean the dust from your PC every 6 months or so, however depends on what kind of environment you keep your computer in.
A twice a year cleaning is sufficient for most, but if your PC is in a dusty corner of your room, you have cats or dogs in the same room, or you’re in a smoking environment, you may want to clean it out about every 3 months.
If you feel that your PC is overheating faster than usual and you haven’t cleaned out the dust in a couple of months, try cleaning it as a first recourse. In many cases, a good cleaning can have your PC running quiet and cool like new.
Happy cleaning!

