You must know how to change toner in brother printer if you own one because soon it will run dry. However, the tricky part is that Brother laser printers have a separate toner cartridge, which attaches to the drum, unlike HP cartridges with drum and toner as one unit.
This arrangement makes the process relatively involving. Find below a detailed procedure of how to replace toner on brother genuine printer.
Contents
How to Change Toner in Brother Printer? The Best Method
To change the ink cartridge in the brother printer, open the front panel, remove the drum unit, and then the toner cartridge from the drum unit by pulling down the green lock lever. Get your new toner, shake it gently, and firmly insert it into the drum until it clicks.
– Access the Toner
To access the toner on your brother machine, locate and open the front access panel. The exact method of opening the access panel depends on the method of harnessing used. But mostly, you need to press the holding buttons, and the panel snaps out.
Once open, you will see a green handle. That green handle is the toner attached to the drum assembly unit. So, you will need to separate the two to remove the toner.
– Get the Drum Assembly Unit Out of Your Printer
Hold and lift the handle slightly to remove the drum assembly from your printer. Pull the entire drum assembly out of your printer slowly. Be careful not to destroy the parts that harness the drum assembly to the printer. If these parts are broken, the assembly will not work as expected.
Once the drum assembly is out, lay it on a flat surface on a disposable tissue. This makes it easier for you to work on the drum assembly. In case of ink spillage, you can prevent or quickly clear the mess with the disposable tissue.
– Separate the Empty Toner Cartridge
To separate the empty cartridge, you will need to press the green retainer clips. You can place your thumb on the clips and gently but steadily press them. This will cause the empty toner to snap out.
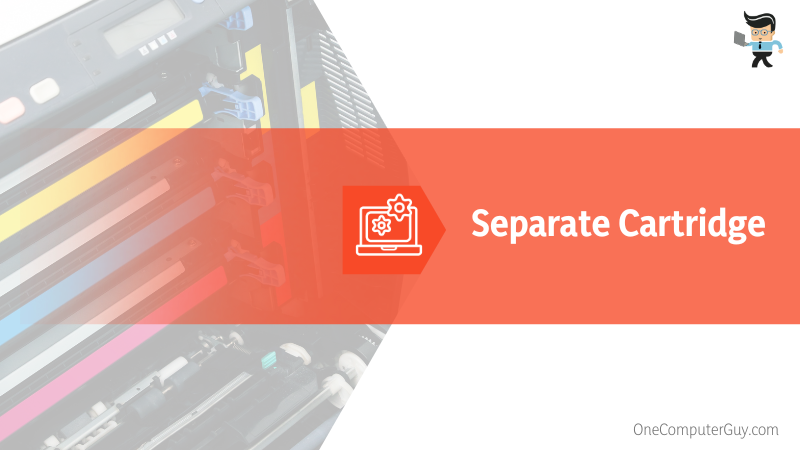
Be careful not to break the clips. These retainer clips are on the sides of your drum assembly unit, holding the toner tank in place. After separating the empty toner, place it aside.
– Prep Your New Toner Cartridge
Get your new toner and unpack it. Remove all the plastic covering alongside the bubble wrap. Additionally, remove the orange plastic strip placed on the outer edge of the new cartridge.
This strip is usually placed there to protect the cartridge during shipping. If you leave it there, the toner will not fit in your Brother machine. So, carefully remove it without affecting the integrity of the compound.
You will also need to gently shake the new cartridge back and forth for a minute or so. This action helps disperse the ink evenly within the toner’s interior.
– Attach the New Toner
Place your new cartridge in the same position the old one was. To fit the new toner successfully, insert it into the drum unit slowly and steadily until you hear the retainer clips click – this indicates that the new cartridge is in place.
Note that the drum is situated at the back of the unit, while the cartridge tank is near the front.
– Clean the Corona Wire
Spot the green Corona tab at the top of the drum unit. Slide this tab repeatedly (right to the left and left to right) three or six times. When done, return the tab to its home position. Printed pages might have a vertical stripe if you do not return the Corona tab to its required position.
Pushing the Corona tab back and forth cleans the photosensitive drum head and prepares it for the new cartridge.
– Return the Drum Assembly Unit to the Printer
With the drum assembly unit assembled correctly, slide it into your brother MFC or DCP printer until you hear a click sound. This is a sure sign that the assembly is in its correct space.
Close the printer’s front access panel. Your printer may run through a few diagnostic tests to confirm if the toner was correctly loaded and is working properly. After that, it should be ready to print.
It is essential not to turn off your Brother machine’s power switch or open its front cover until the LCD shows the “Ready mode.” Typically, this is after it clears the “Please Wait” message.
It is worth noting that the procedure for learning how to replace toner in brother printer TN760 is explained above. Remember, the Brother TN760 toner cartridge can work on three different types of printers – HL, DCP, and MFC. These printers vary in scope and size. While the HL series printers can only print and are usually suitable for home use, the DCP and MFC series printers are all-in-one devices with multiple functions.
How to Reset Brother Printer After Installing Toner?
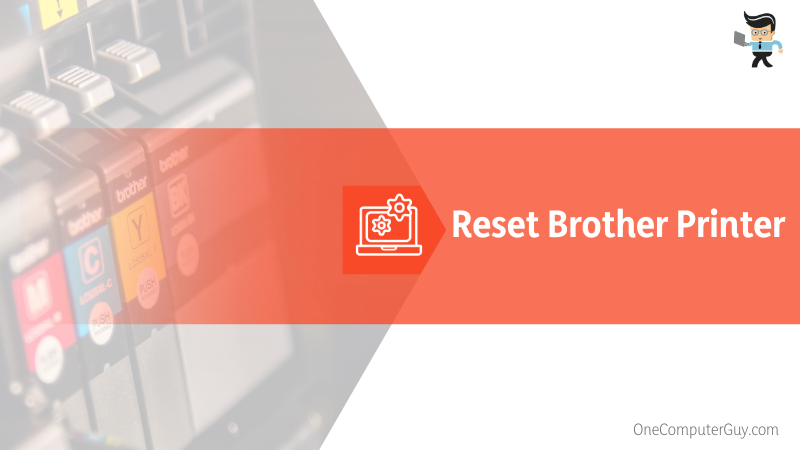
To reset the Brother toner after installation, you may need to reboot the printer, remove and reinstall the cartridge, and ensure you have the correct toner cartridge on your printer. However, the correct way of resetting the printer depends on the nature of the error message and the printer model.
Below are common error messages and how to fix them.
“Cannot Detect” Error
The “Cannot Detect” error prompt appears on the Brother Machine displays due to installing a damaged or broken cartridge, installing the toner cartridge too quickly, or fitting a non-Brother cartridge.
Do the following when this error appears:
- Open the front access panel and then carefully remove the drum unit. Remove the toner from the drum unit using the steps above. Inspect for any defects on the cartridge.
- Also, check the toner and specifications to determine if it is the right product for your Brother Device model.
- Confirm the printer’s power is ON before installing the new toner cartridge. If the printer is off, it can’t detect when the cartridge is installed.
- If you are installing several brother toner cartridges, ensure that you match the color of each cartridge to the levers. Always re-install the cartridge one at a time. Do it slowly, following the direction of the arrow on the label until the toner cartridges click into place.
- The LCD may ask you to verify if you have installed a brand-new toner cartridge. Press YES if you have installed a new ink cartridge. Otherwise, click No.
- If you own a Brother multifunction printer, use the specified ink. These devices are designed to work with the ink of a particular specification. So, get genuine Brother Original ink cartridges.
Removing the orange protective cap from the toner cartridge while the cartridge faces upside down could create air pockets. So, hold it upright and shake it gently.
Toner Life End Error on Brother MFC, DCP, and HL Color Printers
Follow the steps below to remove the error:
- Power your printer and open the toner access door. This will display the “Cover is open” message on the LCD screen.
- Press the Back/Clear button to unveil the Reset Menu
- Scroll through the Reset Menu to find the reset options for your specific model’s cartridge. Usually, it gives you reset options for all four colors (BK, C, Y, M). You will also have reset options if the printer takes high-yield and standard-yield cartridges.
- Choose the correct color and the toner size you want to reset, then press OK. You must reset each cartridge individually, so press 1.
- Press the Back/Clear button to exit the menu. Close the door.
If the problem persists, call brother customer service for further assistance.
How to Know Your Brother Machine Need a New Toner
You can know if your brother machine needs a new toner when the print quality is no longer acceptable or when the printer displays the error message Toner Life End. If the toner of the printer is clumpy, this also suggests that the machine needs a new toner.
-
Clumpy Toner
Unacceptable print quality is a sure sign your toner is empty. However, in some circumstances, the first sign to note the low ink level is streaked on printed pages. When the cartridge is nearly empty, the last remaining toner can form clamps when you print. The clumps of toner cause streaks to smear across the paper.
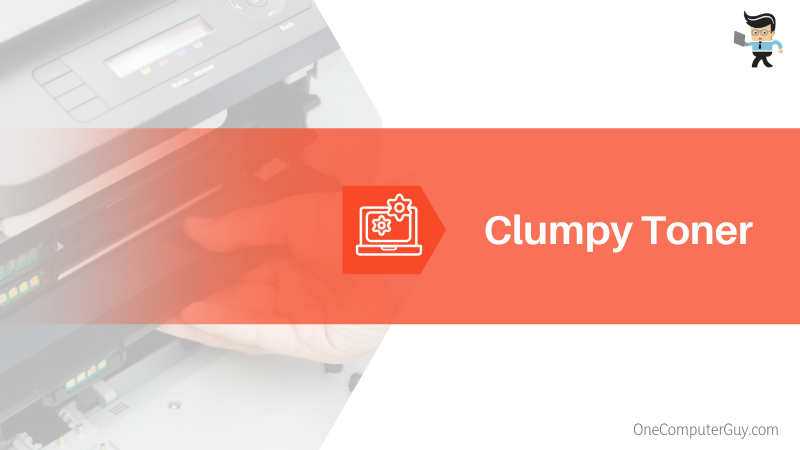
The easiest way to rectify this issue is by removing and shaking the cartridge to help the toner settle more evenly.
– Inadequate Toner Coverage
When your printed pages begin to show signs of low toner coverage, this may include uneven prints or missing sections on printed pages. If the images or texts are not sharp and clear as before, it is a good indicator of a low cartridge.
– Printer Warnings
The printer will send you warning messages when the toner cartridge levels are shallow. This is the surest way of knowing when to replace them. Typically, the printer will display this message on the LCD. This is a true characteristic of most laser printer models, which have a display panel that will blink or alert you about vital information regarding your printer.
The frequency of prompts increases as the toner cartridge gets depleted. You might continue printing for a while from the time you receive the first prompt but with some tradeoffs, such as unclear worbs and images in some cases.
Conclusion
We have shown how to change toner in brother printer DCP L2550DW, HL-2270DW, MFC-L2710DW, and TN760 in this write-up in detail, but here are the highlights:
- In brother laser printers, the toner cartridge is separate from the drum unit, unlike HP, where they are fused into a single unit.
- You must extract the drum assembly unit from the printer to replace the empty or faulty cartridge.
- You can replace the cartridge when they are faulty or empty
- In case of improper brother toner installation, the printer will prompt you to reset it.
With the simple steps above, you know how to change toners on the brother’s machines. In case you encounter a problem, follow the steps above.

