A device which does not exist was specified error message is a common pop-up for some users when they try to connect a drive to their Windows computer.
Instead of the file normally appearing in the File Explorer window, we are only able to see the drive’s name and additional data, including the drive’s total and the amount of free space information.
While it is natural to panic in such situations, any user can easily resolve this error with the right fix, and this article will help you to do just that.
This guide will look at what causes this error in Windows computers and how you can work your way through the error with the right solution.
Contents
Why A Device Which Does Not Exist Was Specified Error Happens?
A device which does not exist was specified error code appears if there are issues with your USB connections, chipset’s outdated drivers, or internal motherboard headers. Other common reasons include restricted drive permissions or assigning an incorrect letter to drive.
– Faulty Motherboard Header
A common reason many users might see this error is that the header on their motherboard is broken or faulty. This is more likely to happen to you if you use an internal drive. If this is the case, there is a possible quick fix to it. You simply have to switch to a different header, most likely a SATA one. Once you have done this, you will likely be rid of the error you face.
– Damaged USB Port
If you are using an external drive or any situation that involves a USB port, most of the time, it is the port at fault. USB connections are often used to connect flash drives and other external storage devices.
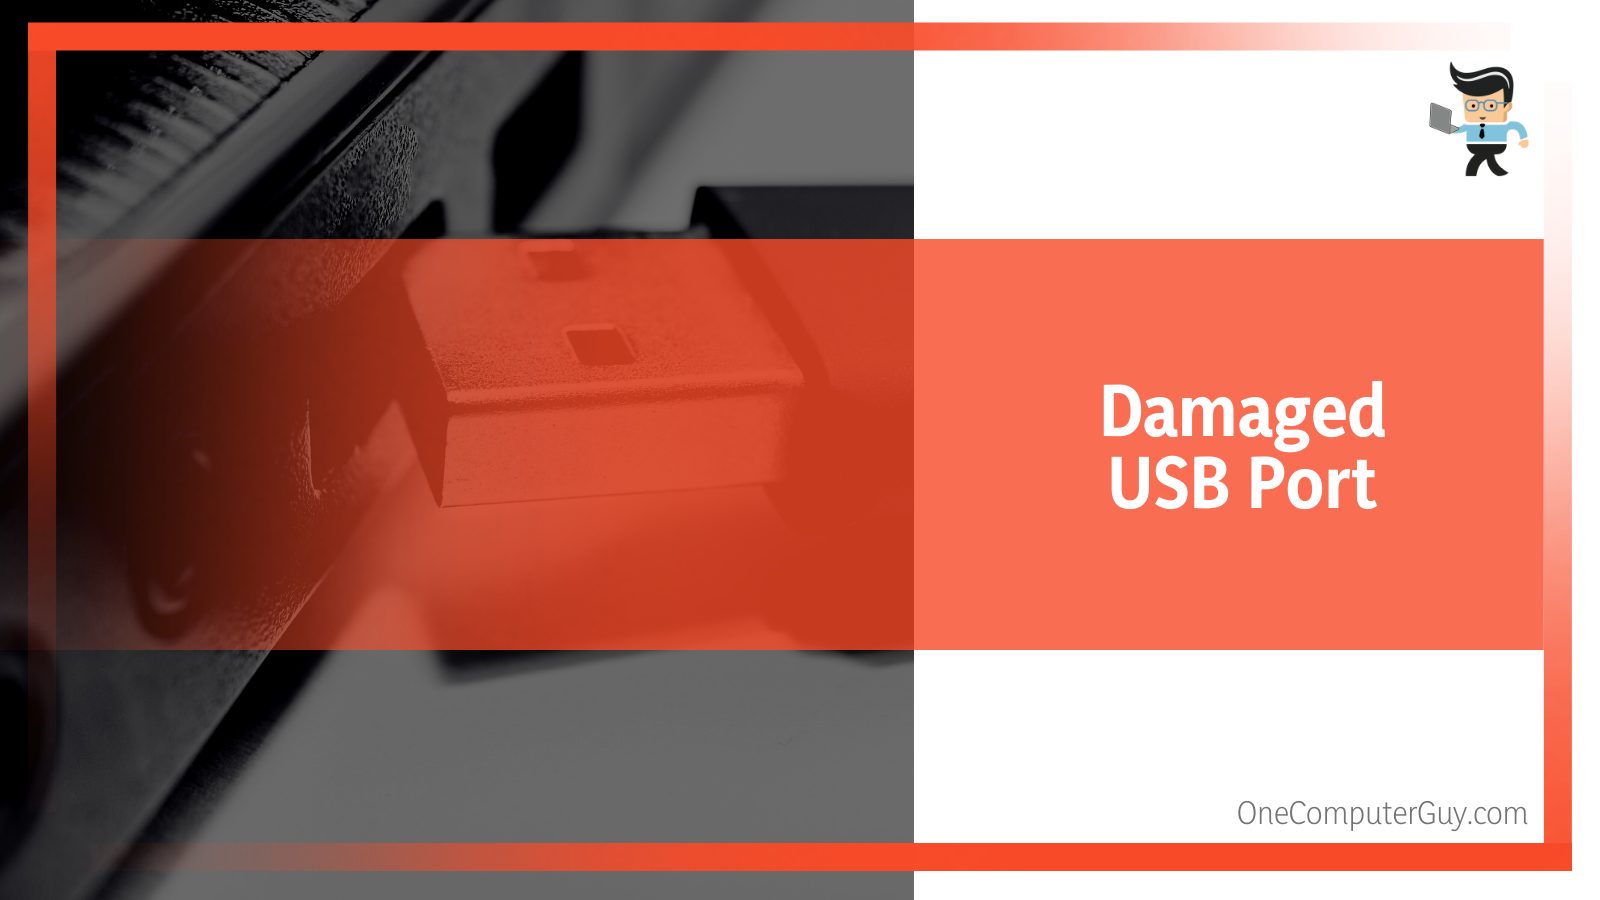
Sometimes, you connect your drive into the port, and it just refuses to pick it up. A likely reason for this happening is that the port you are using is faulty, which will lead to your drive not operating properly, which, in turn, will lead to an error message on your PC.
Since there are always multiple USB connections on both a laptop and a personal computer, one possible solution to this issue is to switch the port that you are connecting the drive with.
– Assigning Incorrect Letter To Drive
Whenever we connect our drive to a computer, it is assigned a drive letter, and sometimes, it so happens that the assigned letter is not accurate. You can check the letters assigned to your drives in Windows explorer or through Command Prompt.
Since the drive letter is often assigned to the drive by the operating system, it is not the one that has been assigned to the drive in the disk’s management utility function, which will lead to the error showing up.
However, users do not need to worry about this as, like most other issues tackled by our guide, this is quite easy to get a hang on. Keep reading the article to find the solution.
– Restricted Drive Permissions
Most modern computer systems use multiple user accounts, some of which have administrator privileges, while others have no such perks whatsoever. In such situations, drive permissions can sometimes get mixed up, and while a user in one account might be able to access the account, a user on another account would not be able to do the same.
If this error occurs on your computer, or more specifically, your user account, you can sort it out easily. You will need to grant full ownership and complete permissions to your account, and once you have done that, everything will be sorted, and you will no longer see that error.
– Outdated Drivers of Bios and Chipset
The last possible cause we will discuss in this section of the article is outdated BIOS and chipset drivers, which can be a problem and lead to you seeing the device not specified error on your computer.
How To Fix the Error
– Fixing the Device by Disk Management Uninstall
Most of the errors mentioned in this guide, like other technical issues, can be solved with a simple restart of your device. However, if that fails to get the job done for you, it is time to try uninstalling and reinstalling your device in Disk’s Management. The reason this has helped so many users with similar issues is that once you do that, Windows has no choice but to redownload the right drivers for the unidentified device which you will plug into your PC.
Steps for using this fix the right way are detailed below.
- You will have to start by opening up the Start Menu, where you can look for Disk’s Management, and once you find it, you can open the app up on your PC.
- Look towards the bottom tab of your PC. You can easily find your disk there, and when you right-click on the disk, you will see a drop-down menu.
- In the drop-down menu, you need to choose the option of Properties.
- Once you click this, you will be led to drive properties in Disk’s Management.
- When you are in the Properties window, you will want to switch to the Drivers tab, and that will show you the drive’s driver details.
- From here, you have to click on the Uninstall device button and wait for the uninstall of your drive to finish.
- After the uninstall has been completed, you can go right ahead and remove the device from your computer completely.
- Now, you will have to connect it again and open it up in Windows explorer.
- After some waiting, you will be able to access your drive normally.
However, if the issue still continues to occur, you might want to have your device opened and looked at.
– Changing Drive Permissions
As we have discussed in the earlier sections of this guide, a common reason that this error might happen on your computer is that your user account does not have the right authorization or permissions to access the drive. If this happens, then it is quite normal for you to see an error saying that the drive in question is not specified.
As we discussed, this issue can be resolved simply by changing the permissions of your drive in the Properties Window, and once you have granted access to your user account, the problem should all but disappear. You can read the instructions to do this right below.
- You need to start by opening up the Windows Explorer window.
- After that, you can right-click on your drive and then choose the Properties option that should be available in the drop-down menu.
- After you are done with that, open up the drive’s properties.
- In the properties window, switch to the Security tab from the provided options.
- Once you are in the security tab, you can edit the Drive Permissions. You can do this by clicking on the edit button, which will give you an option to change the drive permissions.
- In the provided selection of different user accounts, choose the one you are logged into, and from there, under the permissions tab, you have to make sure that the Full Control checkbox is ticked.
- This will successfully change the drive permissions, and to activate this change, you need to click the Apply button, and then you can hit OK.
- Open up the drive again after following these instructions, and the issue will likely have subsided.
– Changing the Assigned Letter
As we discussed earlier, the error message can sometimes be triggered by an incorrect letter assigned to your drive, and it happens mostly when the letter assigned by the operating system does not match the one assigned by the Disk’s Management utility. Every time you connect a new drive to your computer, it shows up in the Windows explorer app, and the operating management assigns a single letter to it that is used to access the drive and the files contained inside of it.
If you need to change the letter and solve this error, you can do that by using the Disk’s Management tool. The complete details for this fix are outlined below:
- To implement this fix, you will need to start by opening up the Start Menu, and then you have to search for the Disk’s Management utility.
- Once you find the app, open it.
- After the app is open, you need to click on your drive’s volume and, from the given options, select the Change Drive Letter and Paths option.
- After the window opens up, click on the Change option.
- Changing the drive name will deactivate your drive temporarily, so in order to instill the changes, click on the Mark Partition as Active option after you’re done.
- After this, you need to boot up your computer and restart it.
- The restart is especially important as it aligns all the changes you made with your overall computer set-up.
Once the computer has loaded up, you can go and check in the Windows Explorer app to see if the error is still visible.
– Checking Motherboard Headers
This fix is a little more complicated, and you should only indulge in it if none of the other options works for you. It is also important to note that this is not a fix you can simply implement at home, and it is highly recommended that you take your computer out to a technician when you see it.
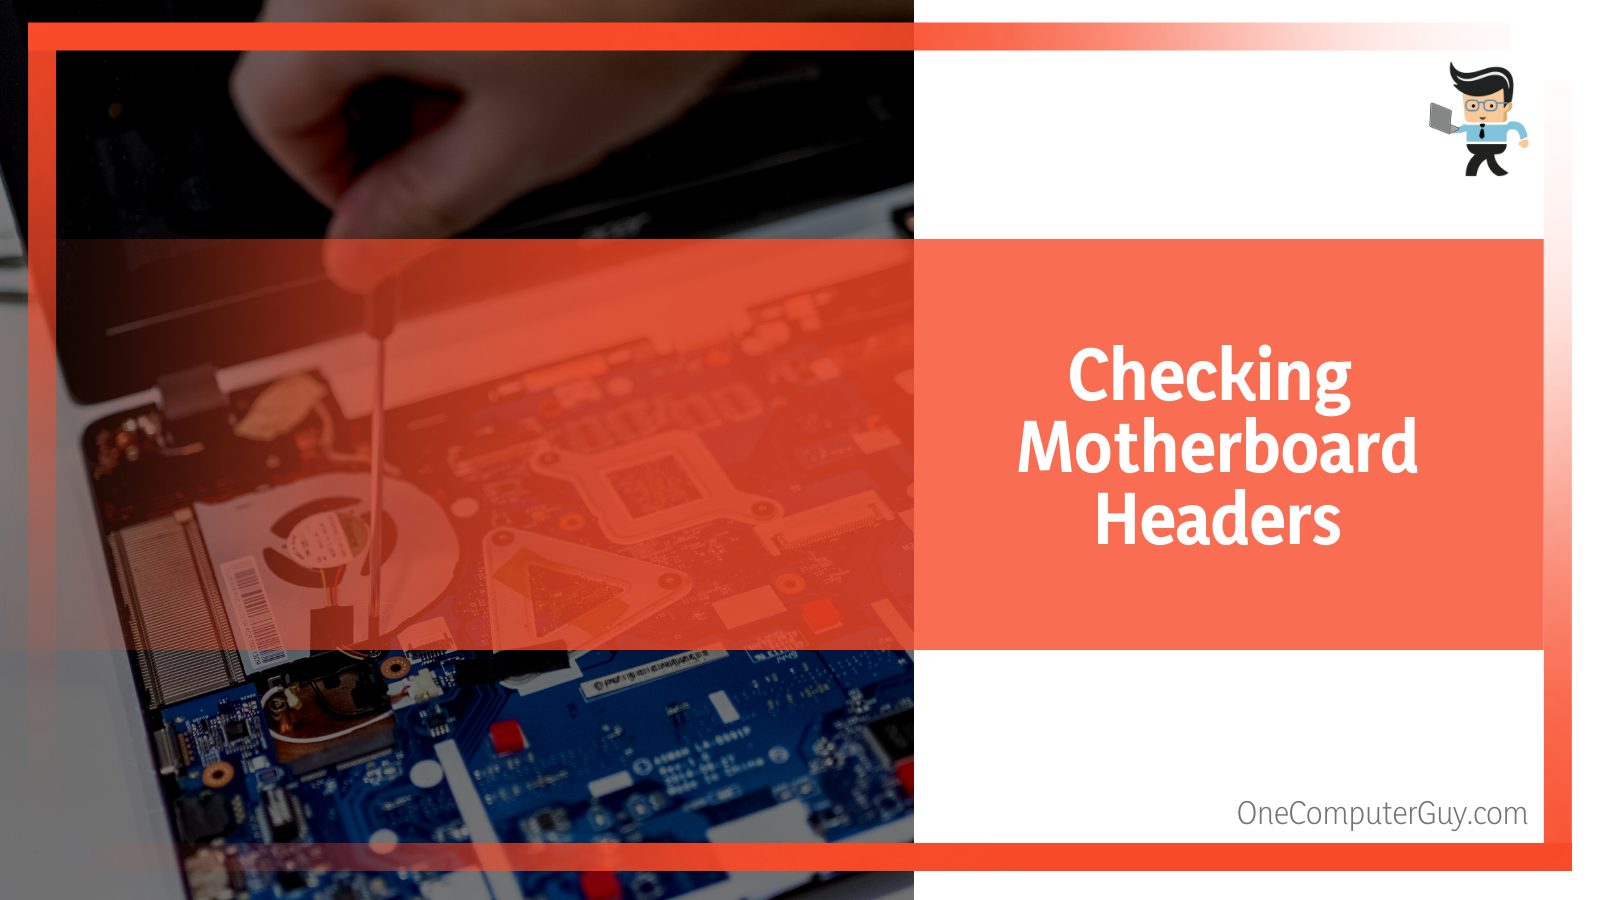
The error is most likely to occur for users who are using an internal hard drive connecting to your motherboard SATA headers. When one of the headers is faulty and does not respond, users need to have the header manually changed after getting the computer opened up.
A faulty can cause a lot of distress, but with the right technician and quick action, you can save yourself a lot of unnecessary stress and drive errors.
– Updating Drivers of Bios and Chipset
This problem will require an external fix of sorts, and you would need to update the drivers by going to the official website.
Find out the original manufacturer’s website and download the official drivers, after which you can install them onto your computer easily. Once that is down and done, you will be ready to go, and there will no longer be any error on your PC.
Conclusion
We have looked at a variety of fixes for the error in this article, and we hope that you have learned everything about fixing the error. We have compiled a quick short summary of the most important points of the article for you:
- The error is caused by faulty USB connections, outdated drivers, broken hardware, inaccurate drive permissions, and wrongly assigned letters.
- The most common error for external hard drives is a faulty USB connection, and you solve this error by trying a different port on your device.
- Sometimes, one user account has the right permissions and the full administrator privilege to access the drive, while another drive might not have it.
- Uninstalling a drive in the Disk Management utility and then replugging it in your computer can reinstall all the right device drivers and is, therefore, a common fix.
Now it is time to go and identify what is causing the problem in your own drive!

