Does motherboard come with screws? That’s a question usually asked by many enthusiasts looking to get one for their rigs.

The fact is that small screws accompany many new motherboards to help you attach M.2 drives to the board or perform some other actions.
Whatever the case is, this article will help you answer the question and other related queries about motherboard screws.
Contents
Are Motherboards Designed to Come With Screws?
Short answer, no. Motherboards do not come with screws. On the contrary, the screws you need to attach your motherboard to your PC always come with your computer chassis. They are called motherboard standoff screws or mounting screws.
Besides, it doesn’t really make sense for every motherboard to come with brand new screws since you already have options that fit into the back plate of your PC case.
However, standoffs and screws are always necessary to secure your motherboard to your computer. The standoffs are mainly metal or plastic and hexagonal. They’re designed that way to keep your motherboard lifted away from the case. That way, it’s not directly resting on the metal chassis.
In addition, you will need these screws to attach your motherboard to these standoffs. A good number of PC cases carry pre-attached standoffs, while some others come loose with screws.
Still, you should carefully check the placement holes of your computer for screws. Please make sure the standoffs only go into these holes because an extra standoff touching your motherboard will lead to short-circuit.
– Risers Tighten Screw
The risers screws are made to lift the motherboard clear off the backplate of your PC, and they usually come in two types:
- Risers are literally built into the case. These types appear like folds of painted metal.
- Screw-in brass risers, which are mostly made from non-conductive brass metal.
While basic fold risers are available in low-end PC cases, the brass screw risers are often in mid to high-end computer cases. Also, the latter offers the user far more motherboard mounting options.
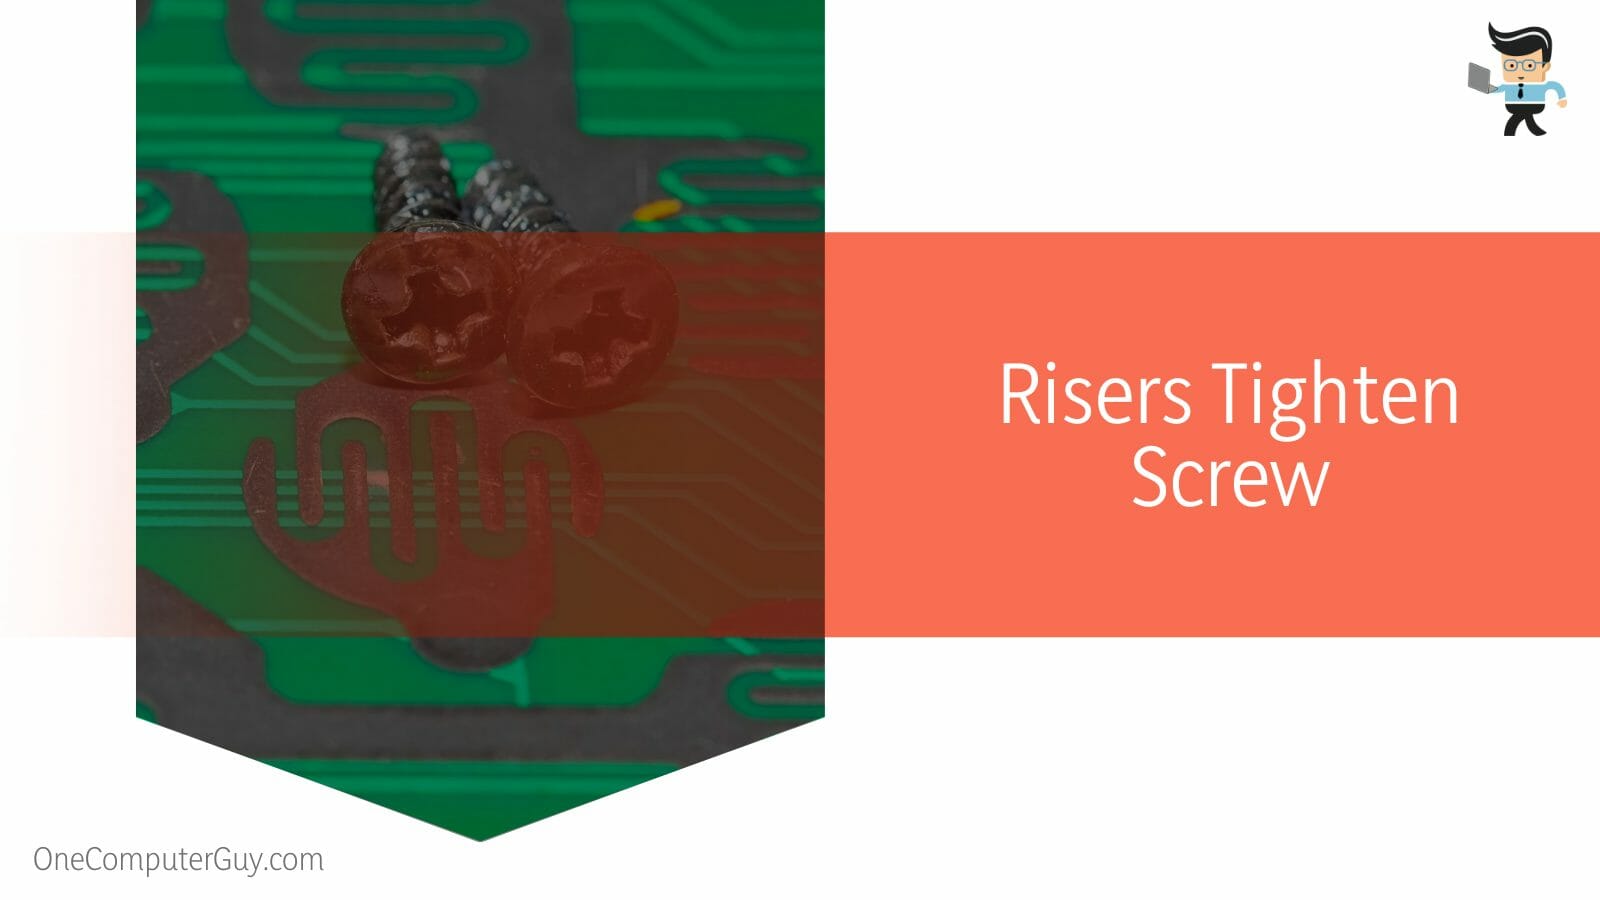
Risers screws are tiny brass screws that look more like hexagonal bolts. It has a male screw thread sticking out one side and a female screw thread through the other.
Once you screw a riser into a case backplate surface, they tend to stick out by 5-10mm, but can get to 30mm. The main thing about this design is that you screw the risers into the backplate of your selected case. Then your motherboard goes on top of these risers. Go ahead to align the screw holes built into the motherboard using the risers.
Finally, use a basic mounting screw to screw down through the motherboard into the riser.
Some benefits of risers screws include the following:
- These screws ensure that your motherboard isn’t in any contact with the metal of the PC case. If that were to happen and you put on the computer, it would short out and fry itself.
- Another reason riser screws are beneficial is that they give you enough space under the motherboard. You can take advantage of this space to run cables under the board, including power cables. Additionally, this space means your computer has adequate airflow.
With the CPU often the hottest component in your computer, it’s essential to have efficient heat dissipation. This happens in three dimensions, including heat getting drawn out from the top of the CPU via your cooling solution. Also, heat gets transferred under the CPU via the motherboard.
Thanks to the gap that lets air circulate underneath the motherboard, you’ll be removing extra heat and decreasing your CPU temperature. This is an ideal situation for those who want to overclock their CPU.
– M.2 Bolt
The M.2 screw shouldn’t be mistaken for a mounting screw. The main function of this tiny screw is to mount a PCI Express SSD card. It also helps the SSD card move around so it doesn’t get damaged.
– Some Motherboards Have M.2 Drive Screws
The M.2 screws are the little screws designed to hold M.2 PCI Express SSD cards in place. In turn, these SSD cards will stay in place when you insert them into the M.2 Socket.
However, note that without the M.2 screw holding it down securely, the card will not be supported. This can lead to damage from too much vibrations when you move your PC around.
Further, many motherboards already come designed with little screws screwed into one of the holes pre-threaded into the motherboard. That’s where different lengths of the M.2 SSDs would need support. But the screws are very easy to lose since they are so small. You can always check that your M.2 screw is firmly screwed into your motherboard.
If the M.2 mounting motherboard screw is not screwed into the board, you will have to buy a new one. Moreover, it’s essential to know that new M.2 SSDs do not come designed with the mounting screws provided with them. That assumption by SSD manufacturers that your motherboard would provide the screw doesn’t sit well.
All the M.2 screws on all motherboards are exactly the same, so it makes no sense to lie about including them in the package. Perhaps they want some more cash. Even if your motherboard didn’t come with an M.2 Screw, or you lost them along the way, you can always find replacements.
– Cooling Solution Screws
These are another set of motherboard-related screws for your motherboard. Since the majority of motherboards have the ability to mount a cooling solution over the top of the CPU to keep it cool, the screws are a necessity.
Every cooling solution you get or that comes with a new CPU will have different screw-type needs. As a result, cooling solution screws will never be supplied with your motherboard. However, you will always find them packed in with the cooling solution.
Which Screws are Handy to Install My Motherboard?
Generally, metal motherboard standoffs have a #6-32 UNC male thread you will screw into the back plate of the PC chassis. With that, you can turn them using your hand. Besides, it will have a similarly-sized (#6-32 UNC) hollow at the top, where you will insert the screws.
As typical of these screws, you will need a #2 Phillips screwdriver to attach your mobo and almost everything to your computer. When you are done installing the standoffs, carefully place the motherboard on top of them. Proceed to start twisting the screws at the top of the standoffs.
As noted above, these screws typically have a pan or hexagonal head like the standoffs. However, expect their heads to be a bit larger than the holes in the motherboard so that it’s secured in place.
– Will I be Wrong to Install the Motherboard Using Only Screws?
Sometimes, enthusiasts get tempted to build their own computers. With the kind of knowledge they have, who will blame them? But some of them do not know what the standoffs are there for or tell how many screws does a motherboard need, so they just use screws to connect the motherboard to the PC case as they deem fit.
When they turn on the computer, it gets worse. Sometimes, a loud pop follows, which indicates that they just fried their motherboard. That happens when you fail to put the standoffs in, or in some cases, appropriately.
If you’re lucky, you can still use your computer after it must have turned off from the effects of your mistake. Next time, ensure that the standoffs are firmly in place before turning on your PC.
How do I Install Motherboards With Standoffs?
It should be clear that there are various types of motherboard standoffs available. Because some of them feature a brass hex, you’ll need a hex screwdriver to screw them in place. Other regular standoffs have clips that can be inserted into the tray.
Start by aligning the mounting holes on your motherboard with the standoffs and place them on the case tray. Then, one by one, tighten each screw through the standoffs using the screw or clip. We advise that you begin at the middle mounting hole to prevent the board from shifting.
There are nine standoffs you must apply to the motherboard installation. After you must have successfully inserted the motherboard, do some due diligence on the PC casing. That way, you’re sure you got it right.
It’s normal for the process to be complicated for some users. If that’s you, feel free to consult your provider, especially if the nails do not fit perfectly. On second thought, you can hire a technician to install all the standoffs properly.
When the standoffs are in place, ensure you place the motherboard over all of them, then begin screwing into the tops of the standoffs.
Just like standoffs, the screws usually have a pan or hexagonal head. Since they’re designed to keep the motherboard firmly fixed, their heads will be somewhat more prominent than the holes in the motherboard.
For emphasis, only attempt to connect your motherboard to your PC chassis if you use standoffs. Do that only when you want to replace your motherboard and any other parts that may have been fried in the process.
Frequently Asked Questions
– What are the Typical Sizes of Motherboard Screws?
The most common size for screws and standoffs for commercial motherboards is the #6–32 x 3/16″ (M3 in metric).
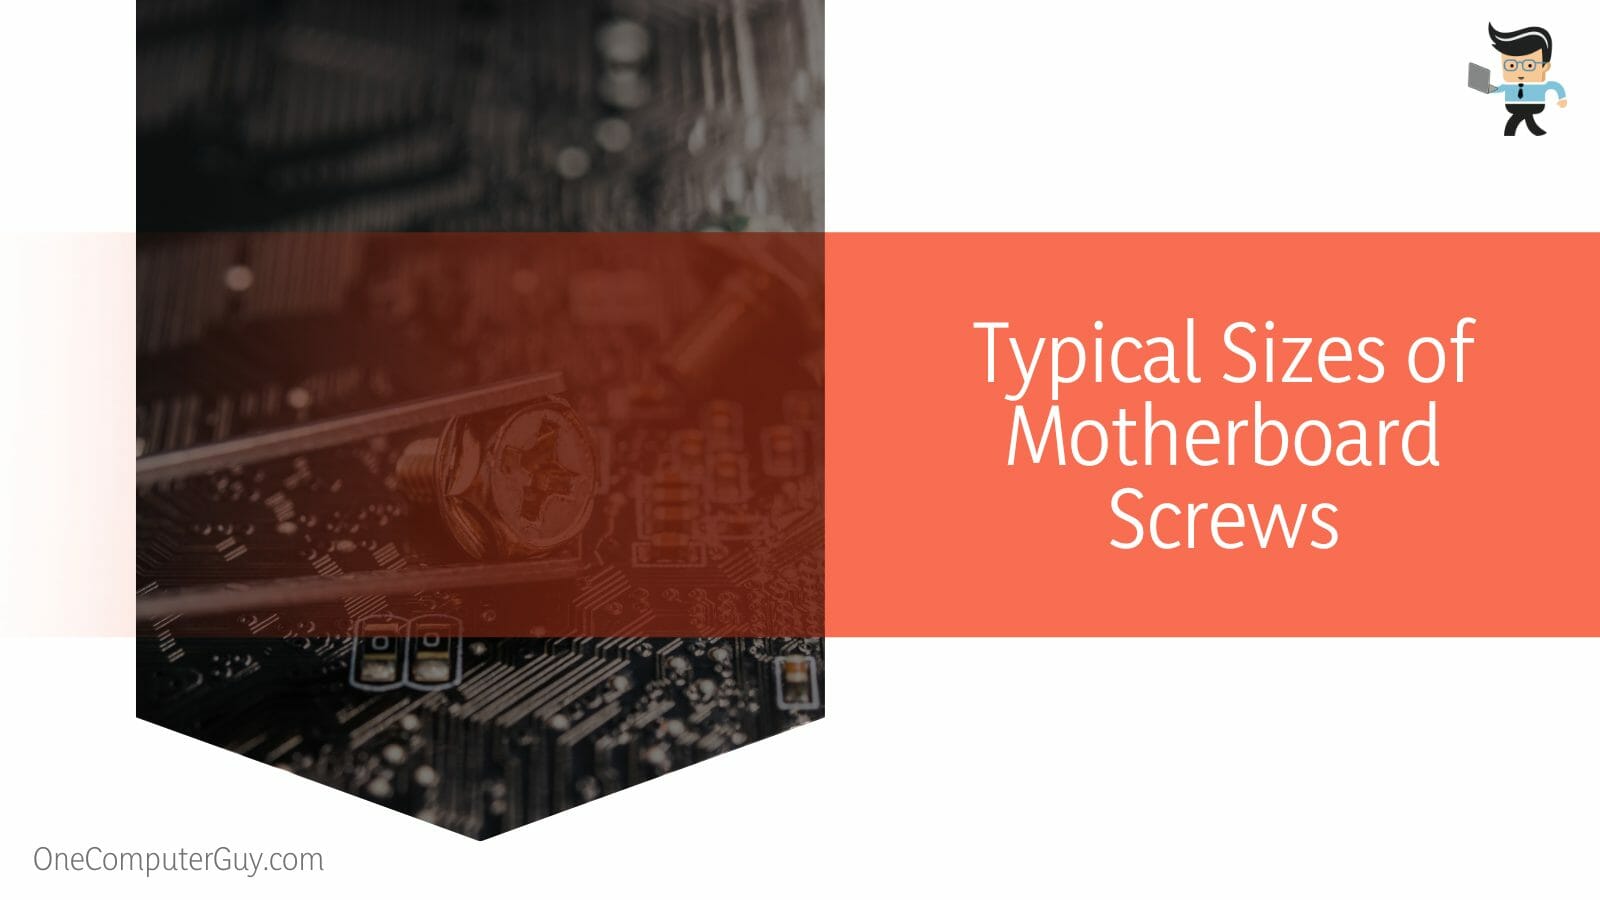
Motherboard screws are almost always universal commercial models.
– Does My Motherboard Require Every Single Screw?
That would be ideal, especially if you want to ensure everything is firm. However, the answer is no. You don’t need every screw. You’ll get along just fine with only two diagonal opposites on the motherboard.
With more screws, you have better alignment, so adding some stuff like extension cards is easier. If you’re missing one it two from your motherboard, there’s no need to panic. Your motherboard will keep working fine.
– Will Motherboards Come With Screwdrivers in the Package?
No. Unless the manufacturer wants to get fancy, do not expect to find any screwdrivers in the package. No PC components come with one. So if you’re building your own PC, our experts recommend a precision screwdriver set in hand.
– Is there a Problem With Using Old Screws for Motherboards?
No, none at all. You don’t need to buy a new set of screws to mount an old motherboard to your PC when it’s out from its original chassis. But there’s a catch, though. You need the appropriate standoff screws.
For instance, if the original standoffs fit inside the new PC case, there’s no issue reusing them. That’s because threaded standoffs are universal, just like motherboard screws.
If you have a custom form factor or case, you will need to find out what kind of screws and standoffs you need to install the motherboard.
Conclusion
Does motherboard come with screws? This article taught you more about motherboard screws and other components associated with mounting your motherboard.
That said, let’s sum up the main points below.
- Motherboards do not come with mounting screws, however, they are supplied with your PC case.
- Risers are essential to lifting your motherboard to proper mounting heights.
- Risers help you organize wires, and they also provide adequate airflow underneath the motherboard.
- Standoffs must be in place before connecting the motherboard to the PC Chassis.
- Mounting screws are universally the same except for custom choices, which may dictate otherwise.
Lastly, when installing the motherboard with screws and standoffs, try to match the exact number of holes for a secure fit. The holes are spotted where they are for a reason, and there could be accidents without filling them in correctly.
One is putting too much pressure on the PCB while installing memory modules. Also, try to achieve a tight fit or at least ensure the screws aren’t too tight.

