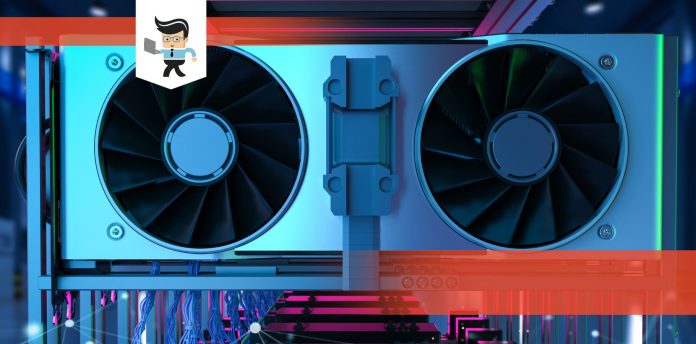
The question, do I need to uninstall old graphics drivers before installing a new card, is common among computer hardware newcomers who want to install a new GPU.
Sadly, different online platforms give conflicting answers to this question. In this post, we tell you what you need to do in case you want to install a new GPU.
Contents
- Is It Crucial To Uninstall Drivers Before Installing a New Card?
- Is It Necessary To Replace Nvidia Drivers if You Get an AMD Card?
- What Is a Graphics Video Card Driver?
- What Is the Quickest Way to Uninstall Old GPU Drivers?
- How to Switch From Nvidia to AMD and Vice Versa Without Driver Issues?
- What Issues Occur While Uninstalling and Installing Graphic Drivers?
- Conclusion
Is It Crucial To Uninstall Drivers Before Installing a New Card?
No, it is not necessary to uninstall your old graphics drivers before installing a new card. Modern-day windows iterations are plug-and-play. So, you only need to swap your card and restart your computer. Windows will detect the new card and install the basic display drivers.
While it may not be mandatory to remove your existing display adapter drivers, it is recommended that you remove them to avoid future driver conflict before installing a new video card.
If your new and old graphics units are of the same brand, you can leave the old video card drivers intact. But you might need to update the current graphics card drivers after inserting the new GPU in the provided slot.
Alternatively, you can install your new graphics unit and then install its drivers. The software automatically detects the existing drivers and will prompt you to upgrade or uninstall the existing drivers. But if the existing and new GPUs belong to different brands, consider uninstalling the old graphics card drivers before setting up the new card.
Is It Necessary To Replace Nvidia Drivers if You Get an AMD Card?
No, replacing your old Nvidia drivers is not necessary if you get a new AMD video card for your your system. The same happens when you replace your old AMD card with a new Nvidia card because there is an architecture to recognize the card and get the drivers online for it.
However, if the generational gap between the old and new cards is vast, there is an enormous chance of driver conflict within your system. In this case, the new graphics unit will not work correctly due to the presence of the old drivers. Typically, this will jeopardize the performance of your video card.
For this reason, it is recommended that you clear old drivers when switching from one brand of GPU to another one. Additionally, consider uninstalling the old display adapter before installing new ones in the following scenario:
- When the existing GPU is pretty old and not even in the market, the new GPU is the latest in the market. In this case, the gap between the two is massive.
- You have not updated the graphics card drivers in a very long time
– What Does Driver Conflict While Installing New Graphics Drivers Means?
A driver conflict while installing new graphics drivers means two drivers within your Windows system cannot co-exist because they are not compatible to work in the presence of each other. As a result, Windows cannot utilize your video card hardware properly.
A conflict within the driver means you cannot run an application. But you can detect driver conflicts through the Windows Device Manager. Here is the procedure for checking for driver conflicts:
- Click on the Start menu and select Computer or This PC
- Click on the gray “System Properties” button, and select the blue “Device Manager” hyperlink.
- While in the Windows Device Manager, right-click on the video card you suspect generates the driver conflict.
- Select the “Scan for Hardware Changes” option. This action prompts the Device Manager to examine that hardware’s driver in particular and look for conflicts and changes. If changes are present, a yellow icon with an exclamation mark inside appears. Click on the “Troubleshoot” option to examine the specific nature of the conflict at hand.
What Is a Graphics Video Card Driver?
A graphic video card driver is a program that allows Windows operating systems to use your computer’s video card efficiently.
Typically, it allows efficient communication between the Windows OS and display adapters. Each display adapter has unique drivers, and most are provided by the manufacturer of that specific graphics card.
For example, running an application that uses the GPU will need to read data from your device. The process will invoke a function implemented by the operating system, and the OS calls a function that the video card driver implements.
The video card driver, written by the same company that developed and manufactured the GPU, knows how to communicate with the video card hardware to get the data.
After getting the data from the GPU, it returns it to the operating system, which returns it to the process.
What Is the Quickest Way to Uninstall Old GPU Drivers?
The quickest way to remove old display adapter drivers from your Windows system is through the Device Manager, Control Panel, and third-party software. Moreover, you can also opt for options like NVIDIA GeForce Experience or Display Driver Uninstaller to carry out this task.
– Uninstall Via Device Manager
Using the Device manager is the easiest and, therefore, the quickest method. Follow the step below to remove old display adapter drivers:
- Right-click on the Start menu and select Device Manager from the pop-up list
- Go to Display adapters and click on it to expand it
- Find the graphics card you want to uninstall, right-click and select Uninstall option
- The Uninstall Device window pops up. Click to check the box on the left of Delete the driver software for this device.
- Click the Uninstall button.
This will remove the display adapter and its drivers from your computer.
– Uninstall Via Control Panel
The control panel is another Windows feature you can use to uninstall video card drivers from your computer. This option also allows you to remove other software associated with the graphics cards, for instance, the NVIDIA GeForce Experience.
Here is the procedure to follow to uninstall video card drivers:
- Launch the run box (press the Windows key + R button together) and type Control Panel. Press Enter.
- Click on Programs and go to Programs and Features. Click on it to expand it.
- The Programs and Features window reveals a list of programs. Scroll through the programs to find your graphics card drivers.
- Right-click on the driver, then select Uninstall/Change to get started
- Follow the instructions in the wizard to complete the uninstallation process.
These five steps will remove old drivers from your system.
– Uninstall Using Third Party Applications
Third-party applications allow you to completely eliminate the video card drivers, unlike Windows built-in features, which might leave remnants. Such remnants can cause many issues when running GPU-intensive applications or installing a new GPU.
So, consider using a third-party application to remove AMD and Nvidia video card drivers. Here are powerful 3rd party applications that can help you altogether remove the graphics card drivers from your system:
– Display Driver Uninstaller
The Display Driver Uninstaller (DDU) is a to-go tool for device administrators. The application is powerful enough to clean and remove all audio and video card drivers you no longer need. Furthermore, it cleans up all leftover files and registry entries, ensuring a clean sweep.
The tool is entirely hardware and software-agnostic; therefore, it is useful when switching from AMD graphics to Nvidia graphics cards and vice versa. You can run the Display Driver Uninstaller in both standard and safe modes. When you run it in normal mode, you must clean up your PC and restart it. Repeat the procedure.
DDU developers recommend that you run the application in Windows safe mode. This guarantees stability and efficiency during the process. However, you must create a restore point or backup before running the application. This way, you can reset Windows in an emergency.
Above all, disconnect your PC from the internet before initiating the process. Only reconnect your internet after you have installed new drivers. This action blocks Windows updates, and automatic driver reinstalls. But Display Driver Uninstaller also deactivates automatic driver installation.
– NVIDIA GeForce Experience
The NVIDIA GeForce Experience is a to-go tool for people using Nvidia graphics cards.

Besides pushing driver updates for Nvidia cards, it can check the Nvidia video card drivers. This process typically clears out all old drivers before installing new ones.
– Driver Manager
The Driver Manager is a free driver uninstaller for Windows. It has a very straightforward interface, thus, allowing you to quickly uninstall drivers from your device. Here’s how you can do it:
- Click on the tool to launch it
- Click the refresh button to see all system drivers
- Select the driver from the list of drivers and click on the Remove option to uninstall the driver.
The significant advantage of Driver Manager is that it shows additional information about the driver. For example, it shows the Driver’s name, company, version, and path. Additionally, it can show other parameters such as the number of currently running drivers, drivers paused, and the number of drivers that start at the system’s boot.
– AMD Cleanup Utility Tool
The AMD Clean-up Utility Tool is a standalone driver cleanup tool that uninstalls the old AMD display and audio drivers and removes any residual registry entries and files that standard Windows tools may miss.
So to fully uninstall AMD drivers, using this tool is your best bet.
– Driver Booster
Driver Booster is another free Windows software for handling video card drivers. But this tool can be used for both updating and uninstalling drivers. Like the Driver Manager, it has a straightforward interface, allowing you to handle graphics unit drivers easily.
Here is the procedure for using the Driver Booster:
- Launch the Driver Booster and click on Scan
- Under the Nvidia Banner, check out the range of drivers that appear there, including the Nvidia GeForce Experience, PhysX System Software, and GPU Driver.
- Select each driver individually and click on the down-pointing arrow on the right
- Click on Uninstall from the Context menu. This process initiates the removal process.
Restart your computer afterward.
When you choose to use the Driver Booster tool, you will benefit from several features, including the rescue center for restoring Windows and a game boost that improves gaming performance.
This is a free tool, but it has a premium version, which has more powerful features, such as fixing device errors and batch driver updater.
How to Switch From Nvidia to AMD and Vice Versa Without Driver Issues?
You can switch from Nvidia to AMB by removing the drivers for the current GPU. After that, you can replace your GPU safely without the fear of having a driver’s conflict in your PC. After this, all you have to do is install the drivers for the new GPU.
– Step One: Remove the Drivers for the Current GPU
You can use the Windows built-in features to uninstall Nvidia drivers. However, for complete uninstallation, you must use Display Driver Uninstaller.
- Create a restore point before using the tool. Type “Create a Restore Point” at the task bar>System Protection > System Properties>Create (type a description)> Create>OK.
- Boot the PC into Safe Mode and then run the Display Driver Uninstaller.
- Select Clean and Shutdown, let the program run and wait for the PC to turn off.
– Step Two: Replace Your GPU
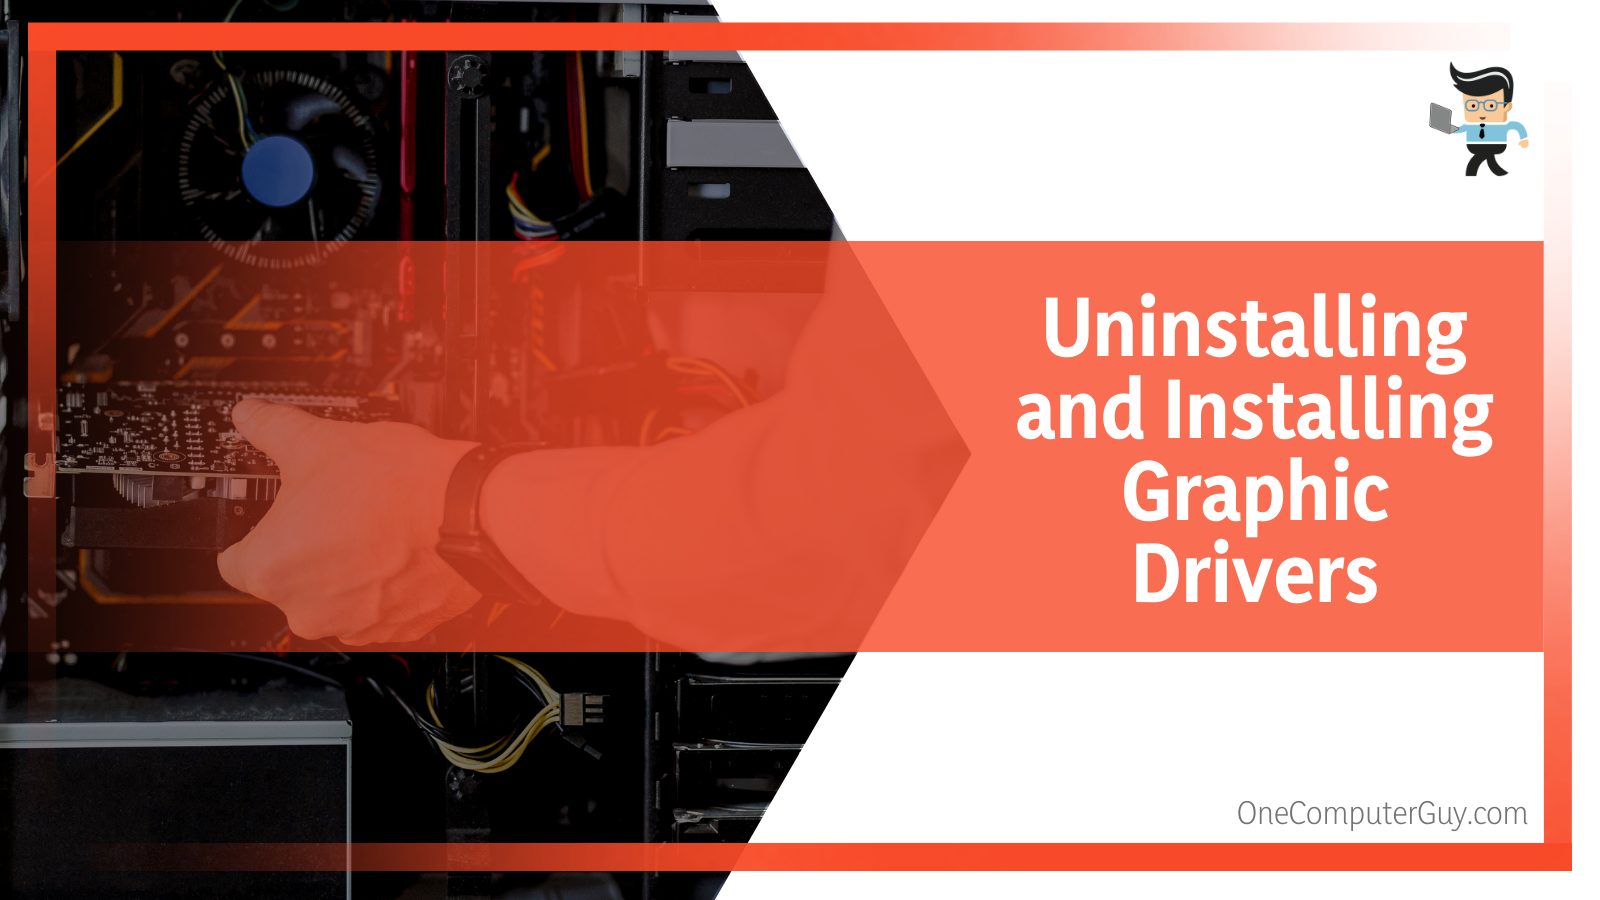
Unplug your PC or laptop from the power source and unplug the display cords plugged into the monitor from the graphics card. Now, remove the PC tower casings – you can unscrew them, but it is simply snapping them out in most cases.
Locate the graphics unit by tracing it from the display port. Carefully unplug all connections to the unit and then use a screwdriver to unscrew the PCI screws. Carefully remove the GPU and place it aside.
Now, install GPU – Take your new graphics unit, insert it in the same position, reconnect all the connections, and screw it in place. Return the tower casing.
– Step Three: Install Drivers for the New Graphics Unit
After installing your new graphics unit, the Windows system will install the new drivers automatically. However, this option may lead to issues in the future. To avoid that, you can use the CD that comes with your new Graphics unit. The CD has the latest software and drivers to allow your system to run smoothly.
If the graphics unit does not come with the CD or your device cannot read a CD, get the latest software and drivers from the official manufacturer’s website. So, go to AMD or Nvidia’s official website and search for your graphics unit model drivers. Download the drivers, install them and restart your computer.
If you just installed an Nvidia graphics unit, we recommend downloading the Nvidia GeForce Experience app for your Nvidia card. The Nvidia GeForce Experience app handles all the driver updates, GPU settings, and individual settings for each video game you have installed on your PC.
Also, download AMD’s Radeon Software if you installed the AMD GPU. This will keep the drivers updated if any new versions get released. In most cases, Nvidia’s GeForce Experience and AMD’s Radeon Software are downloaded automatically. Just ensure that they are present in your system for flawless functioning.
What Issues Occur While Uninstalling and Installing Graphic Drivers?
The major issues you will face while uninstalling and installing graphic drivers include common problems associated with the display driver uninstaller. Moreover, there is a high chance that you will face windows OS taking over problems during the process of installation.
– The Issues With Display Driver Uninstaller (DDU)
While the tool is known to clear all the parts of the previous GPU drivers, at times, some files may remain. These remnants can cause several issues when using the graphics unit. In this case, use a registry cleaner application to remove everything related to the previous GPU.
– Windows OS Taking Over
Windows can install hardware drivers automatically. Therefore, after inserting your new GPU, it will install whatever driver it thinks is suitable for you. For this reason, it may not recognize that you have changed the graphics unit, thus, reinstalling the driver you just removed.
So, you will need to turn off Windows’ ability to install hardware drivers. Follow these steps to stop Windows OS from installing other drivers:
- Click on the Start Button and type “change device installation settings.”
- Click on the app when it pops up to launch it. A pop-up window with the question, “do you want to download the manufacturer’s software and custom icons available for your device automatically?”
- You will have two options: Yes and No. Select the second option (No) and save the changes.
After taking these steps, windows will not automatically install drivers on your system. Therefore, you will need to search for and install the drivers manually.
However, once you complete installing your new drivers, you can revert to your previous option, i.e., allowing Windows to install hardware drivers automatically.
Conclusion
Your video cards will function correctly only if they have the correct drivers.
So, let’s summarize our topic with the following highlights:
- You don’t need to uninstall existing graphic drivers before installing a new card if it is of the brand.
- If you are installing a GPU from a different brand from the existing one, it is recommended to remove the existing drivers before installing it.
- You can use Windows built-in features such as uninstalling existing drivers or third-party apps.
- Remove all the components of an existing graphics driver before installing new ones to avoid issues.
This information is detailed enough to educate you about graphics units and associated drivers. Hopefully, you can solve any driver issues when they pop up.
Ref:
- https://www.forbes.com/sites/gordonkelly/2015/07/25/windows-10-automatic-update-problems/?sh=67397c626fe0
- https://www.wikihow.com/Change-a-Graphics-Card

