If your ASUS laptop won’t turn on, the problem may be simple, like a dead battery or a more technical fault like software or hardware problems. Carefully diagnosing your computer before reaching out to ASUS customer support may save you some time and money.

We talked to our in-house computer experts, and they shared some information on ASUS computers not starting problems as well as some ASUS laptop troubleshooting tips.
Read on as we share this information with you and hopefully help you solve the problem.
Why Is My ASUS Laptop Not Turning On?
Here are some of the contributing factors to why the ASUS Zenbook won’t turn on:
– A Dead Battery
If you’re experiencing the ASUS laptop power button not working problem, the battery of your laptop may be dead. A laptop with a dead battery will obviously not turn on. This is the same with ASUS laptops, so you may want to check whether or not the battery is the problem.
– Faulty Charging Port or Charger
If you notice your ASUS laptop not turning on after you’ve plugged it for hours, you may have a bad charger or a faulty charging port. A bad power brick or an unsupported charger can be dangerous to the internal components of your computer and may cause serious damage.
On the other hand, if you have an ASUS original charger and your ASUS laptop shut off and won’t turn back on, you may have a bad charging port.
– Power Issues
Your ASUS computer not starting may result from fluctuating power problems. If the power switch your laptop charger is connected to isn’t working or doesn’t have enough power supply, then your battery won’t charge.
And if the battery doesn’t get charged, your ASUS laptop won’t turn on. A fluctuating power source can also damage your laptop charger or cause damage to your computer’s internals.
– Broken Laptop Screen
If you switch on your laptop and the indicator light on your computer is on, but you’re getting no signal from your laptop screen, then your laptop screen may be faulty or broken.
– External Peripherals
An unsupported peripheral plugged into your ASUS laptop may disable it from turning on. Sometimes, the computer itself may be on, but the peripheral may cause the screen to go blank.
– Low Display Brightness or Wrong Display Mode
If the brightness of your computer is too low, you may not be able to see a thing, which will make it seem like your ASUS laptop stopped working. Also, if you’re the kind of person that switches display mode or uses multiple displays, you may have toggled the settings on and forgot to turn it off.

Doing so may leave you with an unresponsive laptop screen, which will make it look like your laptop is not working.
– Faulty BIOS
The BIOS of a computer is a sensitive and technical aspect of a PC. If your BIOS setting has been tampered with, outdated, or wrongfully installed, then you may experience the ASUS laptop button not working. You may need to reinstall your computer’s BIOS to get your PC to function properly.
– Hardware Issues
ASUS computer not starting can also be caused by hardware issues, such as a bad hard drive, a damaged integrated circuit, faulty GPU, and more. You may need some technical expertise to properly diagnose the problem if it’s a hardware issue.
ASUS Laptop Troubleshooting
There are different methods to utilize if your ASUS laptop won’t turn on. The methods listed below are for three different categories of this problem.
The first category is when your laptop won’t turn on, and the power button shows no lights either.
The second category deals with when the power button is on, but the screen is blank, while the third category will help those whose power button works, screen works, you get the ASUS logo, but the laptop refuses to boot into desktop mode.
The ASUS laptop troubleshooting tips below are bound to help you fix these problems:
-
Category One: Your Power Indicator and Laptop Screen Shows No Lights
– Perform a Hard Reset
In most cases, a hard reset automatically fixes the issue.
Follow the steps below to perform a hard reset:
- Remove your laptop battery if your ASUS laptop is a model with a removable battery
- If your computer model is one without a removable battery, move to the next step
- Remove the AC adapter, aka your laptop charger
- If you have the UX425IA ASUS laptop or the TP420IA ASUS laptop, you’ll need to plug in your AC adapter to perform a hard reset
- Now, press and hold your laptop’s power button for 40 to 45 seconds
- The next thing is to re-install your computer’s battery for those with removable batteries and plug in your laptop charger
- Now restart your laptop and see if the issue has been fixed
- If the problem isn’t resolved, go to the next solution below
– Check Your Laptop Battery
If your ASUS laptop stopped working and refused to turn on, then your laptop battery might be the culprit. It’s the first thing you need to check after trying the hard reset method above, especially if nothing is wrong with your computer.
If the battery is removable, take it out and try it on a different computer if you have one. Doing this will help you determine whether or not the battery is the problem. If you find out the battery is the issue, you’ll need to replace it and get your laptop back to working order.
On the other hand, if your laptop is built with an irremovable battery, you’ll need to consult an expert if you’re not technical enough or open your computer and unplug the battery if you have the technical expertise.
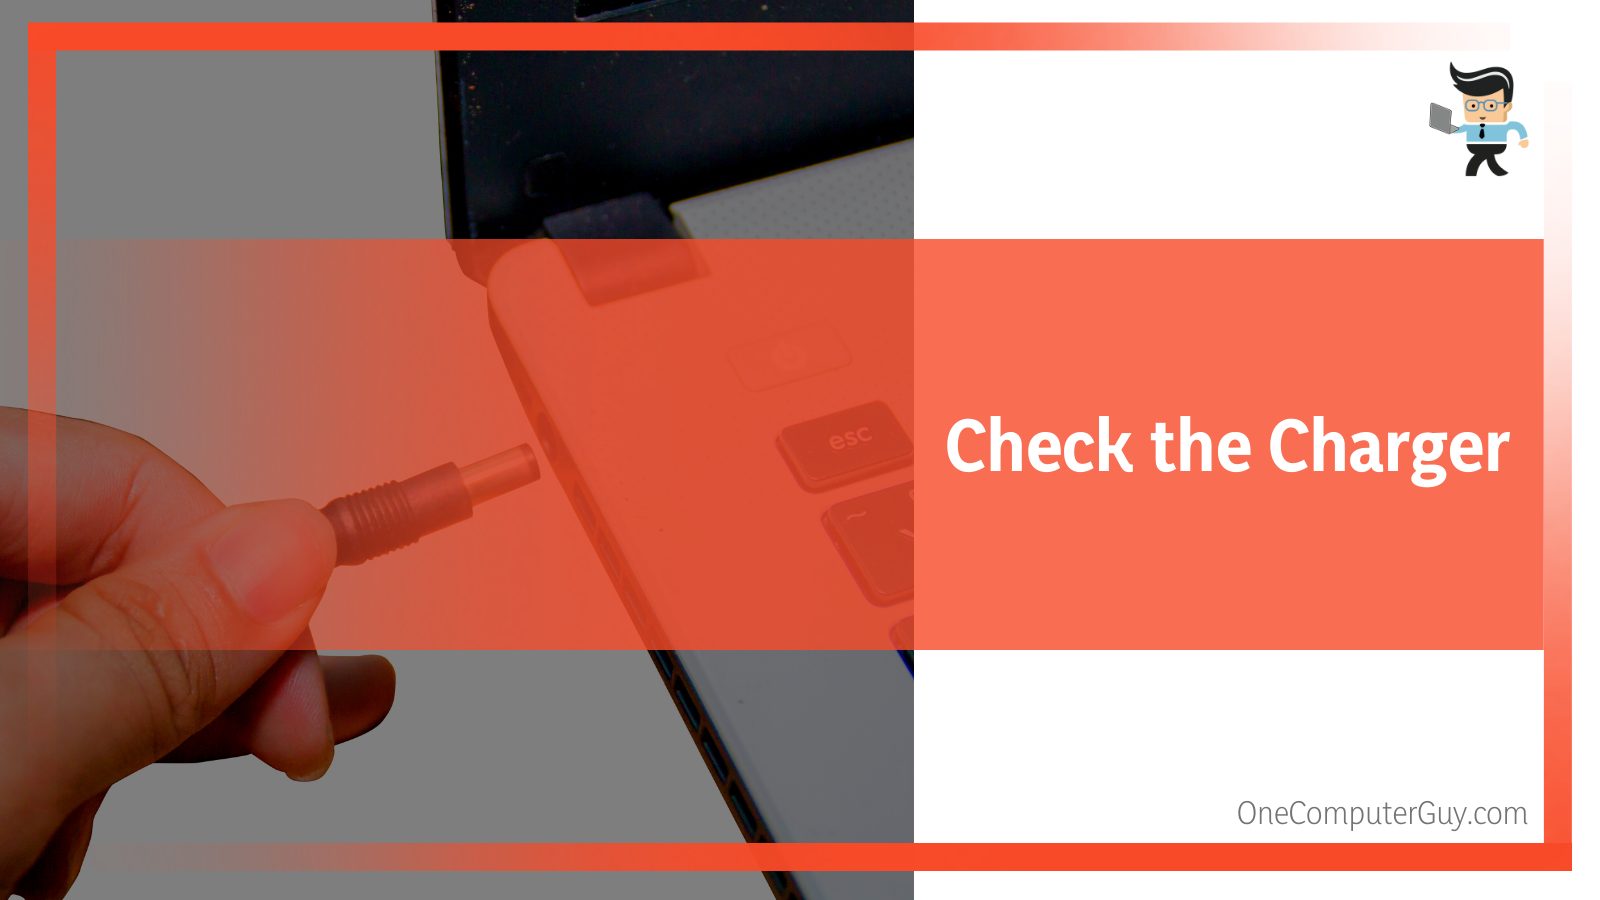
– Check the Charger and Charging Ports

If you’ve been able to determine that the battery is okay, then your charging port or charging unit might be the problem. Most ASUS laptops come with an indicator light that helps users tell when their computers are charging or not. Plug your charger into a stable power supply and connect it to your computer.
– Check for the Indicator Light To See if It’s Charging
Different laptops use different LED colors to denote their charging status. It’s often red, yellow, or blue, while the indicator for a full charge is often denoted by white or green. If you get one of the former colors or your charging indicator light, then the charger is okay, and the charging port works as well.
However, if there’s no LED light, or you get the indicator light denoting a full charge, and your laptop doesn’t turn on, then the charger may not be supplying enough power. Change the AC adapter and check if it works.
If you get no indicator light, your charger or charging port may be faulty. Try a different charger to see if it works. If it doesn’t, you may need to replace the charging port.
– Check Your Connection Problems
Make sure the switch your AC adapter is connected to has a stable supply of electricity. Power fluctuations may be why your ASUS Zenbook won’t turn on. So, make sure the power switch, cables, and AC adapter are properly connected to allow your computer to get the right amount of power it needs.
– Unplug All External Peripherals
Connecting multiple devices to your computer may be why your ASUS laptop won’t turn on. Unplug every accessory you’ve connected to your PC if you have any connected devices, such as a mouse, keyboards, headphones, scanners, printers, memory cards, CD-ROM, and more. One of them may be what’s stopping your device from powering up.
– Reinstall Your Laptop RAM
A bad or corrupted RAM can cause your laptop to remain off no matter how many times you press the power button. Also, if the RAM isn’t properly installed, your ASUS laptop may not turn on.
If your “ASUS laptop power button is not working” problem started after you installed a new RAM or tinkered with the RAM slot, you may need to reseat the RAM or change it. You can also try the RAM on a different laptop to know whether or not it’s corrupted or faulty.
-
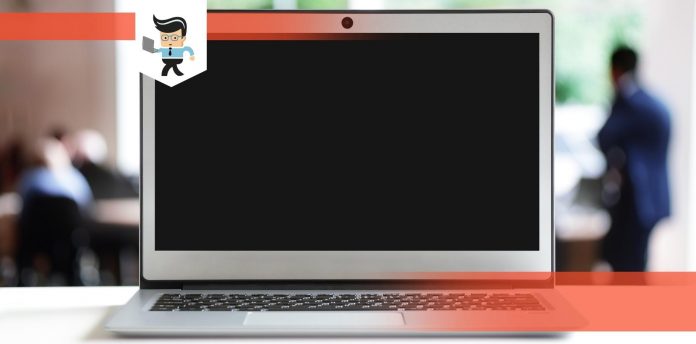
Category Two: Your Laptop’s Power Indicator Is On, but the Screen Is Off
In this case, your power adapter, battery, and power switch are working, but your computer still refuses to turn on.
The methods below are likely to help:
– Use an External Monitor
Your ASUS laptop might be on while your laptop screen may be the actual culprit. Connecting your computer to an external monitor will help you know whether or not your laptop screen is the problem. If you connect your computer to an external monitor and get an image or the ASUS logo, your computer screen may be the problem.
Additionally, if you have a multi-screen setup, you may have forgotten to return display capabilities to your laptop screen or turned it off by mistake. Try restoring its display capabilities by pressing the “Fn and F8” buttons to see if the issue is resolved.
If the external monitor continues to work perfectly, but your laptop screen doesn’t work, try downloading the graphics driver for your laptop on ASUS’s support website. Install the driver and check whether or not the issue has been resolved.
– BIOS Recovery Method
The BIOS of a computer is a very sensitive setting that can affect the health and performance of your PC. If it’s corrupted, outdated, or you make a mistake when trying to perform some settings, the BIOS could make it, so your computer doesn’t turn on or brick your PC.
You may need to use the BIOS recovery method to manually update the BIOS of your computer if you couldn’t get your ASUS laptop to work using the methods explained above. Note that you’ll need a different computer and a USB flash drive to download and install the BIOS file on the affected ASUS laptop.
Additionally, your USB flash drive must be in FAT32 flash format to save the downloaded BIOS file. Once the computer and USB flash drive is ready, follow the steps below to download and utilize the BIOS recovery mode:
- Check the problematic computer’s manual to find its model number and write it down
- Open a browser on the second computer and go to ASUS.com/support
- Search for the problematic computer’s BIOS file on the ASUS support website above
- Download the BIOS zip file for your computer’s model
- Open your file explorer and locate the file
- Right-click on it and select “Extract all” from the list of options
- Click on “Extract” so the computer can extract the file into a new folder
- Once the file has been extracted, open the new folder, right-click on the file, select “Rename” and change the file extension to “.bin”
- The file extension are the letters at the end of the file name after the period symbol
- So if the file name is B6078CA.504, you’ll need to rename it to B6078CA.bin
- Once you’re done renaming the file, plug in your USB flash drive to the working computer
- Right-click on the renamed file, select “Share” or “Send to” depending on your OS version
- Choose your flash drive as the destination you’re sending to, and the computer will automatically copy the file to your USB drive
- Once that is done, connect the flash drive to the affected computer and note that the USB flash drive you use must be in FAT32 format
- Once you’ve connected your drive to the problematic computer, switch it on and press the “Ctrl and R” key continuously as the computer boots up
- If your computer’s BIOS recovery mode is functional, the computer will restart, and you’ll get the EZ Flash Utility window
- Once you’re in the EZ Flash Utility Window, search and locate the renamed file in your USB drive
- Select the file and click on “Yes” when prompted to begin the BIOS update
- Make sure you connect your laptop charger to your computer before you start the update
- The battery level should also be at least 20 percent, and make sure your laptop doesn’t shut down during the update process
- Once the BIOS update is complete, your laptop will automatically restart itself
- Check whether or not the problem has been resolved
– Reset Your Laptop’s Display

Resetting your computer’s display can help determine whether or not the screen is the problem. Firstly, you’ll need to press the “Fn and F7” button to turn your display on or off. Doing so will let you know if the screen is functional or not. If you notice subtle changes on your screen, press the “Fn and F6” buttons to adjust your screen’s brightness.
If that doesn’t work, press this key combination “ctrl, shift, windows key, and B” to reset your laptop’s display settings. Make sure you unplug all external accessories attached to your computer. If the problem happens after plugging an external device, disconnect the device and reset the display.
-
Category Three: Your Screen Works on Startup but Becomes Blank When Trying to Boot Into Desktop
In this case, you’re able to see the ASUS logo on your computer and even the Windows login. But once your laptop goes into desktop mode, the screen becomes blank, and it looks like your ASUS laptop stopped working. This problem is often caused by a faulty or improperly installed graphics driver.
You’ll need to boot your computer into Safe Mode and try to reinstall your graphics driver.
To do that, follow the steps below:
- Press and hold your laptop’s power button for about 15 seconds to conduct a forced shutdown
- Turn your laptop back on by pressing the power button
- Once you see the ASUS logo on your screen, press and hold the computer’s power button again for about 15 seconds to perform a forced shutdown
- Turn your laptop back on by pressing the power button again
- Once you see the ASUS logo on your screen, press and hold the computer’s power button again for about 15 seconds to perform a forced shutdown
- Now, press the power button one last time to turn on your computer
- Windows will automatically restart your PC and boot it into the Windows Recovery Environment
- Once you’re in the Windows Recovery Environment, find and select “Troubleshoot” from the list of available option
- If you can’t find “Troubleshoot” in the Windows Recovery Environment, then your laptop not turning on might be a problem caused by a corrupt operating system
- Once you click on Troubleshoot, select “Advanced options”
- Choose “Startup settings” and select “Restart”
- If you’ve downloaded the driver on a USB flash drive or some other drive, you can select “Enable Safe Mode”
- However, if you want to utilize the network services and drivers on the affected computer, select “Enable Safe Mode with Networking”
- Windows will restart, and you’ll see the words “Safe Mode” in the bottom-right or bottom-left corner of your computer screen
- Your display drivers may not function properly, so don’t worry about them
- Go to the ASUS support website and download the right display adapter for your computer
- Perform a complete installation and restart your computer into normal mode to see if the problem has been fixed
Conclusion
We’ve provided different tips on fixing the issue of the ASUS power button not working. Here are a few points you need to keep in mind when trying to resolve why your ASUS Zenbook won’t turn on:
- Your ASUS laptop may not turn on because of a dead battery, faulty charger, or a bad charging port
- Make sure you unplug all external peripherals connected to your PC before trying to turn it on
- BIOS is a sensitive setting, so make sure you have some technical experience before tinkering with it
- Use a USB drive that has been formatted to FAT32 for your BIOS recovery
- When booting into safe mode, choose “Enable Safe Mode with Networking” if you want to use the problematic device for your driver update
- Reinstalling your battery and RAM can help resolve why your ASUS laptop won’t work
- Use an external monitor to check whether your screen is bad or the display just needs to be set to the appropriate setting
You’re likely to find an ideal solution for your ASUS laptop among the ones we’ve provided above. You can try the solutions proffered under other categories if the one for your computer’s category doesn’t work.
Remember to use a USB drive that has been formatted to FAT32 to perform your BIO recovery. If you try all listed solutions and none works, you may need to contact ASUS’s support for help.


My laptop randomly decided not to turn on today , I found this website and opted to hold down the power button for 45 secs and it is working now! Thank you!
Thank you for sharing this helpful guide! I’m facing the same issue with my ASUS laptop, and I’m glad to see that there are straightforward solutions. I’ll give it a try and let you know if it works for me. Keep up the good work!