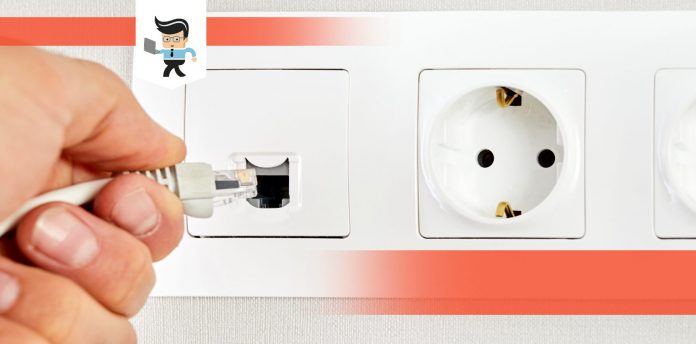
When we have problems like the Ethernet wall jack not working, technological advancements suddenly feel like a chore. The internet requires every switch, port, plug, cable, and wiring to work properly in order to function correctly. When even one cog is missing, your PC won’t connect to the internet.
 If your wall jack isn’t working, you might have some internet access, but it is just slower than you are used to. Most often, however, it won’t work at all.
Without a working Ethernet jack, you are left to problem solve for yourself in most cases. Your internet service provider may come out and fix your wall jack for you, but it isn’t considered a high priority fix, and you are better off trying to find the cause and fix it.
This guide will walk you through the different steps to fix an Ethernet outlet not working.
Contents
Ethernet Port in Wall Not Working: Steps to Take
When you think your Ethernet wall jack isn’t working, you need to realize that your problem may fall anywhere in the connection to the jack, in the jack itself, or the Ethernet cord going into your router or modem.
If you have issues with a wall Ethernet port not working, you can take a few simple steps to find the problem and fix it. Try not to take too many things apart and remember to be gentle because all of these parts are highly delicate.
First: Check the Connectors
The first thing you want to do is check your connection into the Ethernet wall jack, into the router, and anywhere in between. It is easy to do this by checking every location where one part of the process comes into contact with another.
The most important connection to check is the one for the wall jack. You will need to take the cover off the jack if you have one and then take the jack off.
Once you are there, you will need to check the connector for debris, dust, erosion, and damage. Check the copper ends on the port and ensure that they look fresh and shiny.
Your house is constantly shifting, and dust and debris can work their way into the port and cause issues. If you’ve never checked this port before, it may have just aged out, and you will need to install a new one or get someone there to install it.
If everything looks great and it still isn’t working properly, then you can move on to the following steps, which deal with more technical items like cable connections, fiber optic, and fiber cables.
Step 2: Check Your Cable Connection
Your next step is to check the cable connection to the wall socket. This connection is important, and it does go bad, though that isn’t as common. If the cable connection doesn’t fit tightly, or there is some debris in the way that could hinder the transfer of information, it may seem like your Ethernet jack is not working.
If you live in a property with a lot of dust, your wall jack is in a room where there are significant temperature changes, or something gets damaged by a mouse, you will first notice problems with your internet access and speed.
If you check the cable connection and you see wear and tear, or the cable is no longer connected at all, you should call a professional.
Try Checking the Cable Itself
If you don’t see any issues there, you might want to check the Ethernet cable itself. You don’t want to use any other kind of cord than an Ethernet cord because you could ruin your router, the wall jack itself, or just not get the performance from your internet service provider that you paid for.
 You next want to check the cables themselves. You will have to remove the cable from the wall if it is damaged, which is a lengthy process with a lot of pitfalls. If you know that the cable is damaged, it is best to contact a professional.
Check the cable for wear and tear. Look for any place where the protective coating may have rubbed off, check for splintering, make sure there aren’t any bends or twists, and recheck the ends of the wire, if possible.
If there is any problem, you will have to replace it with another Ethernet cable of the same strength and type. Once again, this is where a professional from your ISP comes into play if you don’t have experience.
Examine the Patch Panel for Problems
Your next step is to look for your patch panel. You need to locate your patch panel in your home and then inspect it.
The first thing to check is the connection between the wires and the patch panel itself. If your patch panel was installed in the last decade or so, it should have stickers. If they don’t, you will have to use a cable tester to see where everything goes.
If you can spot an issue here, you will save yourself a lot of time and effort.
Why Your Wall Ethernet Port Won’t Work
Your wall Ethernet port not working may seem like an outdated piece of technology, but it really isn’t. Within that wall jack is all of the technology that makes your wifi work. There are many parts of that process that could fall apart.
If you live in a crowded home, it may seem like your wifi router doesn’t work, but it does. If too many people are trying to use your internet, it could slow things down as well.
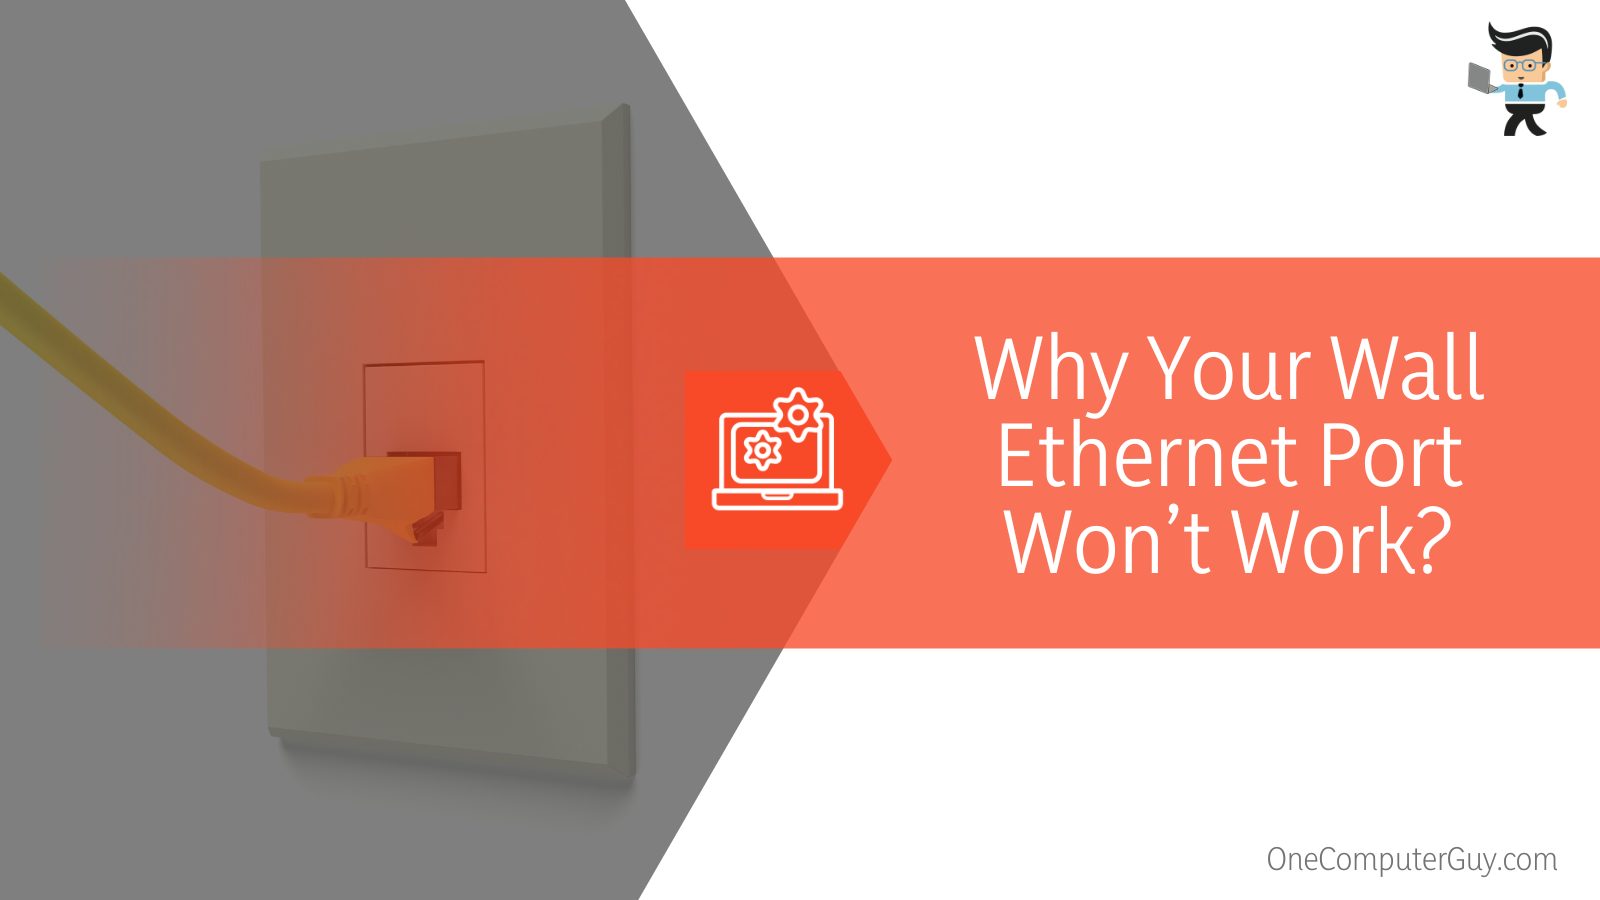 One of the biggest reasons your Ethernet port doesn’t work comes down to age: we don’t think about replacing our wall jacks and Ethernet ports as frequently as we may need to. This is why they go bad.
Just like with other parts of your computer, you do need to upgrade and fix your wall Ethernet port occasionally. These connections are known to have few safety concerns and they can last for years, but they won’t always have the power or speed you are used to having.
Some of the most common causes of issues include:
- Dust
- Debris
- Painting over the jack
- Shifting walls and floors
- Mechanical failure
- Part failure
- Cable failure
- Rodents
There are many other reasons why your cable may fail, but these are just a few of them.
How To Install an Ethernet Jack
The easiest solution for an Ethernet jack not working, you can install a new one. It isn’t easy, and you should clear out the existing space and just do it there. You can also make a new space if the old one is inconvenient, but you want to have it near an outlet.
Then, follow these steps:
- Shut off the electricity so that you don’t electrocute yourself.
- Run the cable through the existing cable line. Always work from the top to the bottom when you run your wire. You can wrap Ethernet wires together if you are going to install more than one. Just be sure to secure the ends with electrical tape.
- Avoid going too close to water lines, electrical lines, or other fixtures.
- Use the instructions on the back of the packet to install the mounting bracket to your wall. You want to thread the slack end of your Ethernet cable through the middle. Be sure not to overtighten.
- Cut the cable emerging from the outlet, leaving 6-12 inches, depending on what you need.
- Be sure to follow the color coding guide to connect all of the wires according to the directions on the back of the packet. This will activate Ethernet port on wall immediately.
- Finish the job by installing a cover. This cover will help protect your connection, eliminate dust, and generally make everything look better. Try to move the wall plate around and see if it jostled.
- Clean up any loose debris or dust around the outlet so that it doesn’t just go back inside and cause more problems.
 Use a tester to test Ethernet wall jack installations immediately after you are done. It should be working at this point. If it doesn’t work, you may have installed it incorrectly. Once again, this is the type of job that really should be handled by a professional.
Conclusion: The Ethernet Wall Jack Is Not Working
When your Ethernet wall jack is not working, it can be quite a hassle. However, it is usually best to leave these types of fixes up to the professionals, particularly your internet service provider.
Trying to fix your own wall jack, particularly if you have an ISP who installed the wall jack for you, might cause problems with your contract. Be sure to check what you signed.
Fixing a small problem like replacing the cable or clearing out debris is easier. You just want to ensure that you have eliminated the original problem, so you don’t have to go through this entire process again.
Contact a professional and get your Ethernet installed properly. From there, you can take care of it, clean things up regularly, and have years of a properly working Ethernet port.

